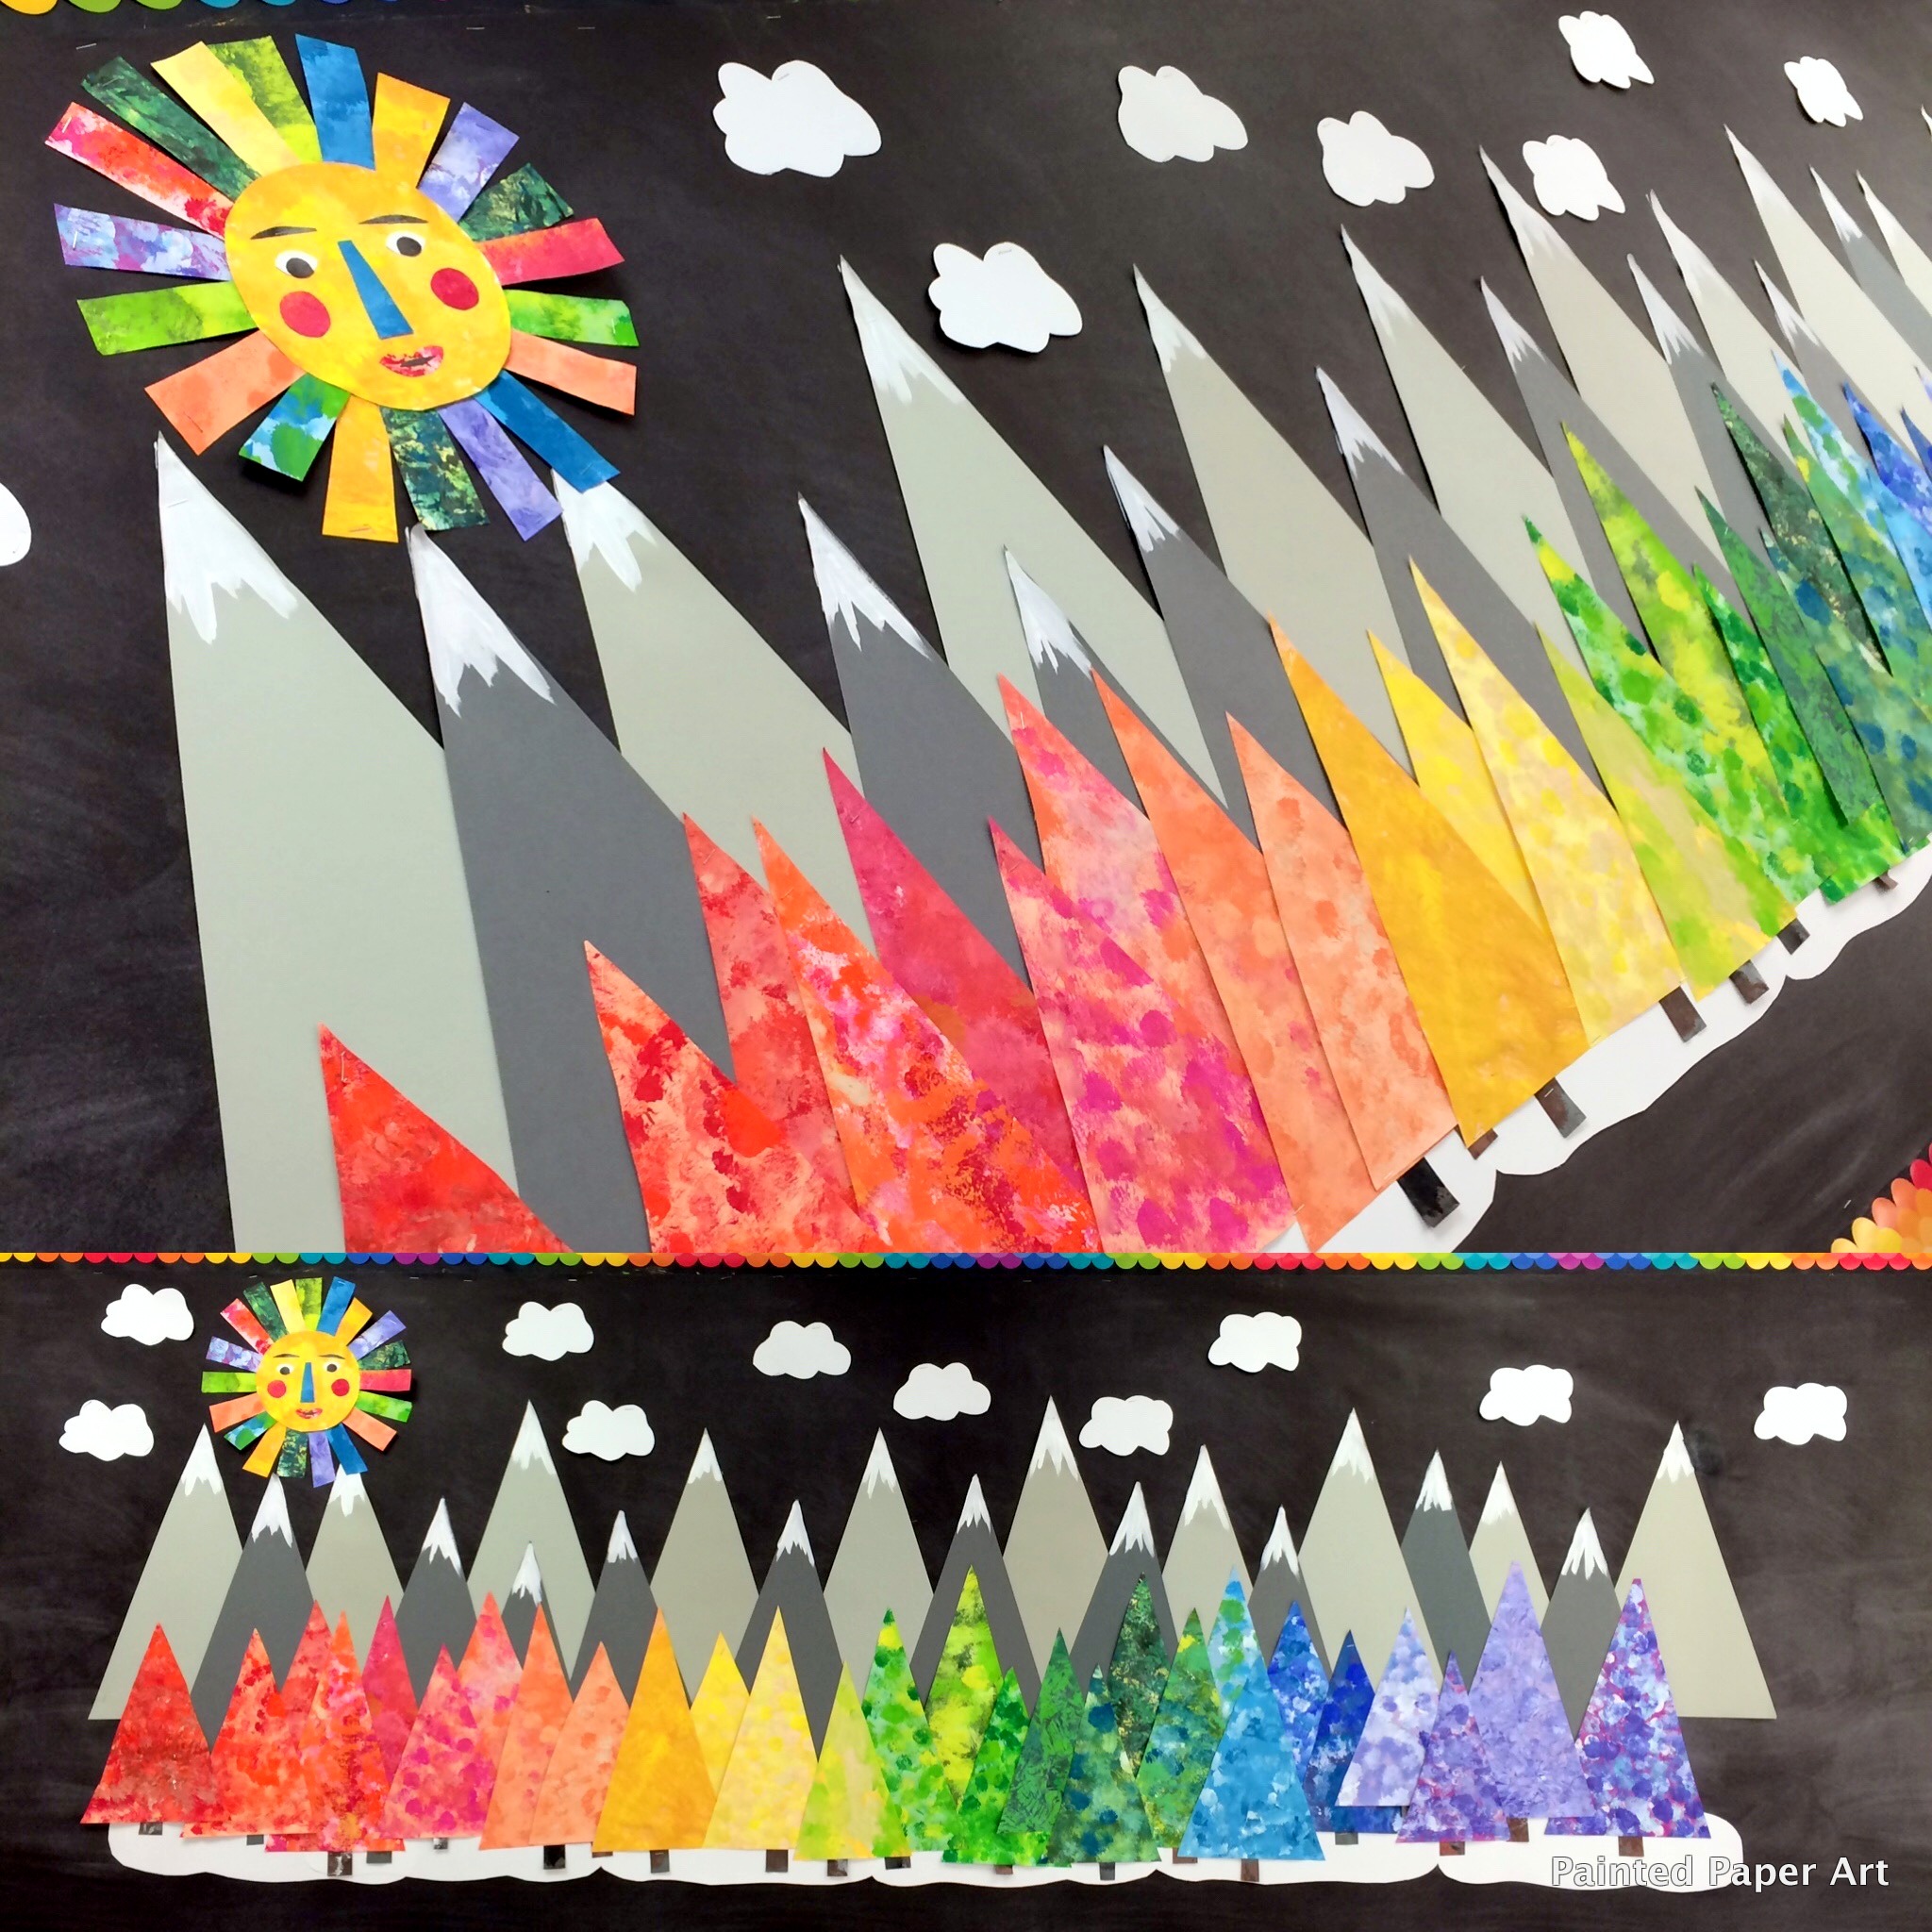
Rainbow Forest
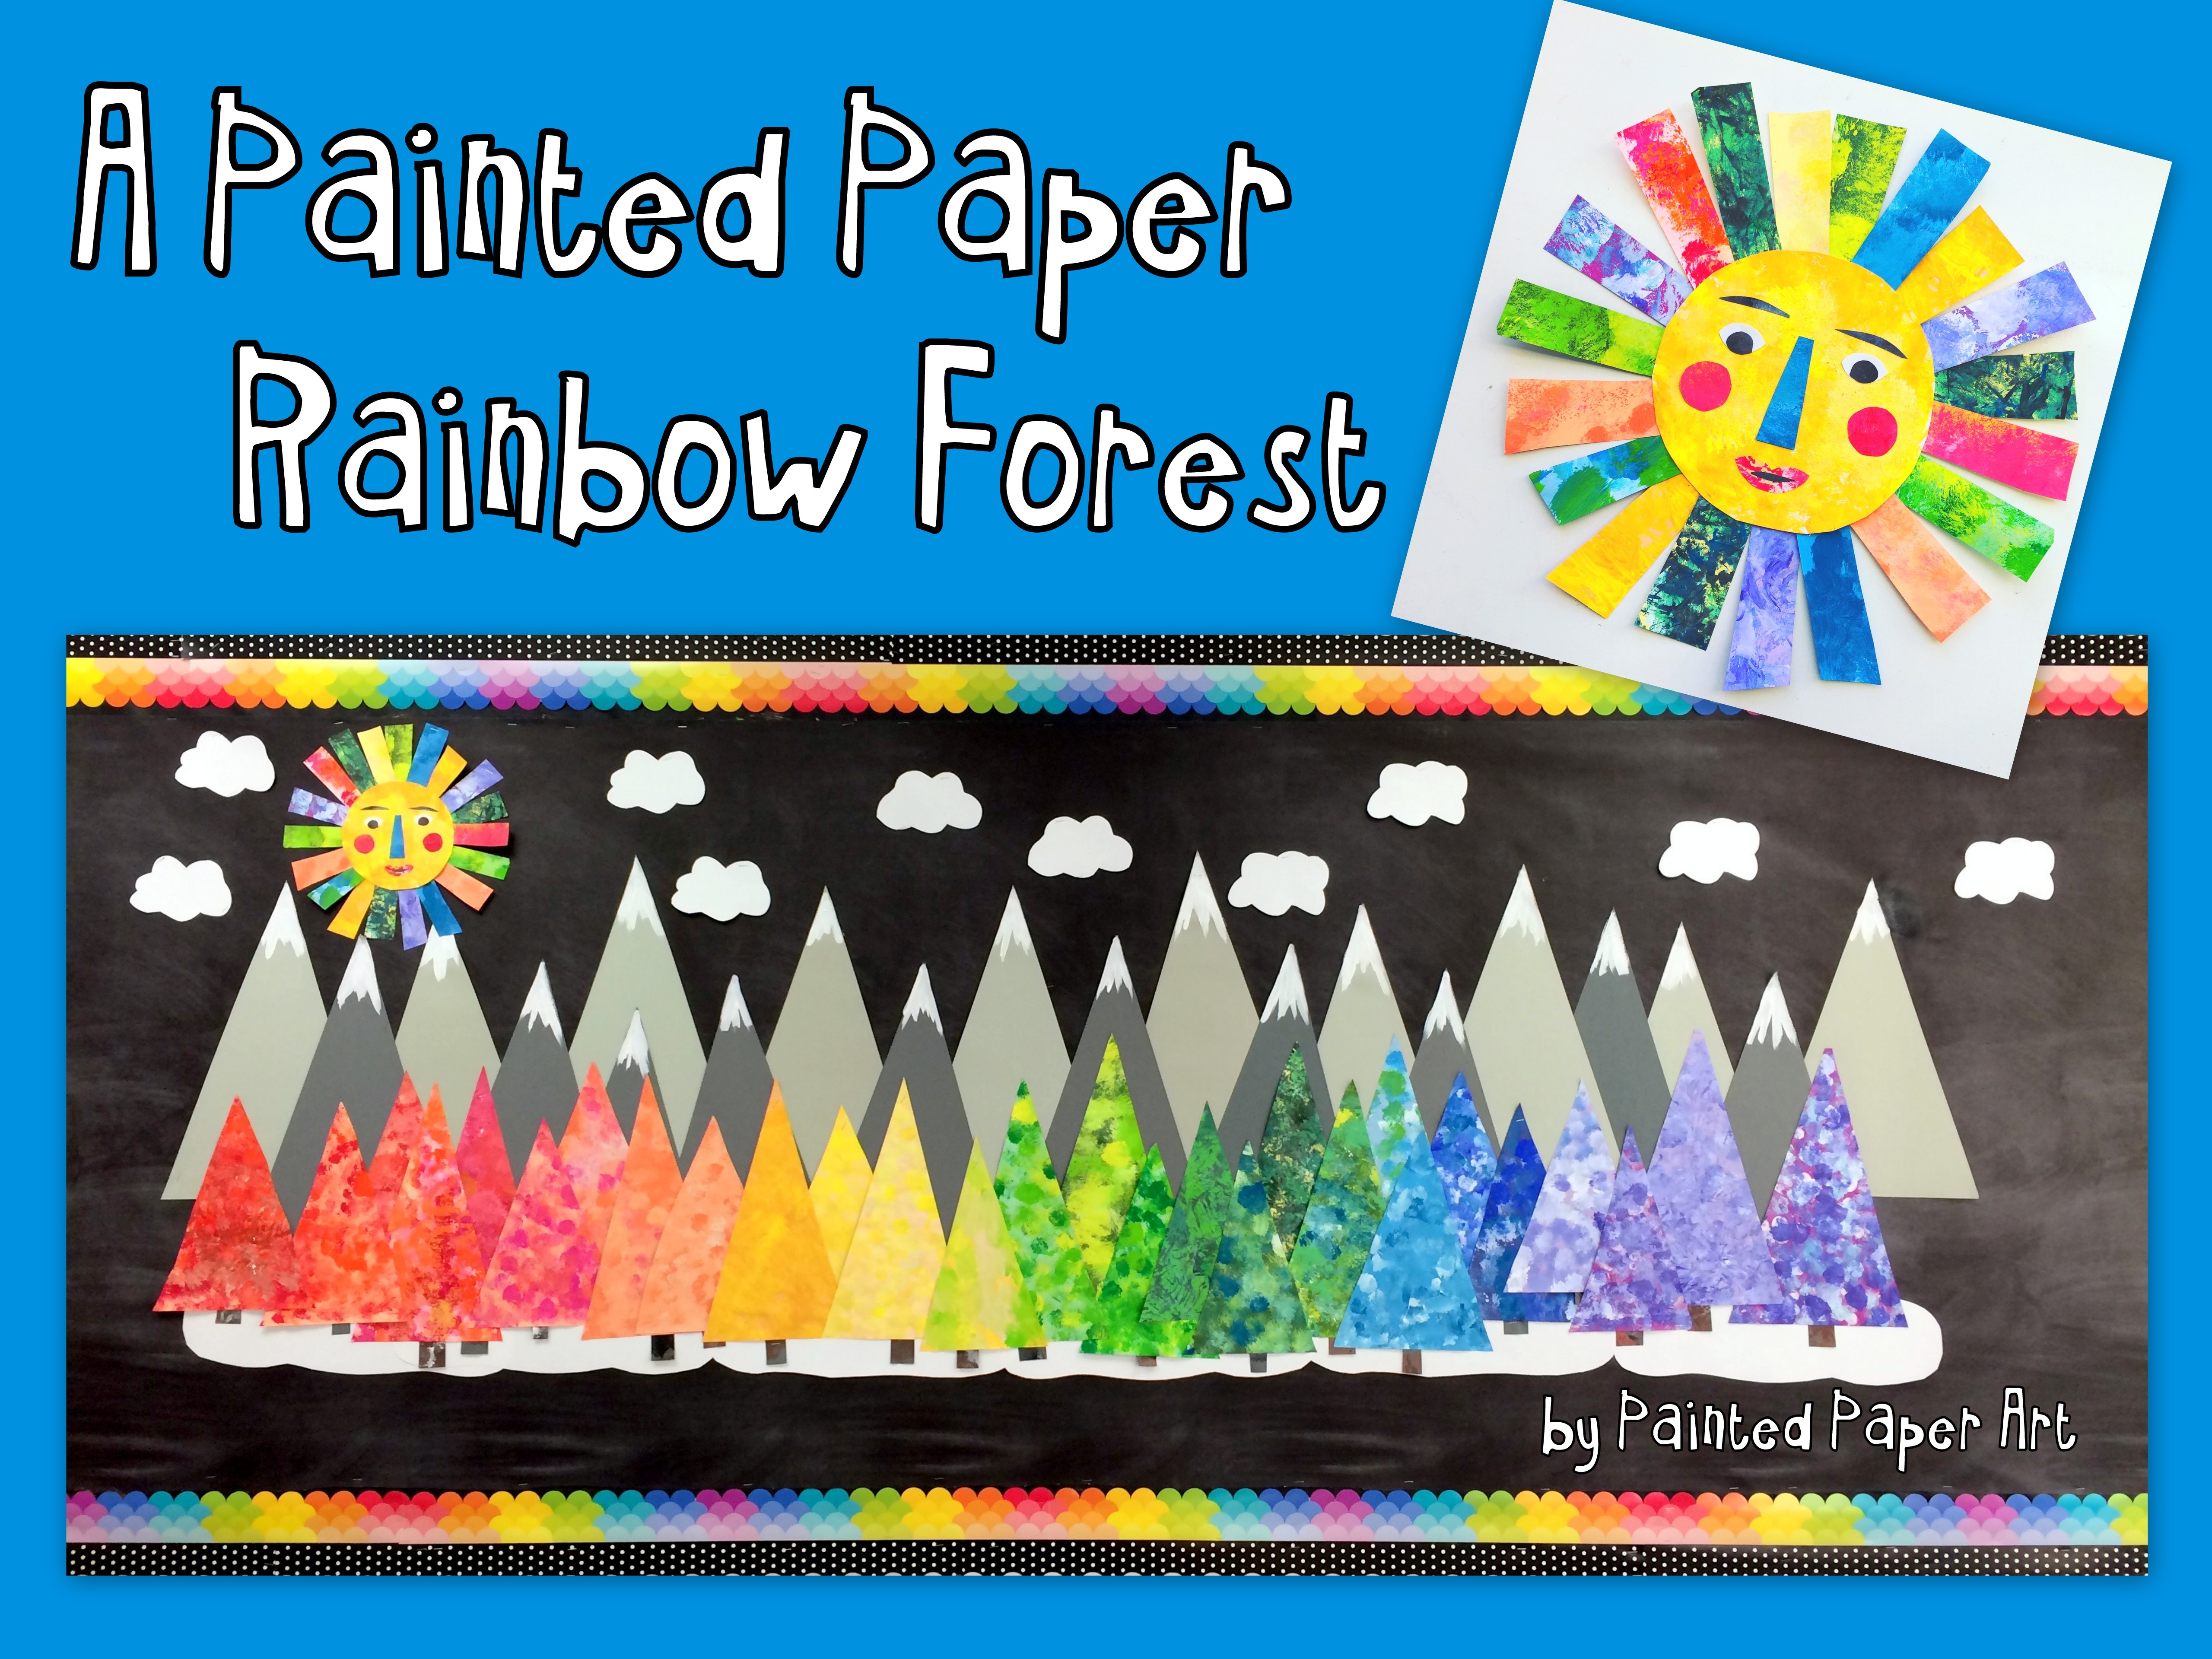
I absolutely love creating displays of my students work, especially collaborative displays. Those types of displays are ones that contain various projects created by different age groups of students. The kids eyes light up and the smiles are huge when a display is revealed. I have received many emails questioning the “how to’s” of creating a display, so I thought I would answer those questions.
Start with a Good Foundation
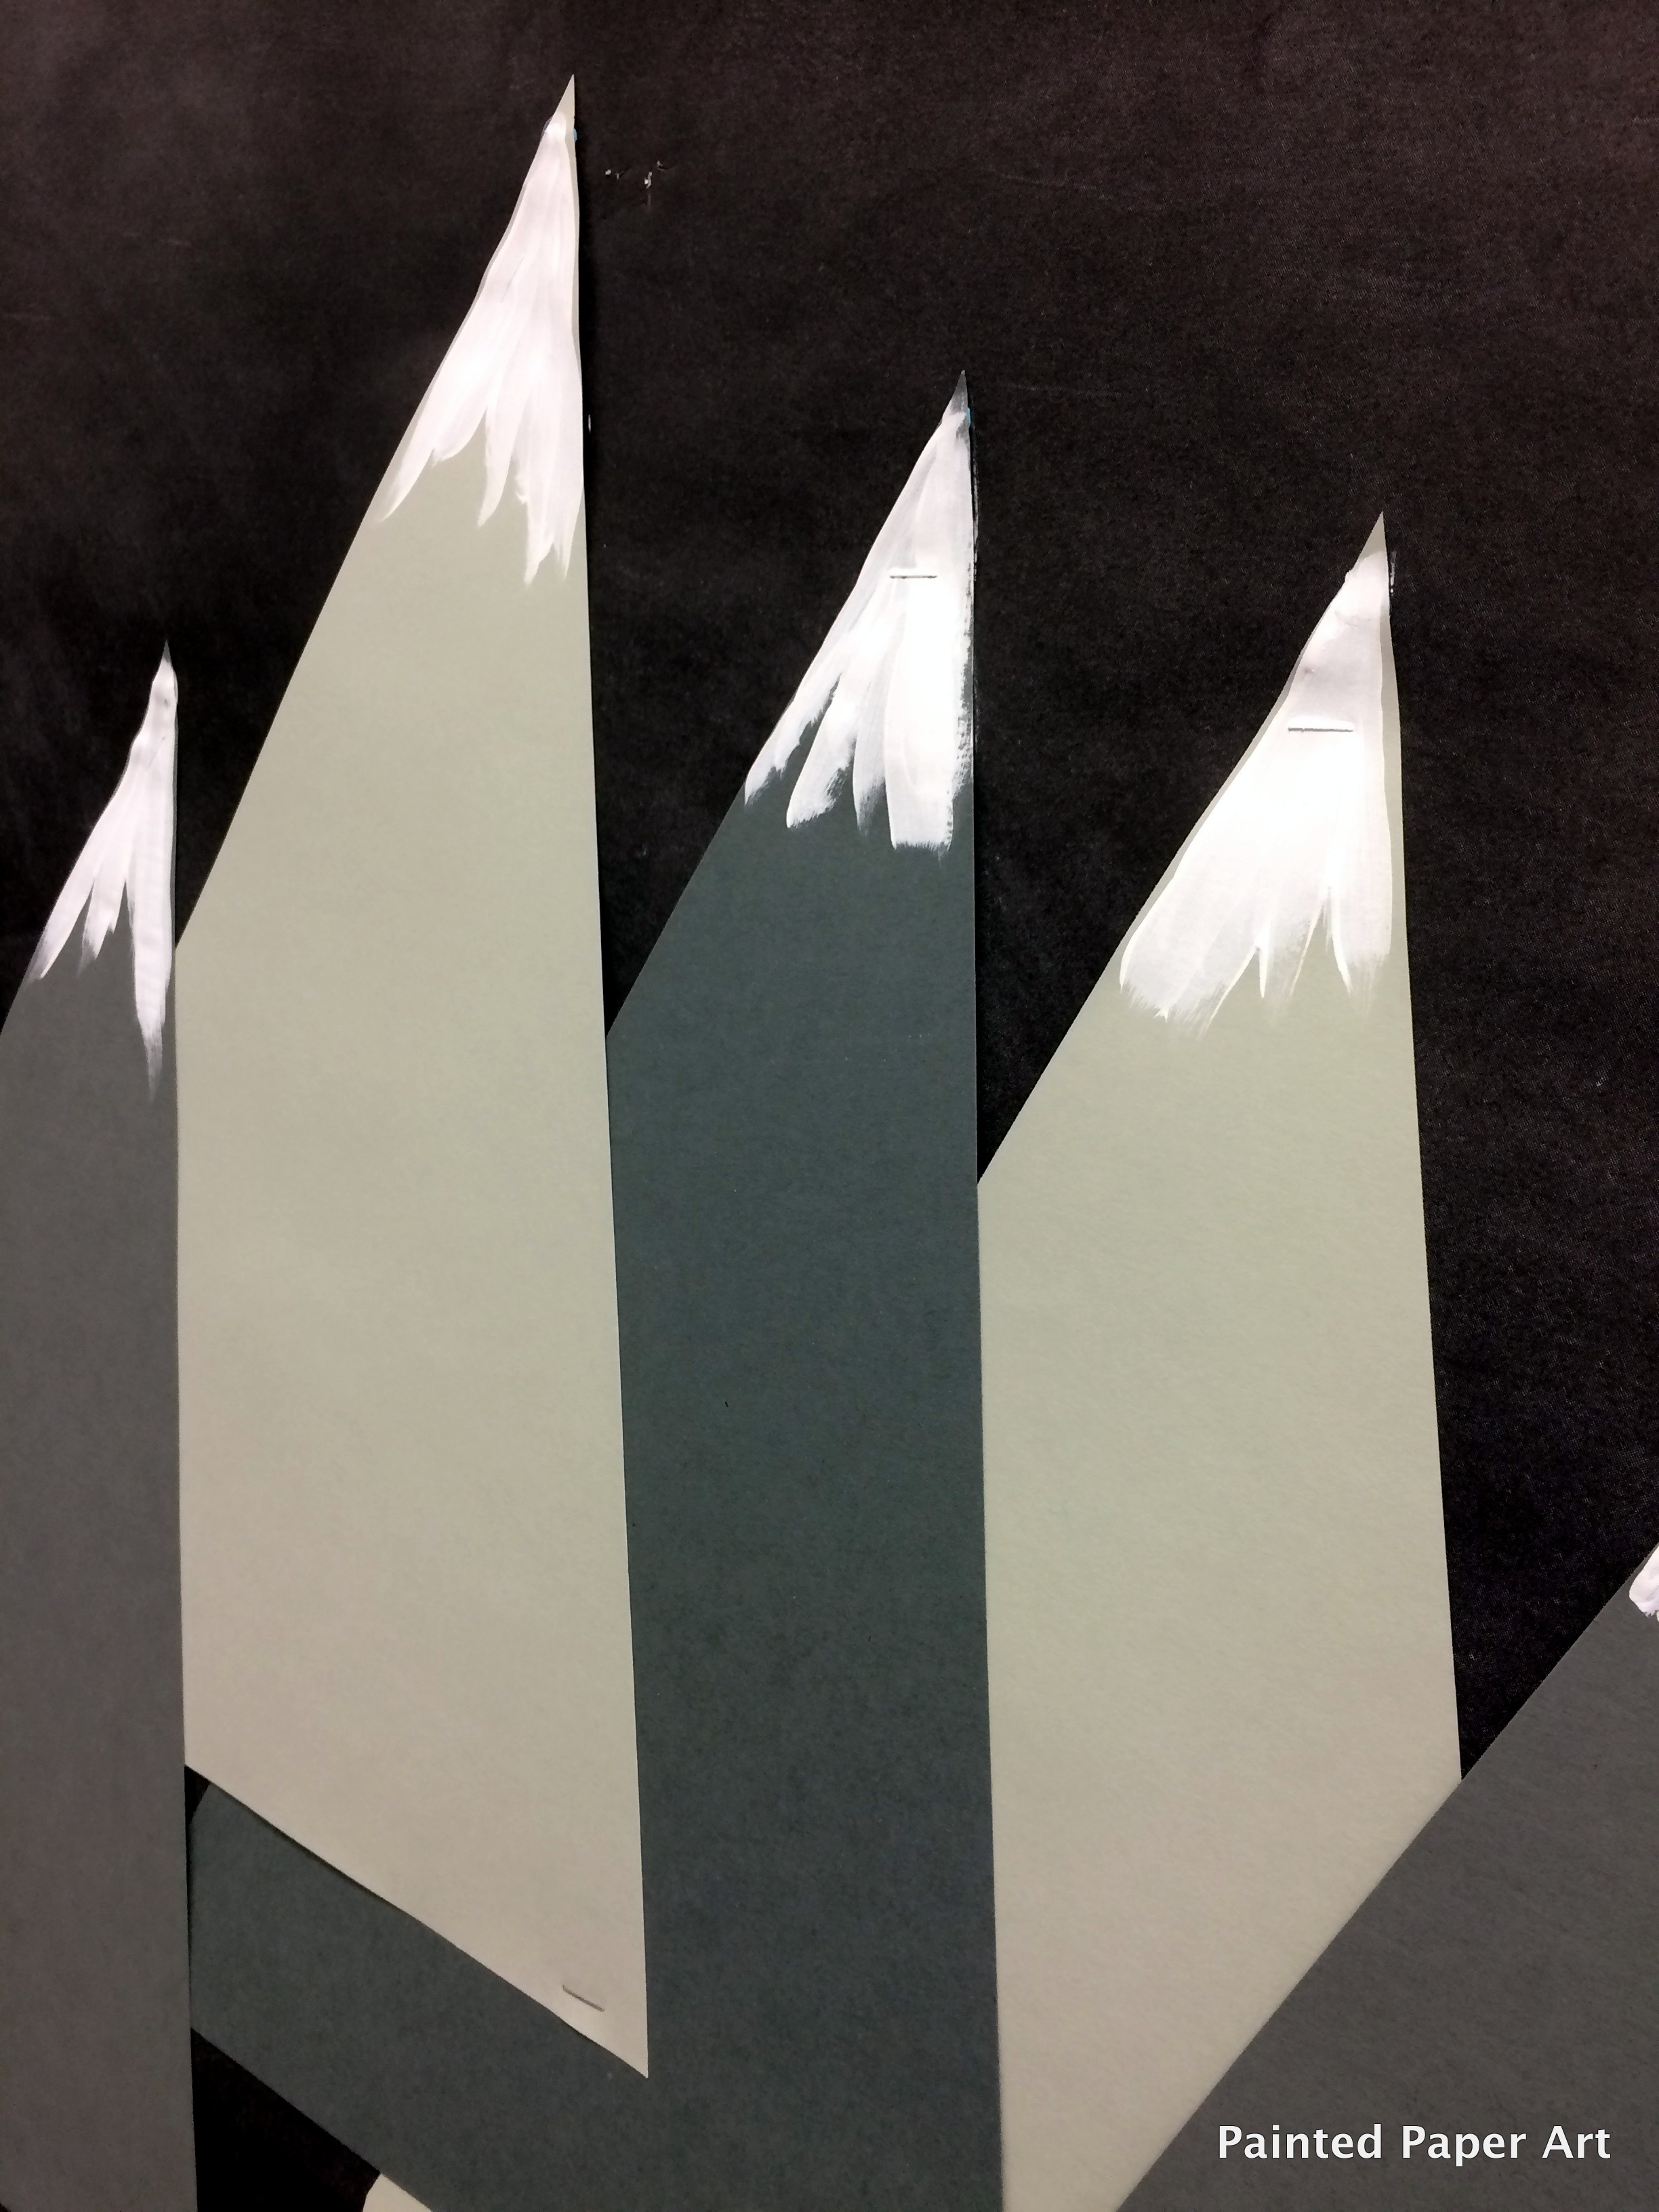
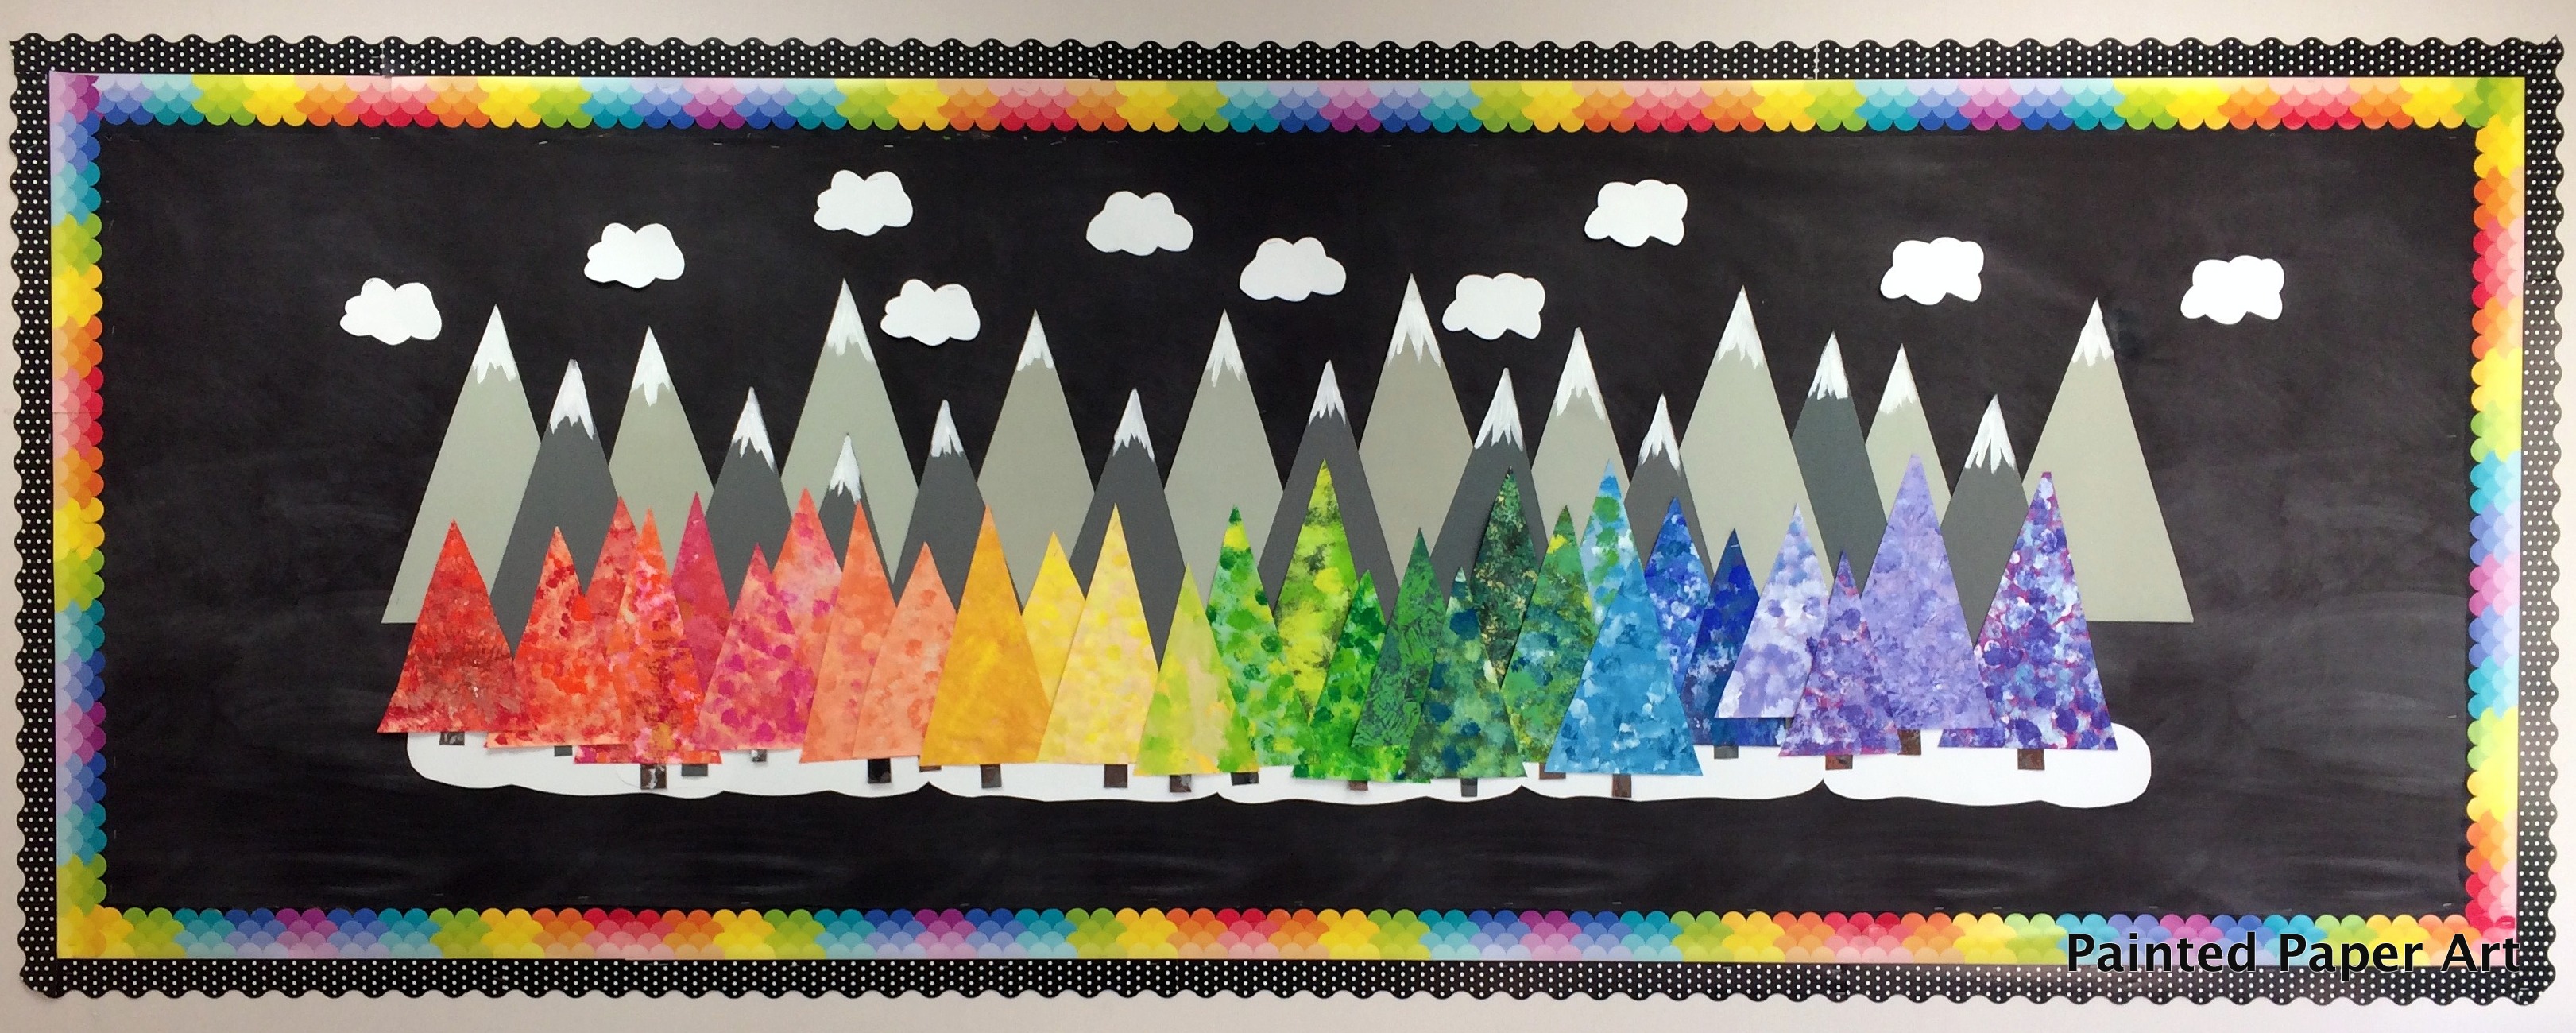
Start with a quality background paper. I adore the chalkboard paper from Pacon. It is a nice weight and does not fade when displayed! This is very important to me. Next, I use the best construction paper in the industry, Tru-Ray construction paper. This is also a fade resisitant paper. For the next layer of the display I had students cut out triangles from dark and light gray construction paper, to represent the mountains. Paint snow on the tips of the mountains.
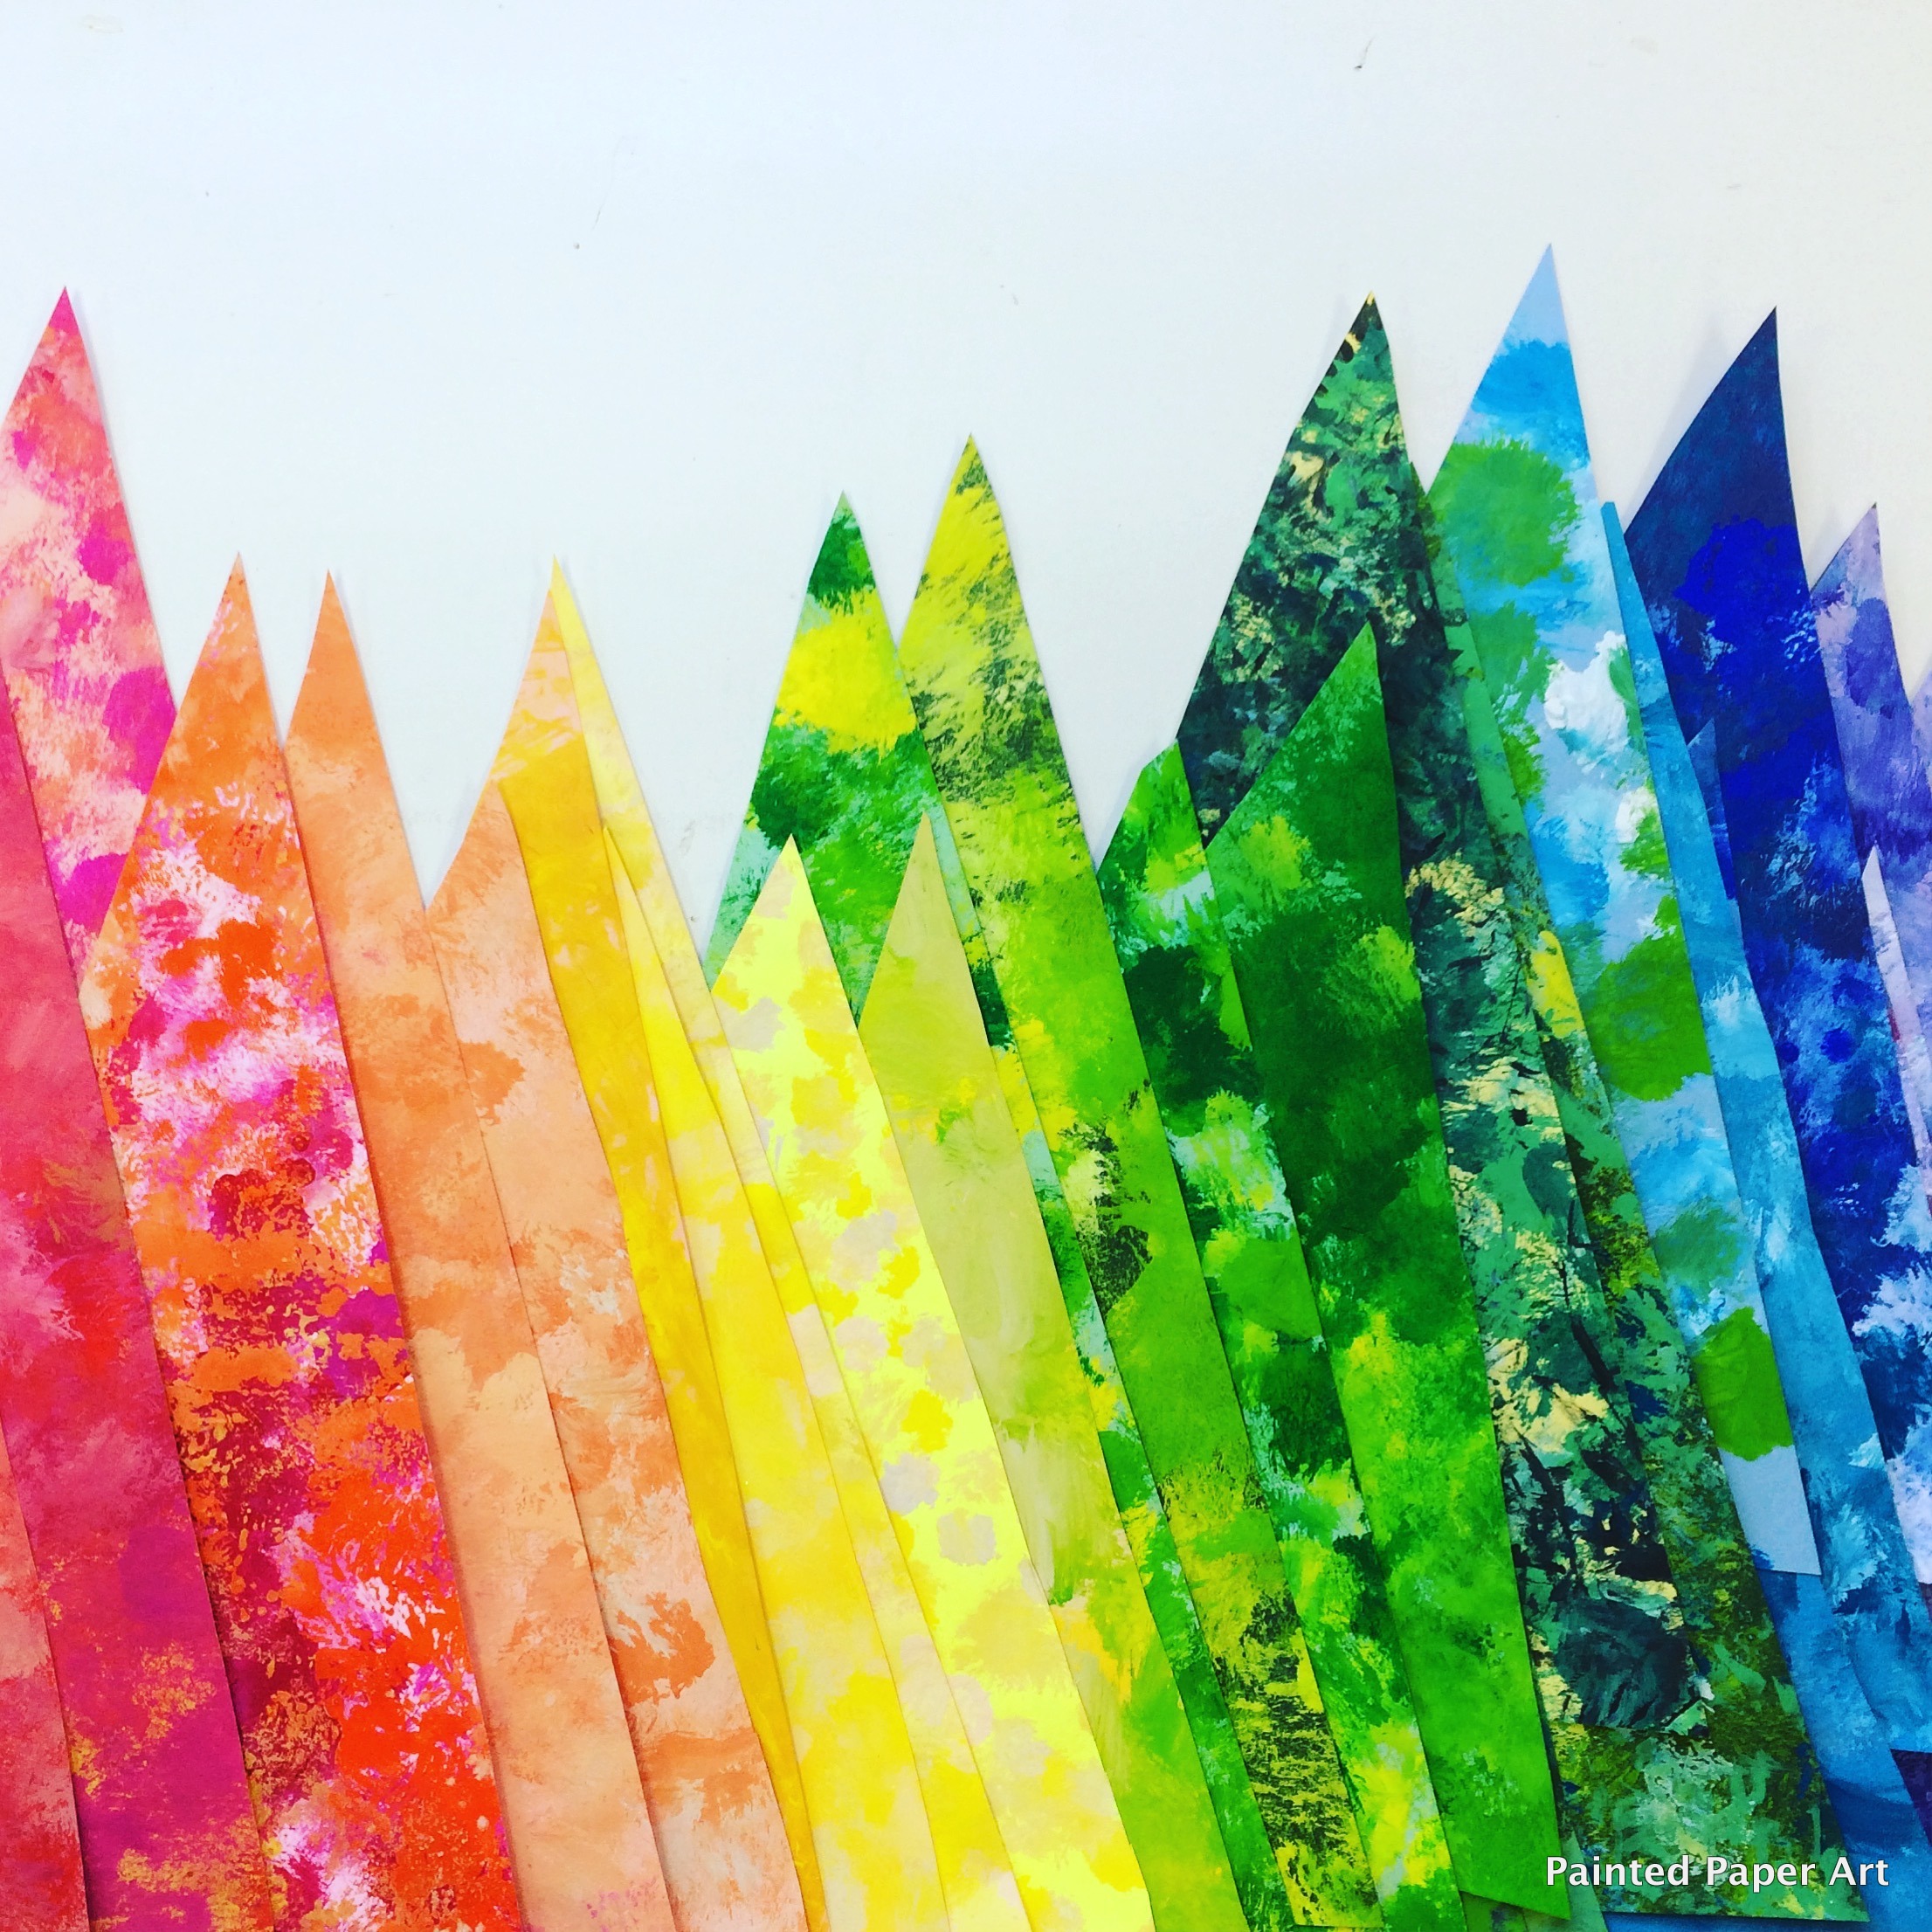
Next, use previously painted paper and create simple triangles to represent the various trees. Check out this blog post on how to make painted paper.
Add simple rectangle trunks to the backs of the trees. Cut out some white snow to place under the gray mountain range and add some simple white clouds from scraps of white paper.
For fun we added a painted paper sun. Use a small paper plate as a template for the sun and cut left over scraps from the trees to create the rays. Add a face.
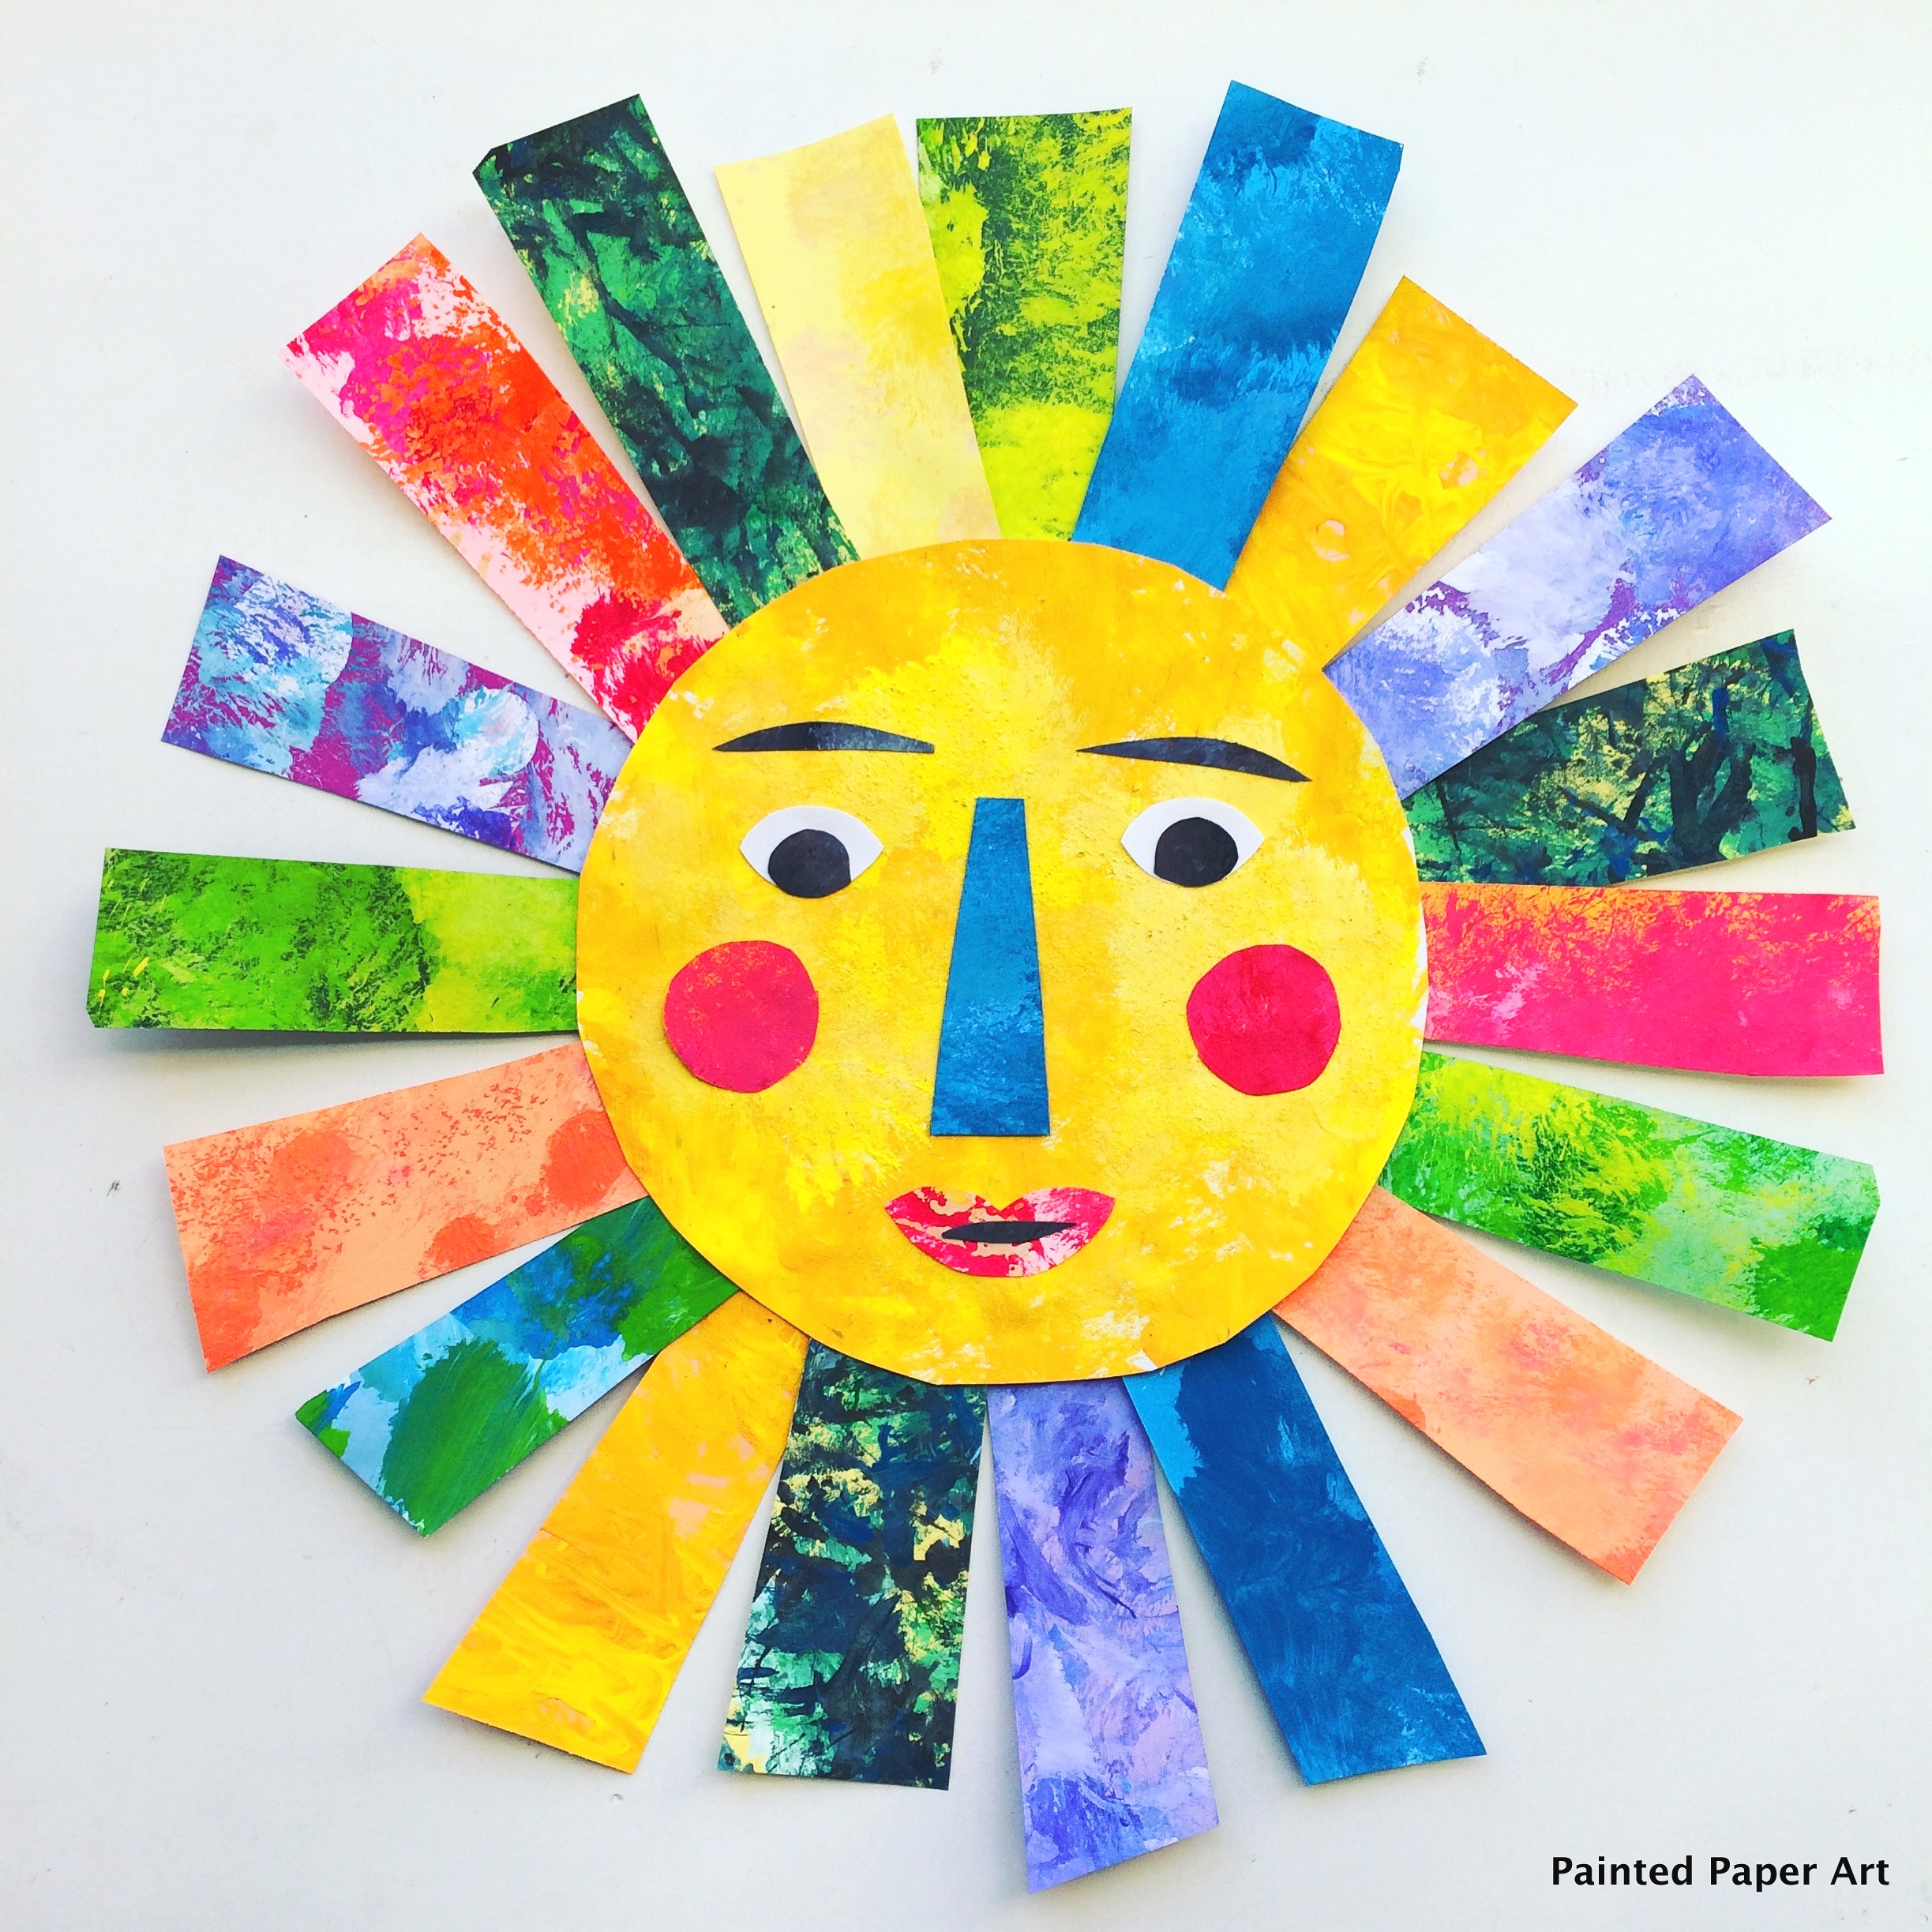
Attach the sun with the rest of the large display. Remember, simple shapes and bold bright colors make creating displays fun and attractive.
Don’t forget to add a fun border around your displays.

Keep on creating!

2 Comments
Kelley Rhodes
March 15, 2018 at 4:08 pm
HI! This is adorable and seems so easy! Should there be a link to the blog post about painted paper? I’m always looking for ways to streamline “paper painting day.” I didn’t see a link. Thanks for this idea!
Laura
March 15, 2018 at 7:38 pm
Thanks Kelley! Yes I put in the link. So excited to share I forgot to link the blog post. 🙂 Thanks again!