
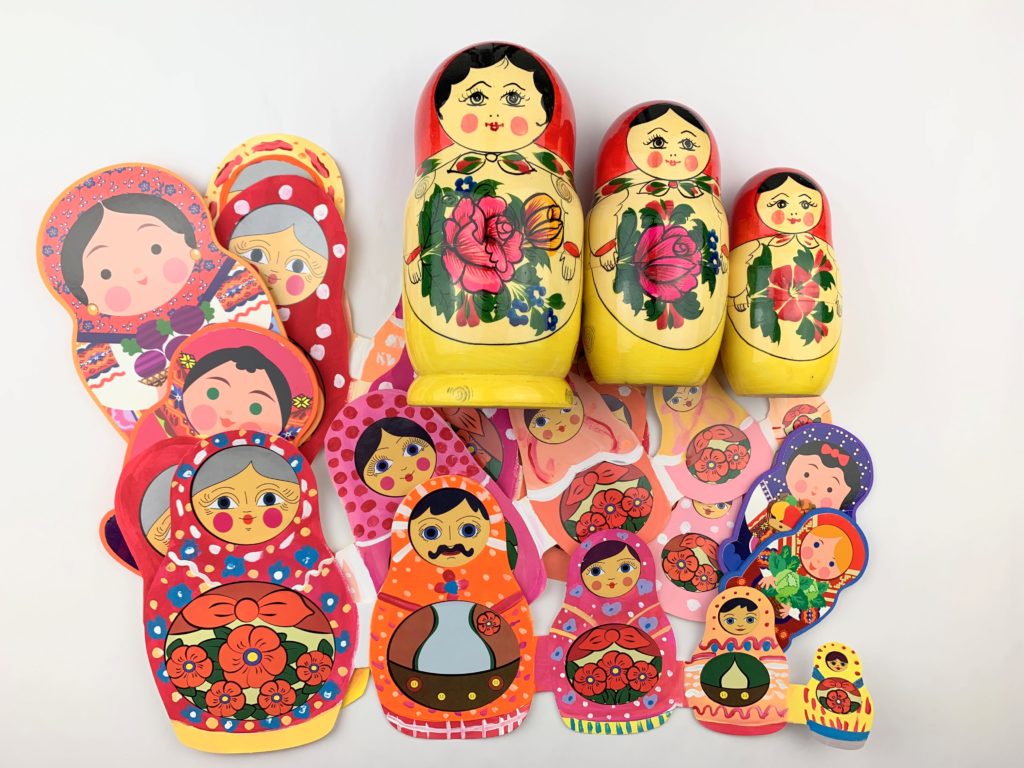
My Art Club students had such a great time creating these Nesting Doll Paper Chains recently. We examined a few Matryoshka dolls from my personal collection. This inspired my students and they jumped right in creating some beautiful patterns on their figures. They loved that they did not have to draw the faces on the figures but could use stickers instead. They put down their own creative ideas on their personal Matryoshka bodies and just enjoyed the process of creating. Both boys and girls absolutely loved creating this art lesson while gaining some interesting history on the Matryoshka doll.
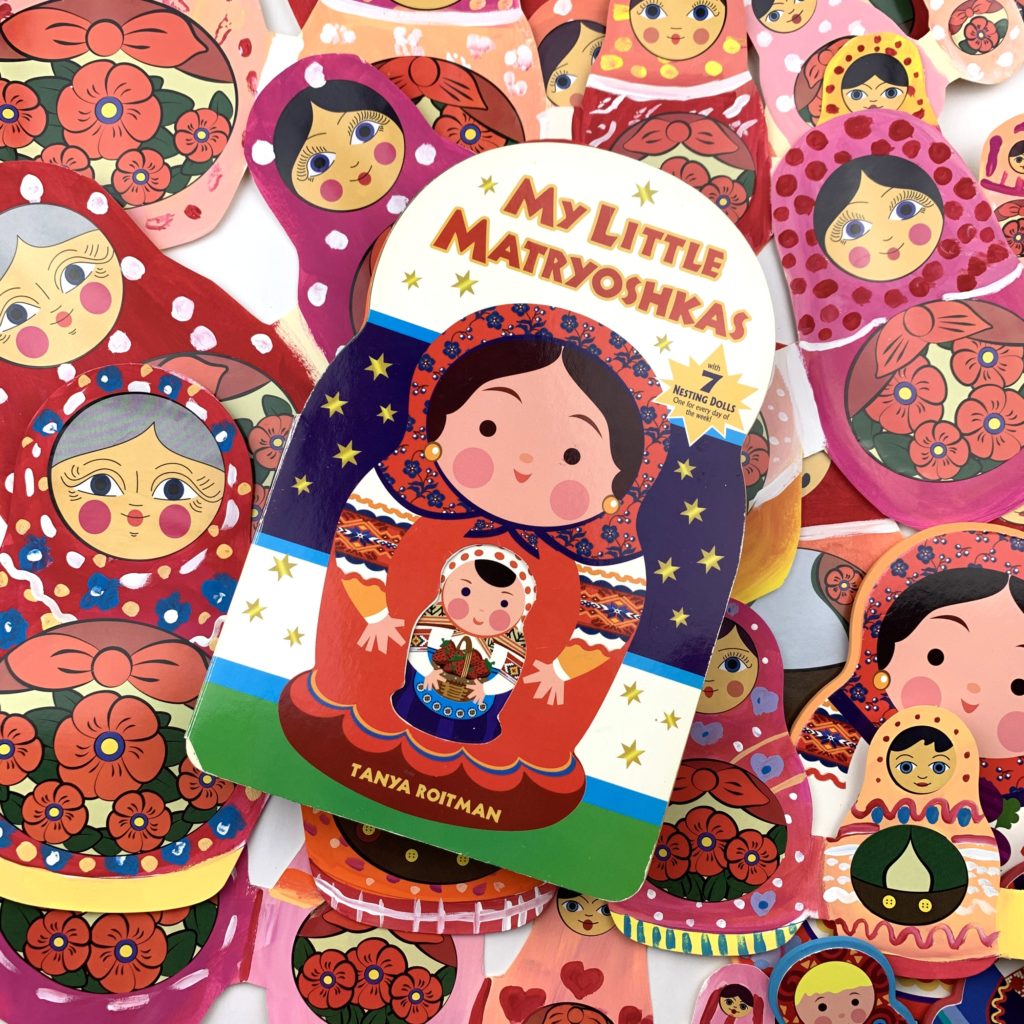
We also used the delightful book “My Little Matryoshkas” as inspiration to excite young and old readers alike with so many different patterns and decorations.
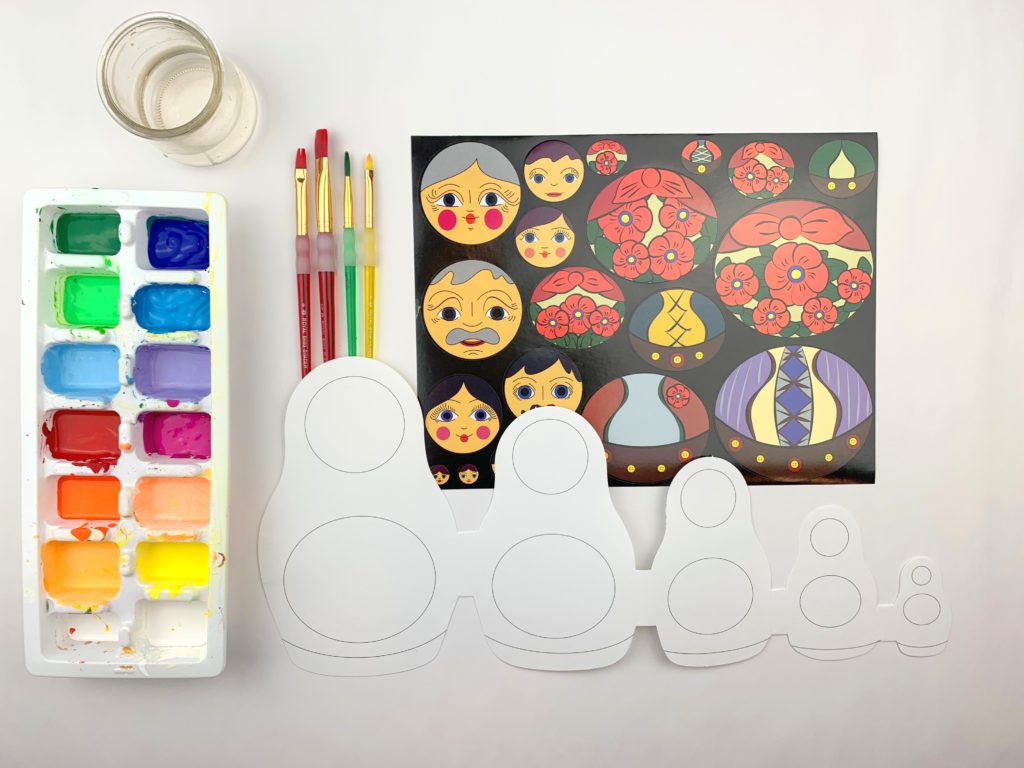
Supplies:
Steps for Creating
Paint your background figure shapes first. Next add patterns to each shape. Let dry. Then add sticker faces.
Mix and match your Matryoshka faces. Choose from Boy or Girl, Grandma or Grandpa! Just peel and stick in the designated areas. Be creative!
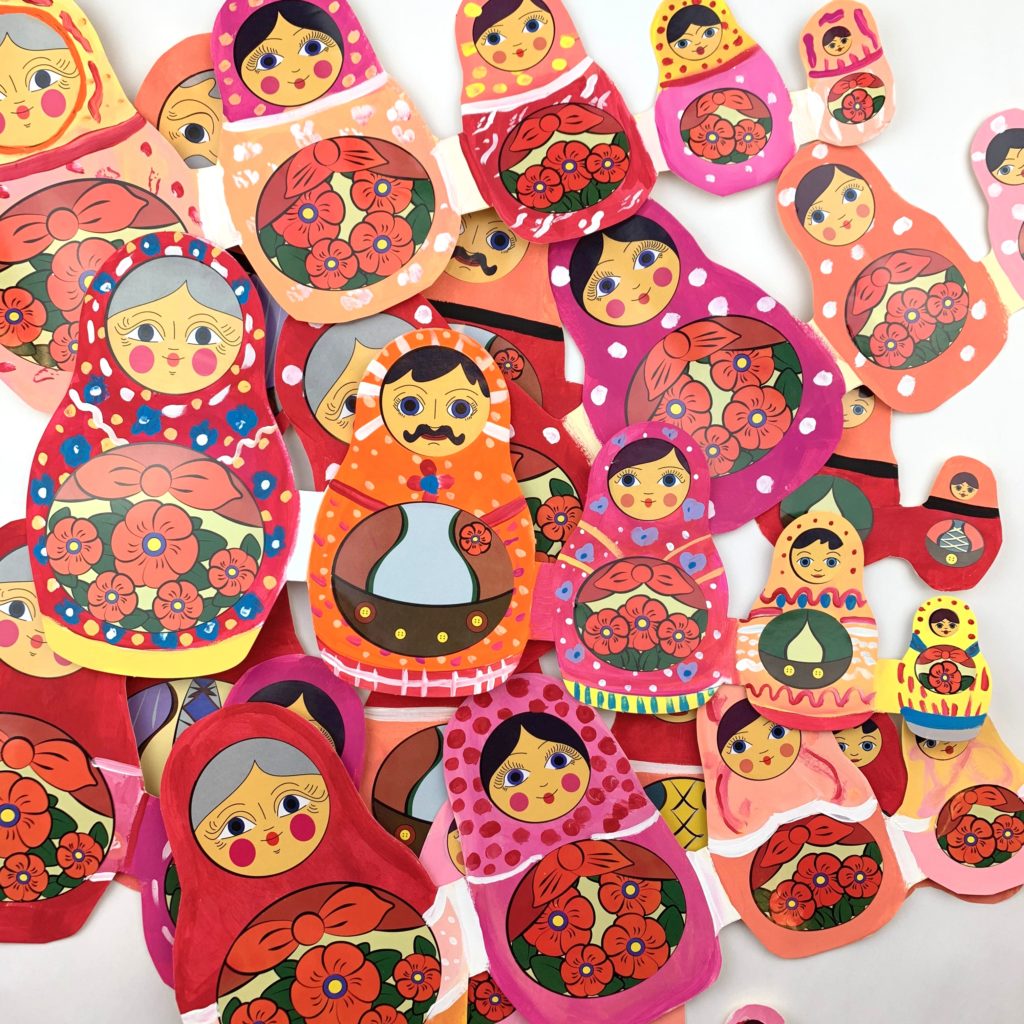
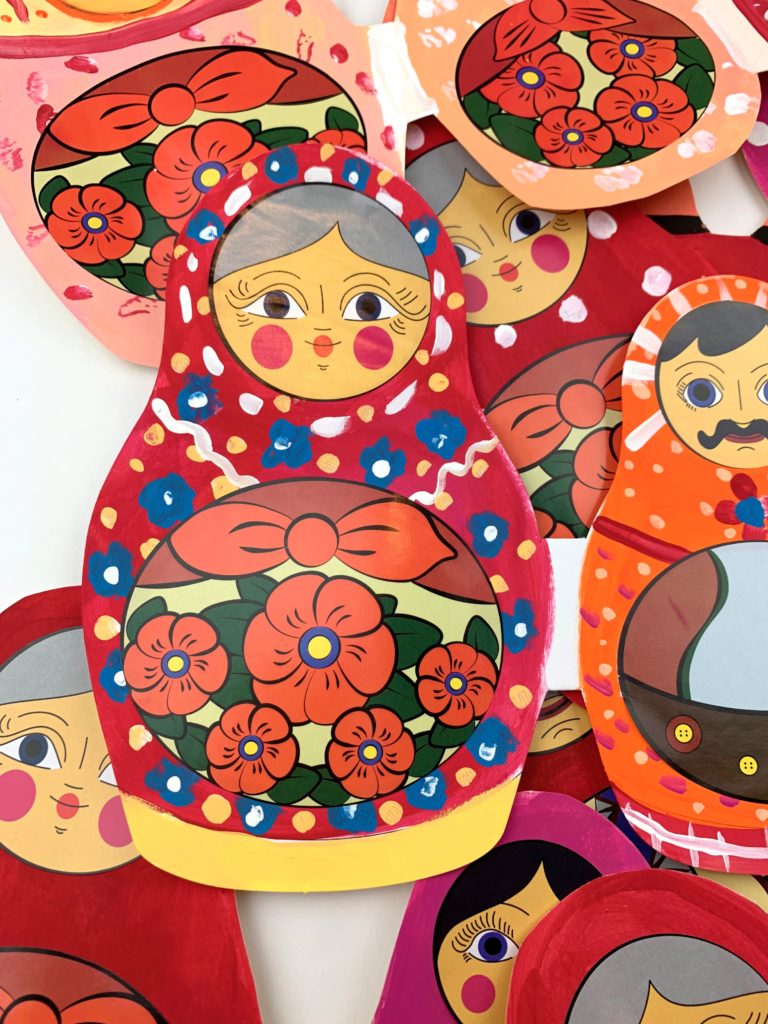
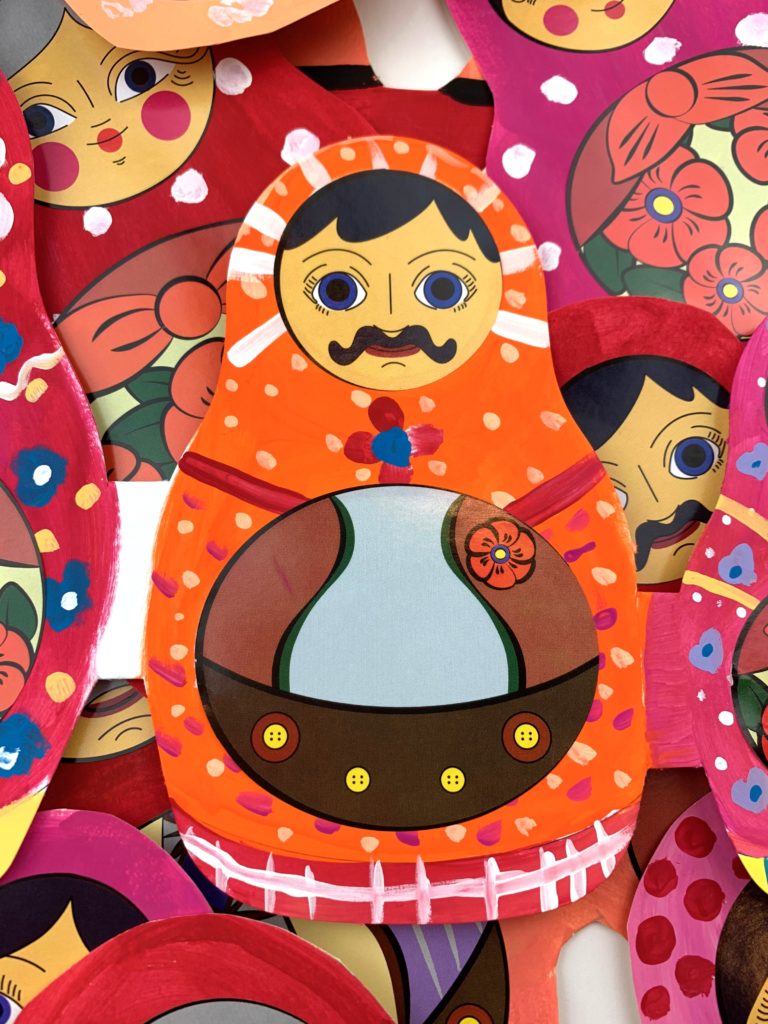
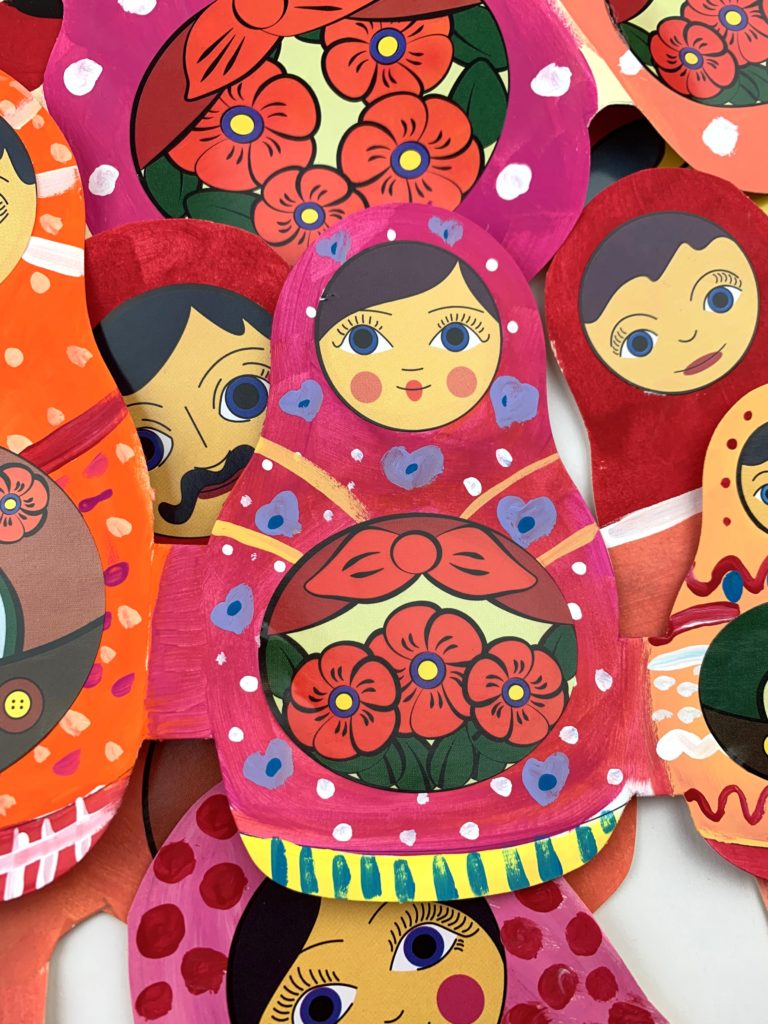
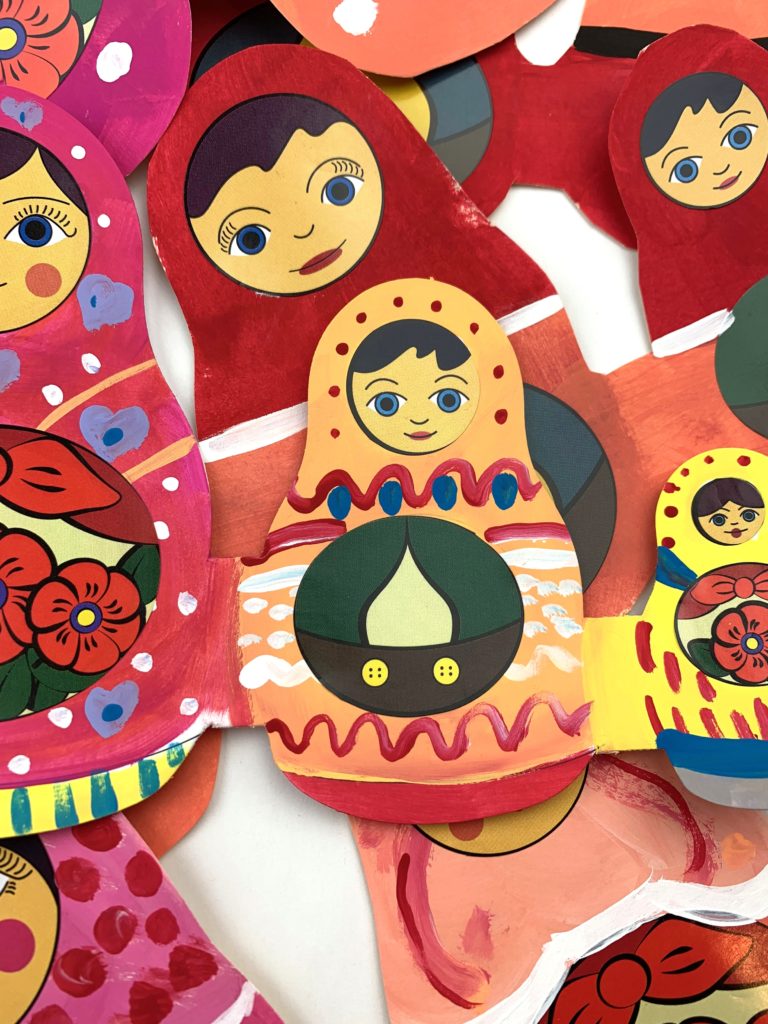
Create your own Russian nesting dolls! The 5 shapes in the paper chain resemble the familiar nutshell forms of traditional Matryoshka dolls. The fun design allows children to decorate and fold them easily. Add stickers for faces and bellies. Decorate the base with pencil, markers, pens and paint. Printed guides show where stickers are placed.
You can purchase them here and receive 10% off your order by using the coupon code PAINTEDPAPER.

Display with other pieces of artwork inspired by Russian folk art and history. Just have fun exploring and creating Art!


I have been teaching an after-school art club for middle school students though I’m a 3rd grade teacher. I absolutely LOVE your art projects! They inspire me and give me ideas for my lessons.
WOW! Thank you for such a lovely comment! So glad to be a creative inspiration! xoxo