
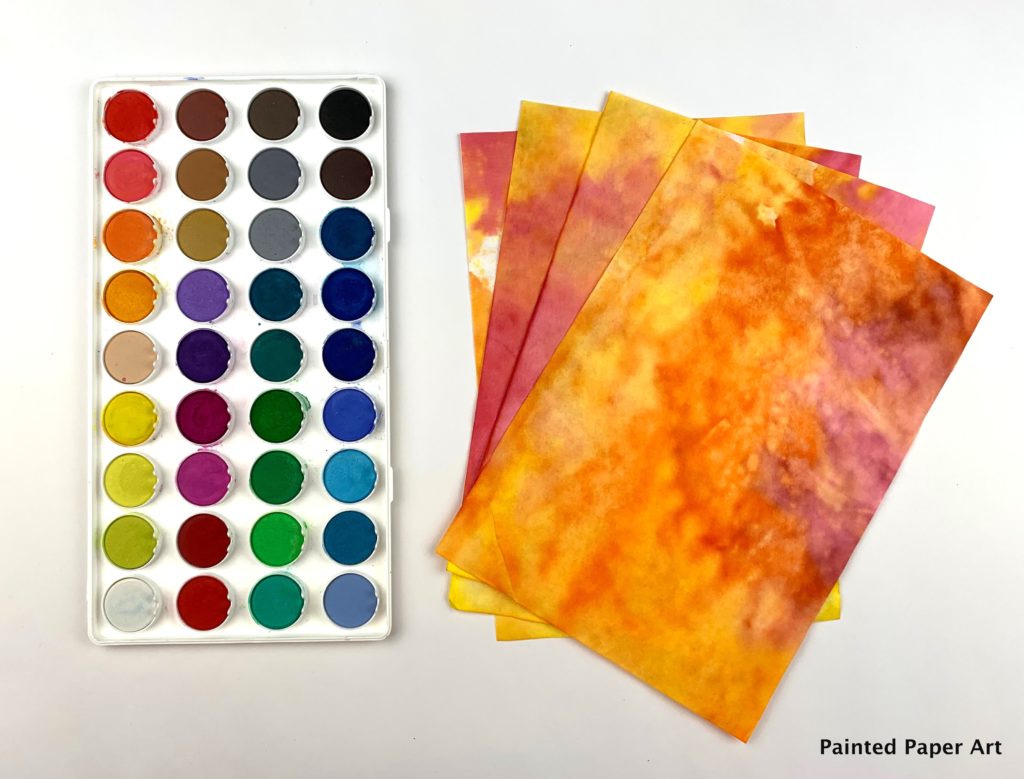
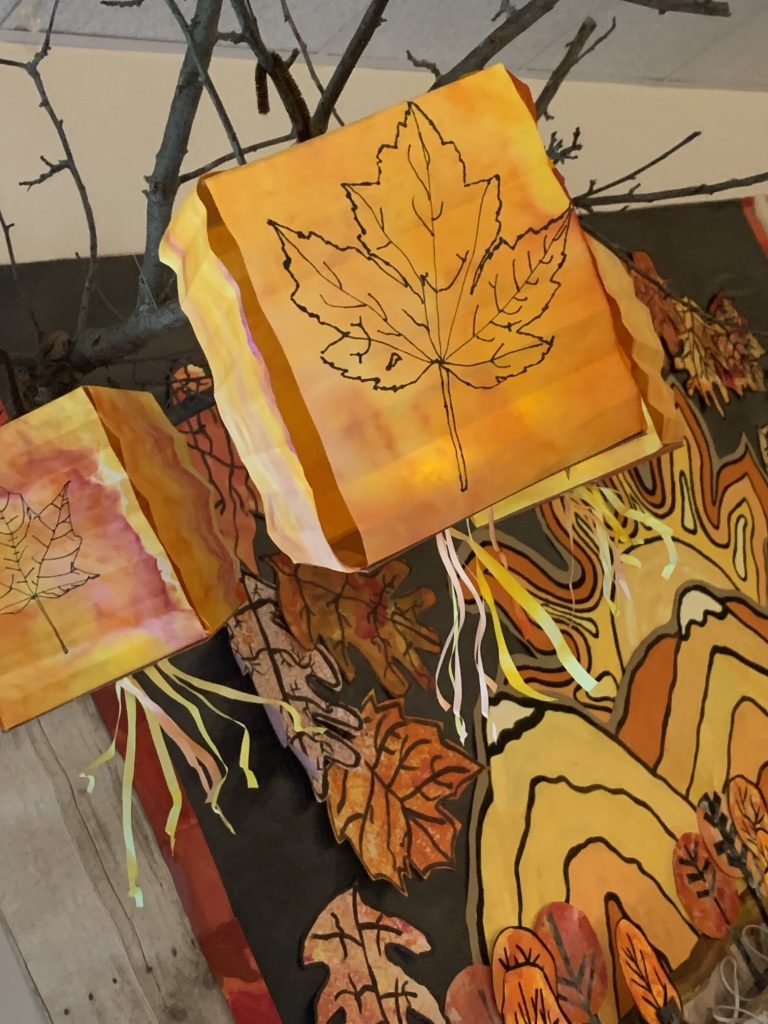
We are ushering in the beauty of Autumn’s arrival with these beautiful paper lanterns. The paper we used is diffusing paper from Roylco and it creates a beautiful effect.
Supplies Needed
Diffusing paper 6″ x 9″ (4 sheets)
6″ x 6″ cardboard (2 sheets)
Tempera paint
Watercolor paint- liquid or pan
Brushes
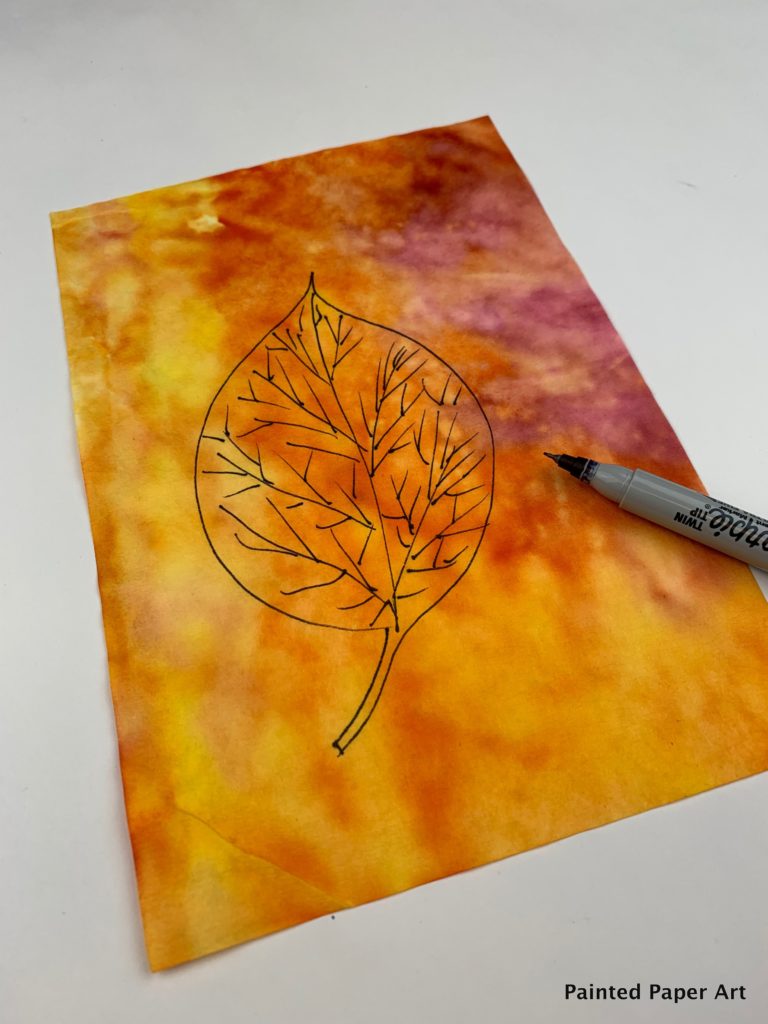
Thin black Sharpie marker
Glue
Pipe cleaners to hang lantern
Optional: paper strips or yarn for tassel

Step 1
Paint the diffusing paper with watercolors. We used warm colors that represent fall. Let dry.
Step 2
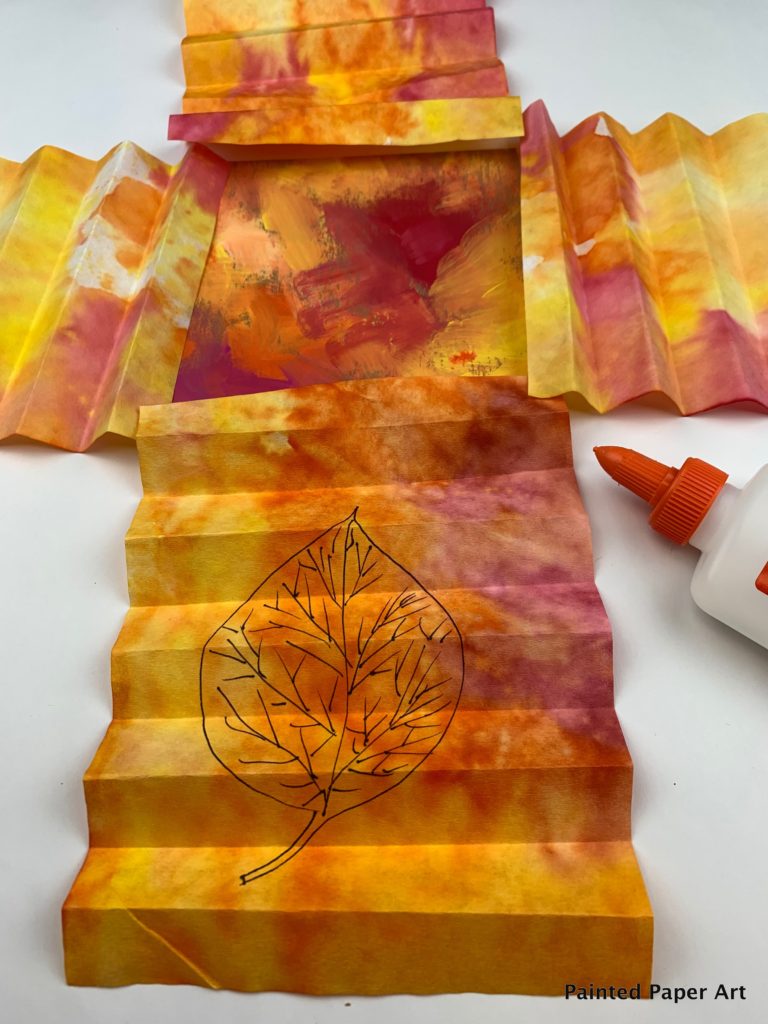
Paint one side of each of the cardboard pieces. This will be the top and bottom of the lantern. Painting the cardboard makes the lantern look more finished.

Step 3
Use a thin Sharpie and draw the shape of a leaf. Be sure to add the veins of the leaf.
Step 4
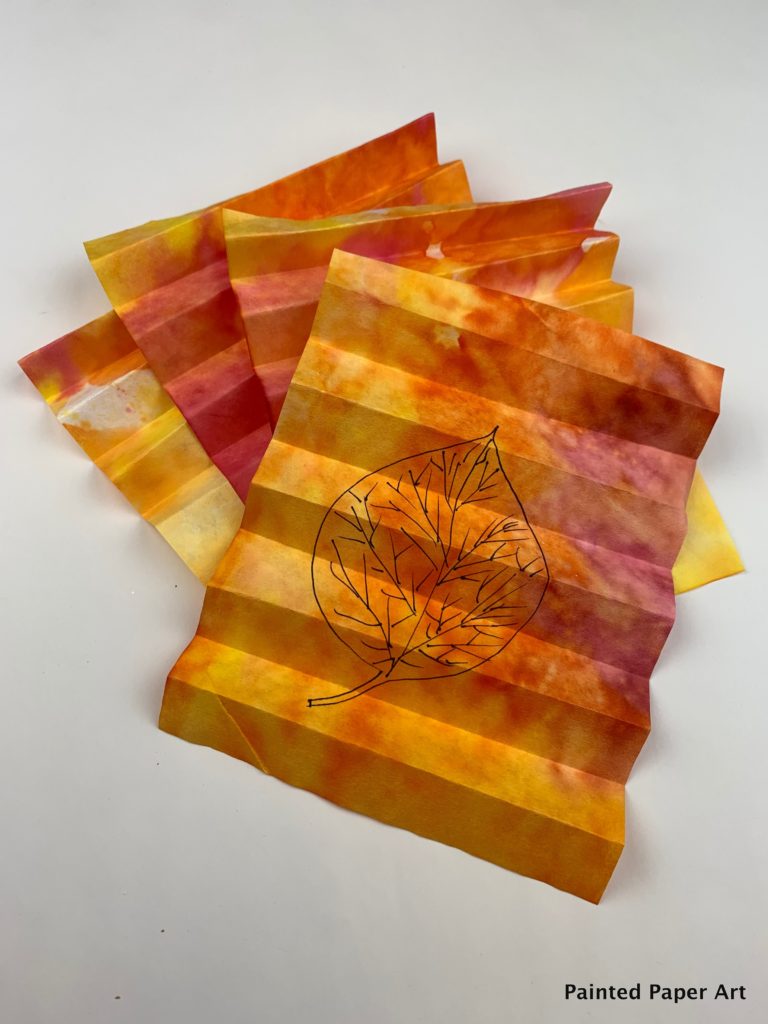
Fold the paper in an accordion style fold.
Step 5
Glue down the edge of the folded paper onto the edge of the cardboard. Make sure to overlap each piece for ease of assembly.
Step 6
Attach the bottom piece of card board just like the top piece. Poke two holes in the center of the top piece of cardboard and thread the pipe cleaner through. Bend the pipe cleaner into a hook to hang your lantern. Option: add thin paper strips or yarn with glue onto the bottom of the lantern to represent a tassel. We also added battery operated lights inside of our lanterns. Display for all to enjoy!



Leave a Reply