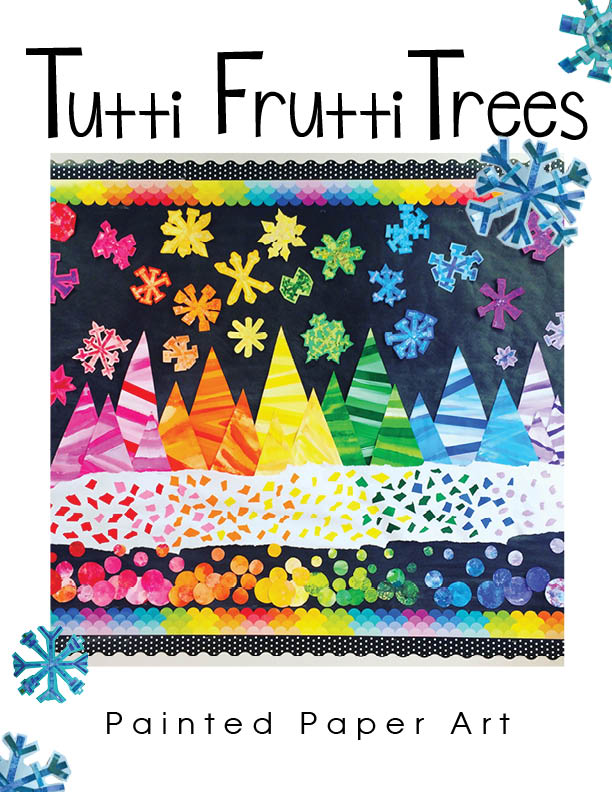
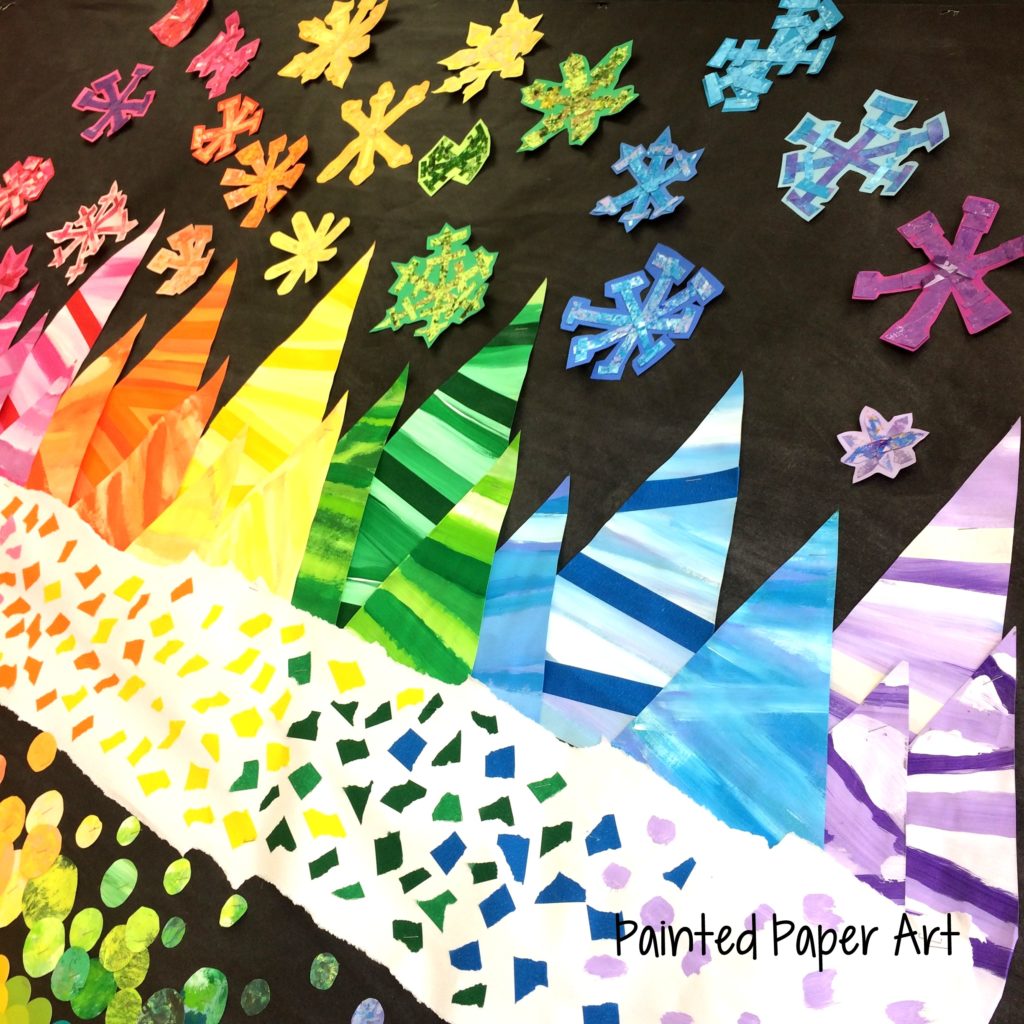
It’s that time again for our change of seasons display in our Art Studio Classroom. As a teacher you have to be flexible, so I decided that each class of that day would make a part of a whole display. Here was our plan: 4th grade would make the snowflakes, 1st and 2nd grade would make the painted paper sheets, 6th grade would help cut out the snowflakes, and 5th grade would create the striped trees. We do A LOT of collaborative projects, so there are no complaints about who is creating which part. My little artists just love being a part of something bigger. As we were putting the display up I had one student say, “Look, a rainbow is appearing.” Music to my ears!
Monochromatic Trees
To create a tree, my students drew a basic triangle, in pencil, on colored construction paper. Next, they painted stripes with tempera paint, using only monochromatic colors (monochromatic means one). Each table in the studio had a different color of paint and paper needed to make up the rainbow of colors for our display. For example, the yellow table had yellow paper and shades of yellow tempera paint. Of course they had white tempera paint to aid in creating tints of that main color.
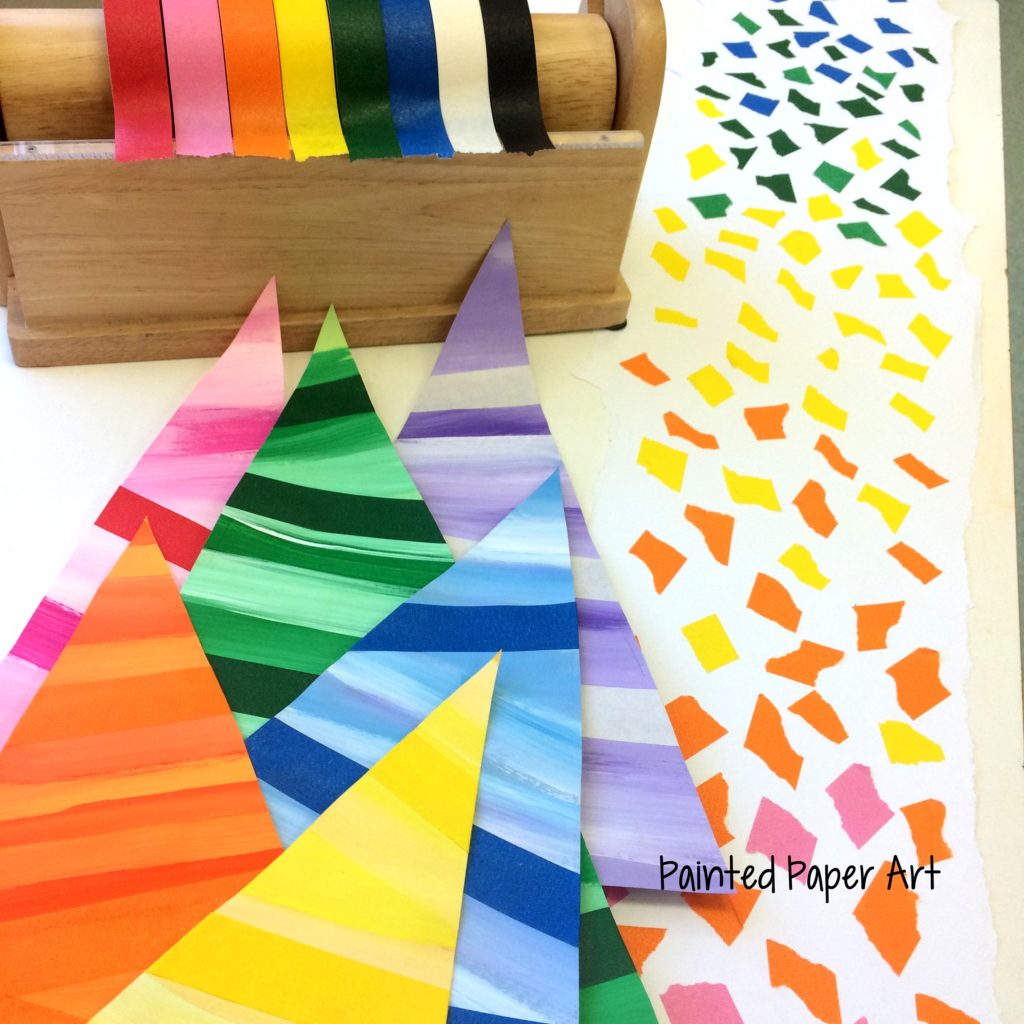
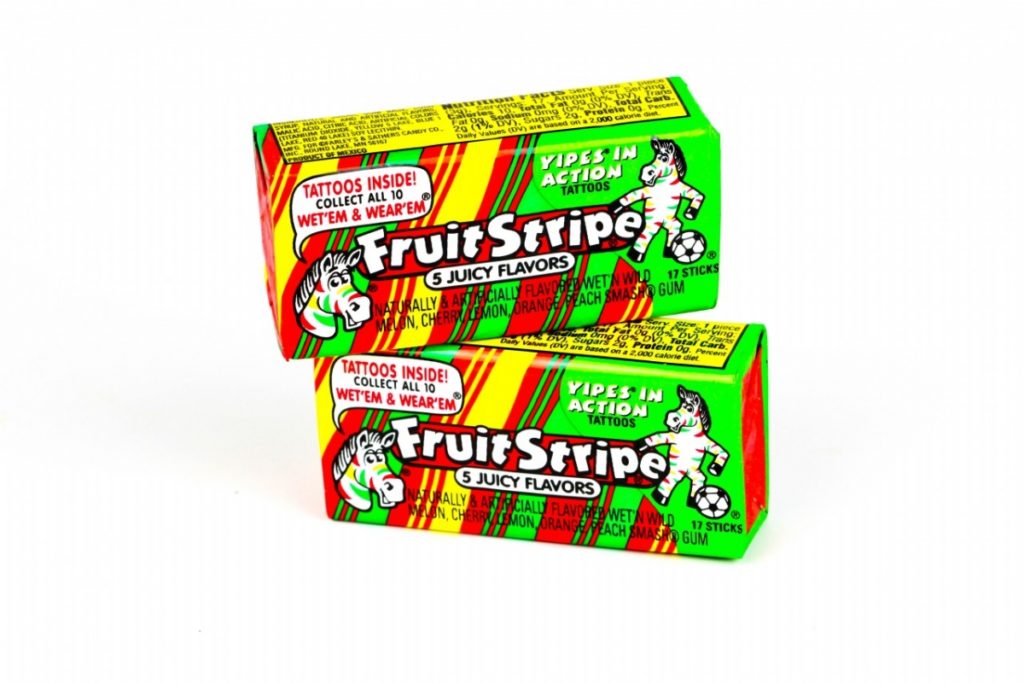
When the trees were completed I couldn’t help but think that they reminded me of the tutti frutti gum “Fruit Stripe” from my childhood.
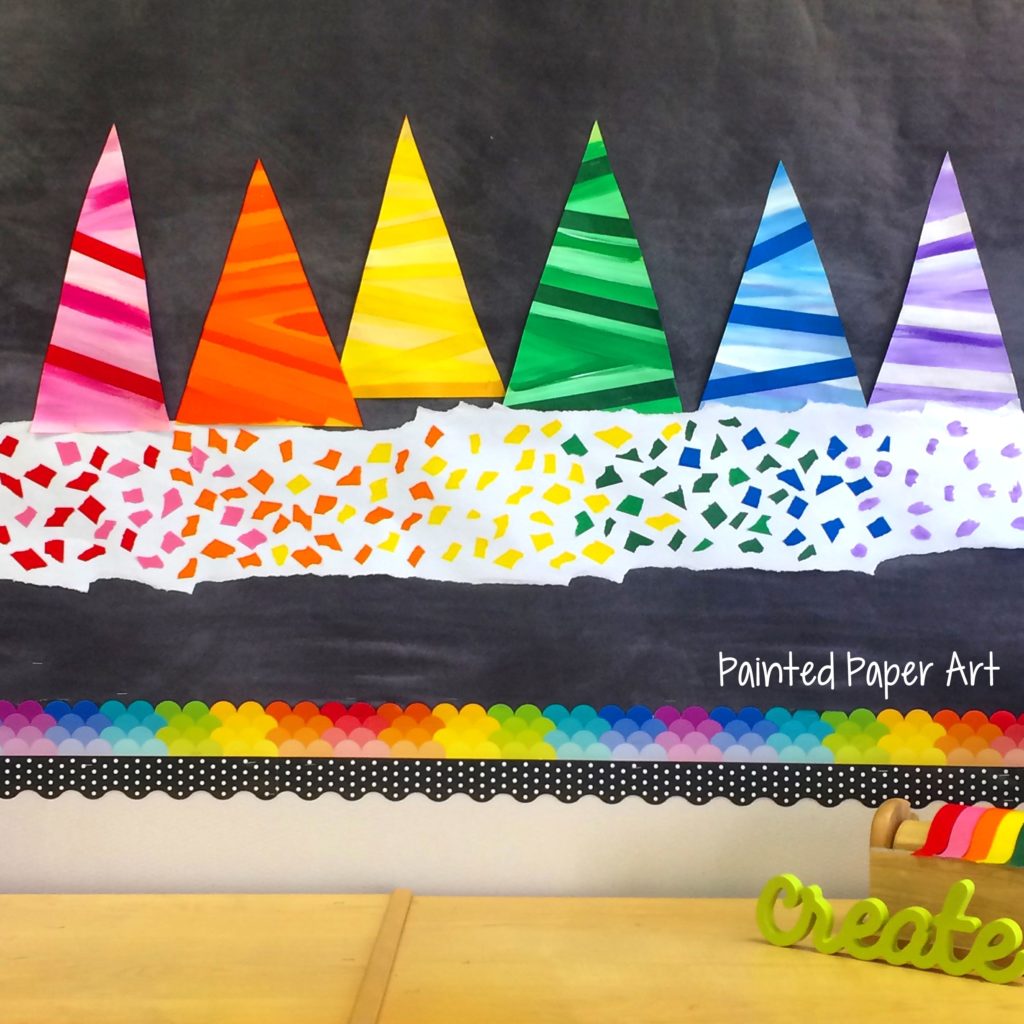
We used some torn white display paper to make a snow drift and stapled it at the bottom of the tree line. Colored masking tape, ripped into small pieces, was attached to the white paper to represent colorful fallen snow. The same tape was also used on the trees to create additional pattern and color.

Monochromatic Snowflakes
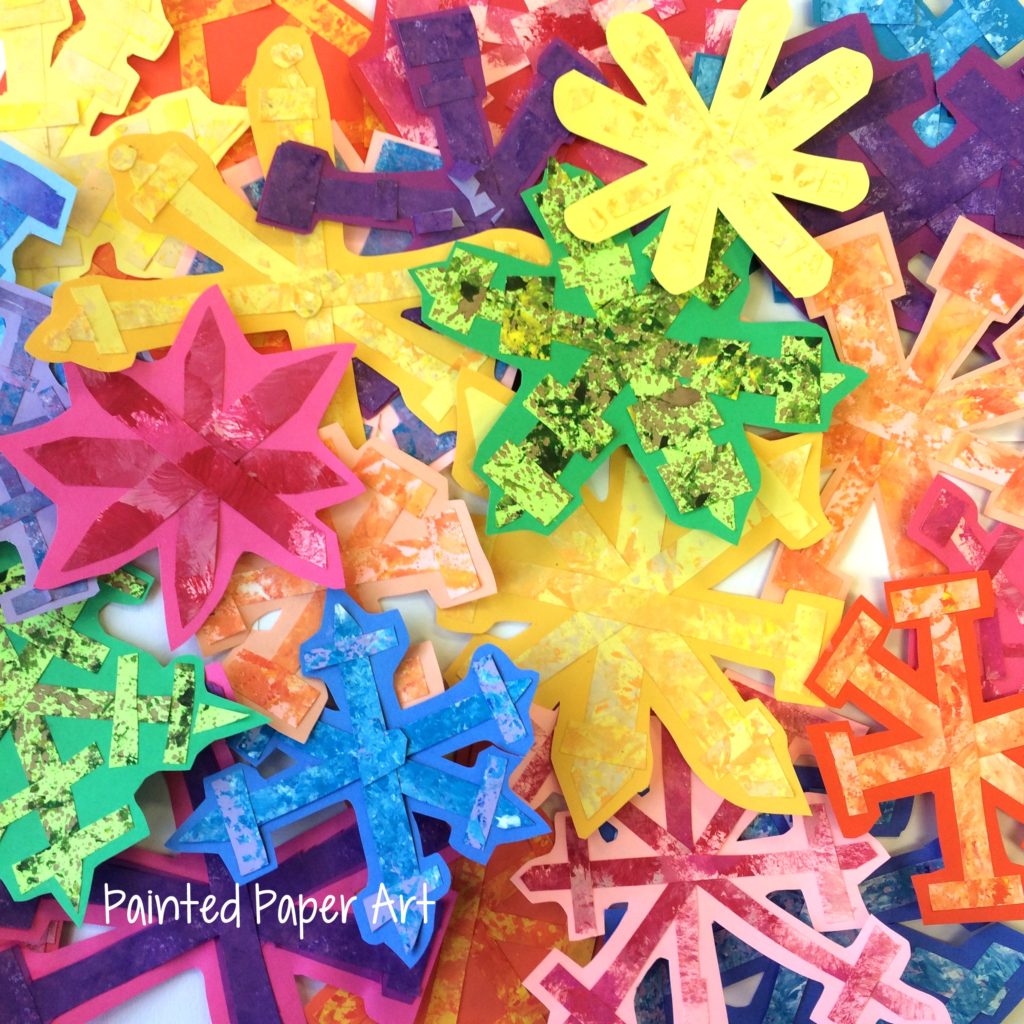
Painted paper was used to create the colorful snowflakes. You can see how my little artists created the painted paper here.
To make the snowflakes, students cut painted paper into thin strips. Six thin strips were glued down onto the same color of construction paper, making sure to overlap the strips in a symmetrical fashion. Next, smaller pieces were glued onto the ends of the thin strips. Let dry. Since we had little time, I had my 6th graders cut out the snowflakes, making sure to leave a border around the snowflake with the construction paper. These snowflakes add a beautiful punch of color to the display.
Small painted paper dots from a previous bulletin board display were added to the bottom for a touch of color under the snow. Have your little artists cut circles out of painted paper to represent fallen snowflakes on the ground. Remember, simple shapes in bright colors can be so delightful.
Have fun adding a little color to your creative space!

Leave a Reply