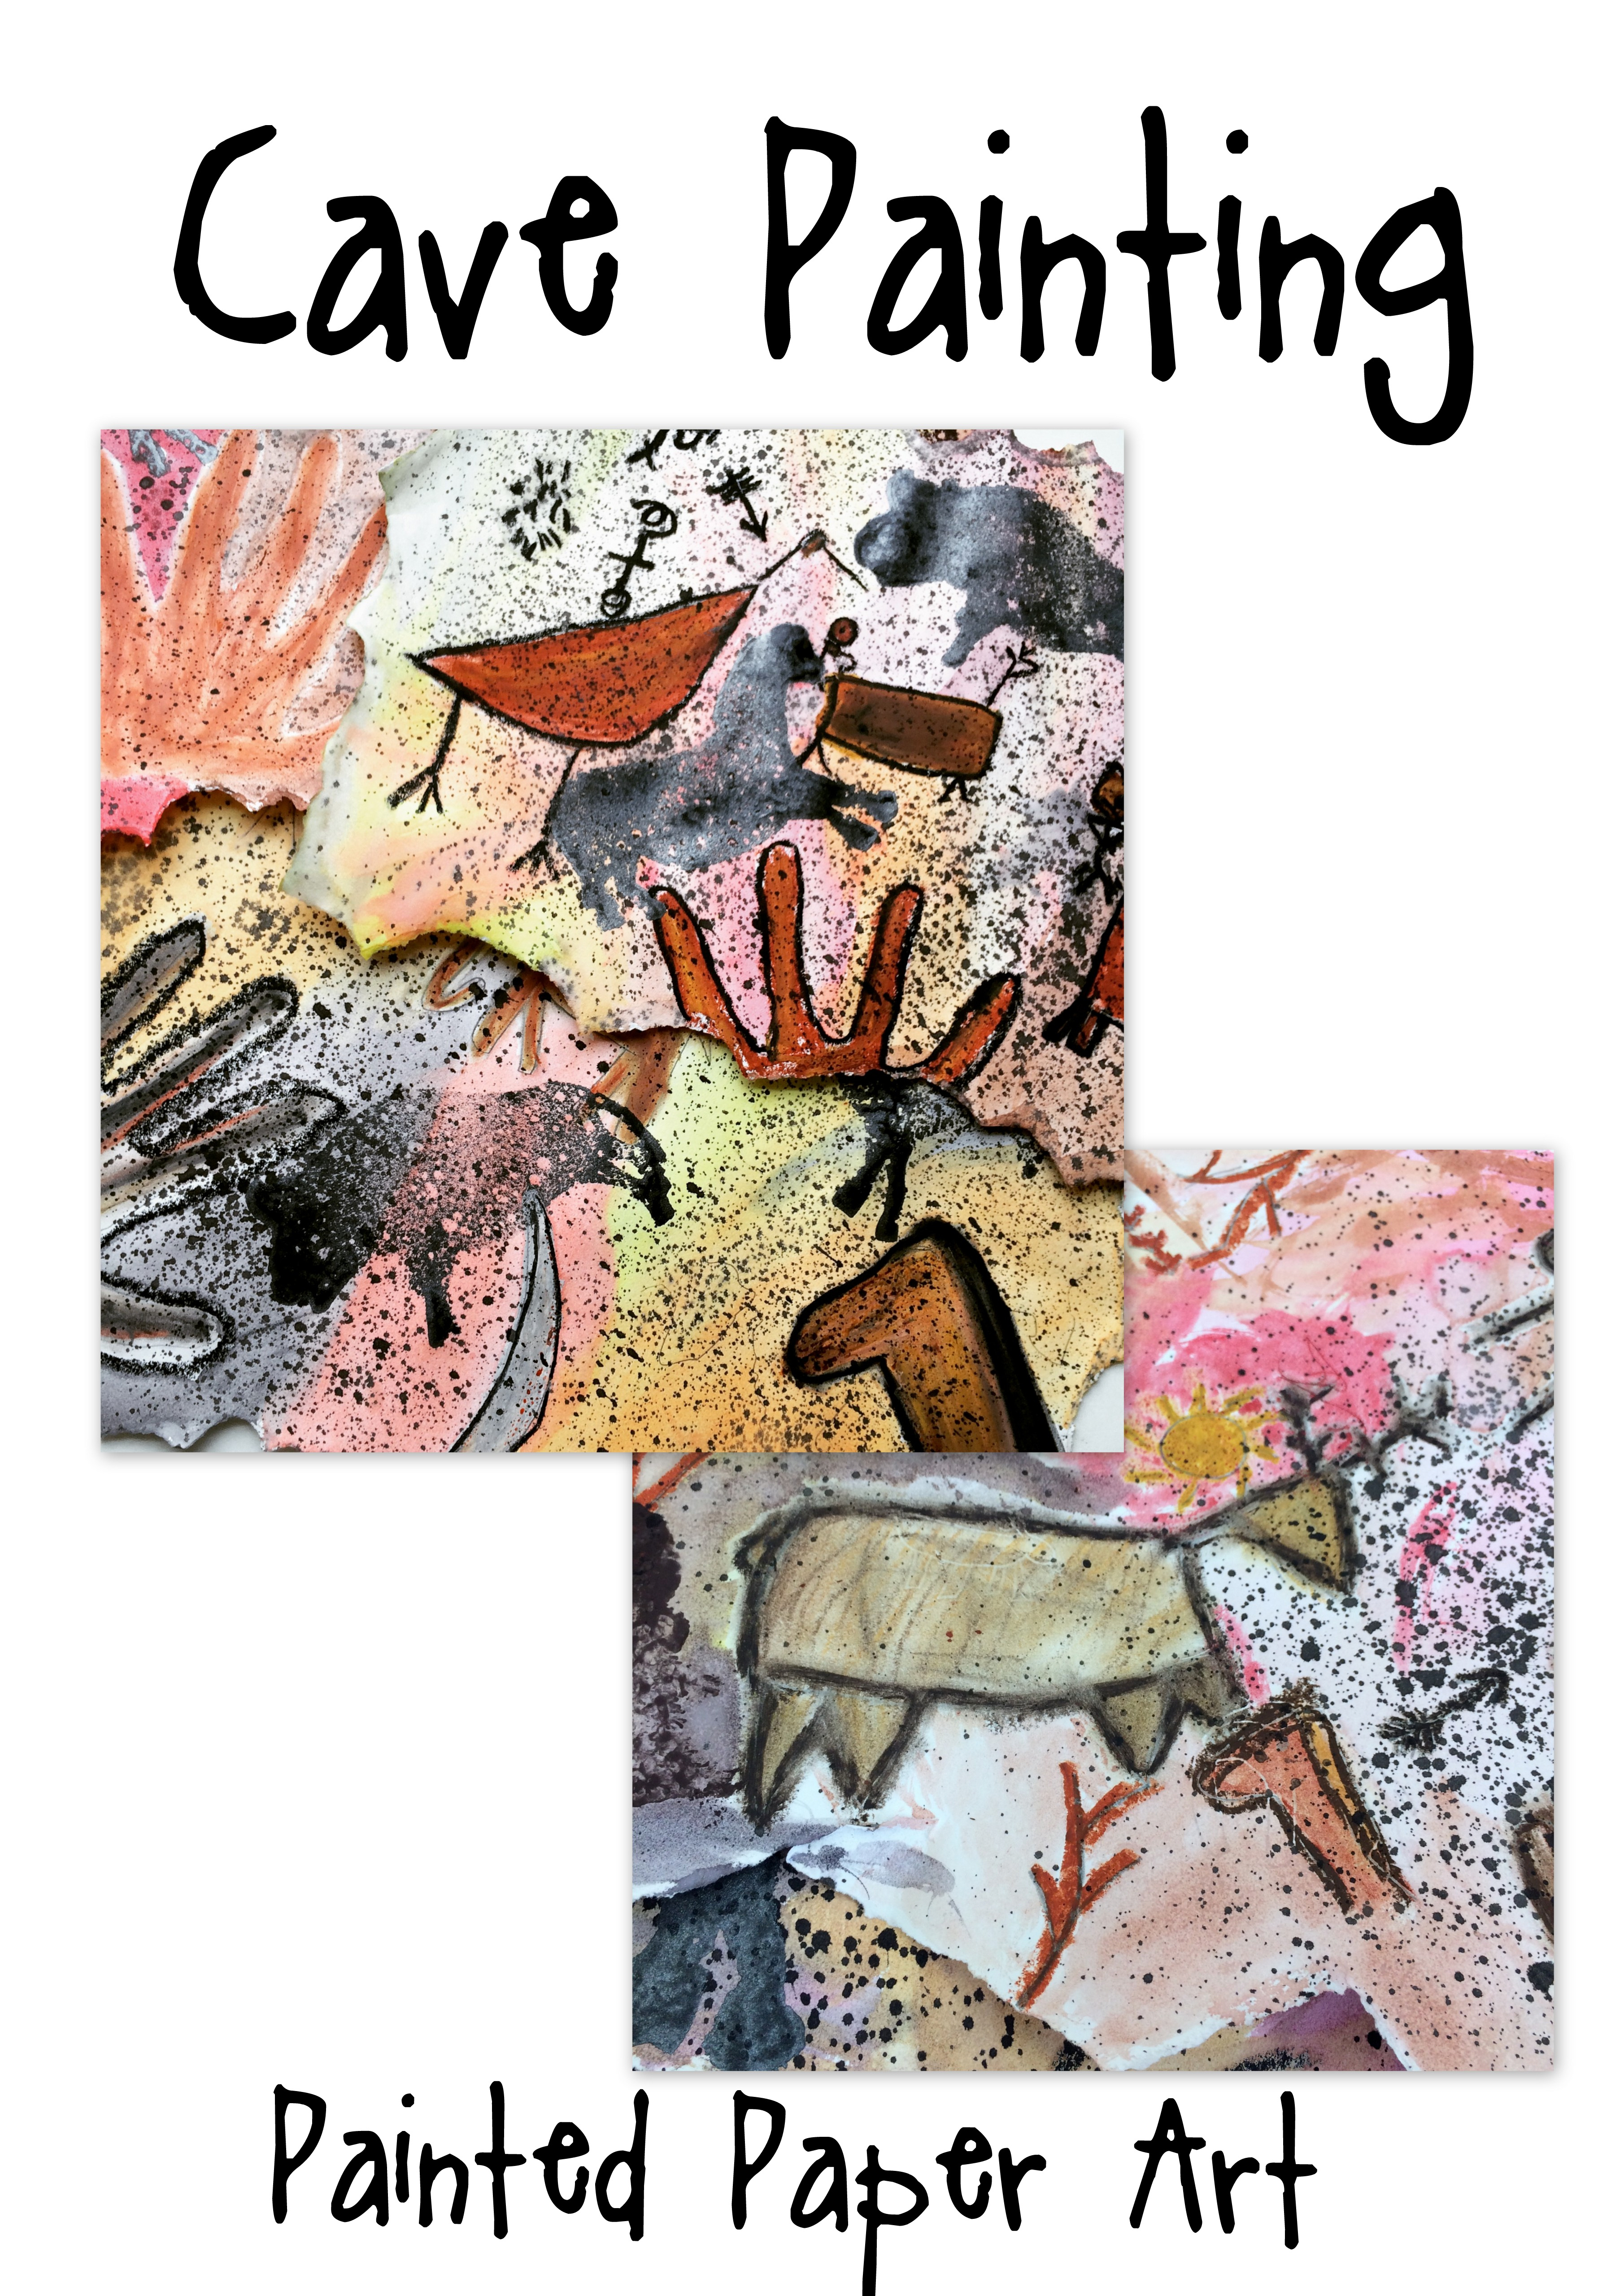
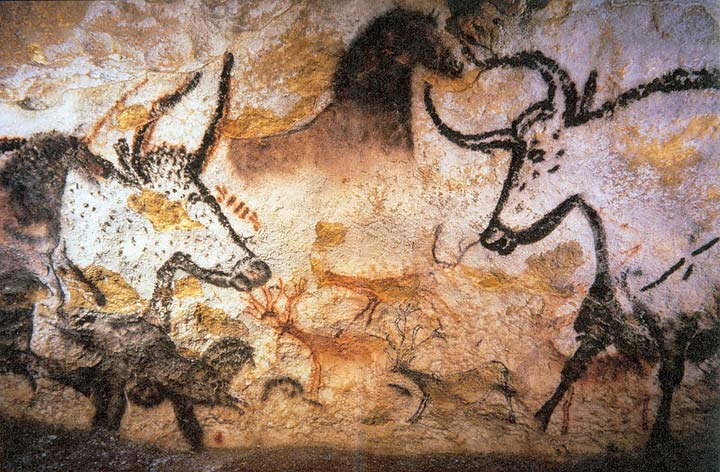
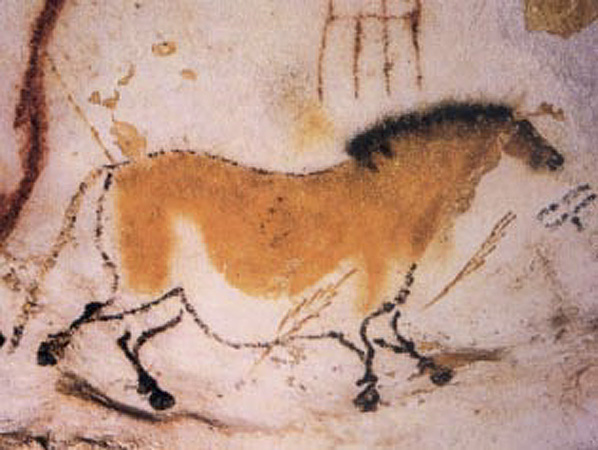
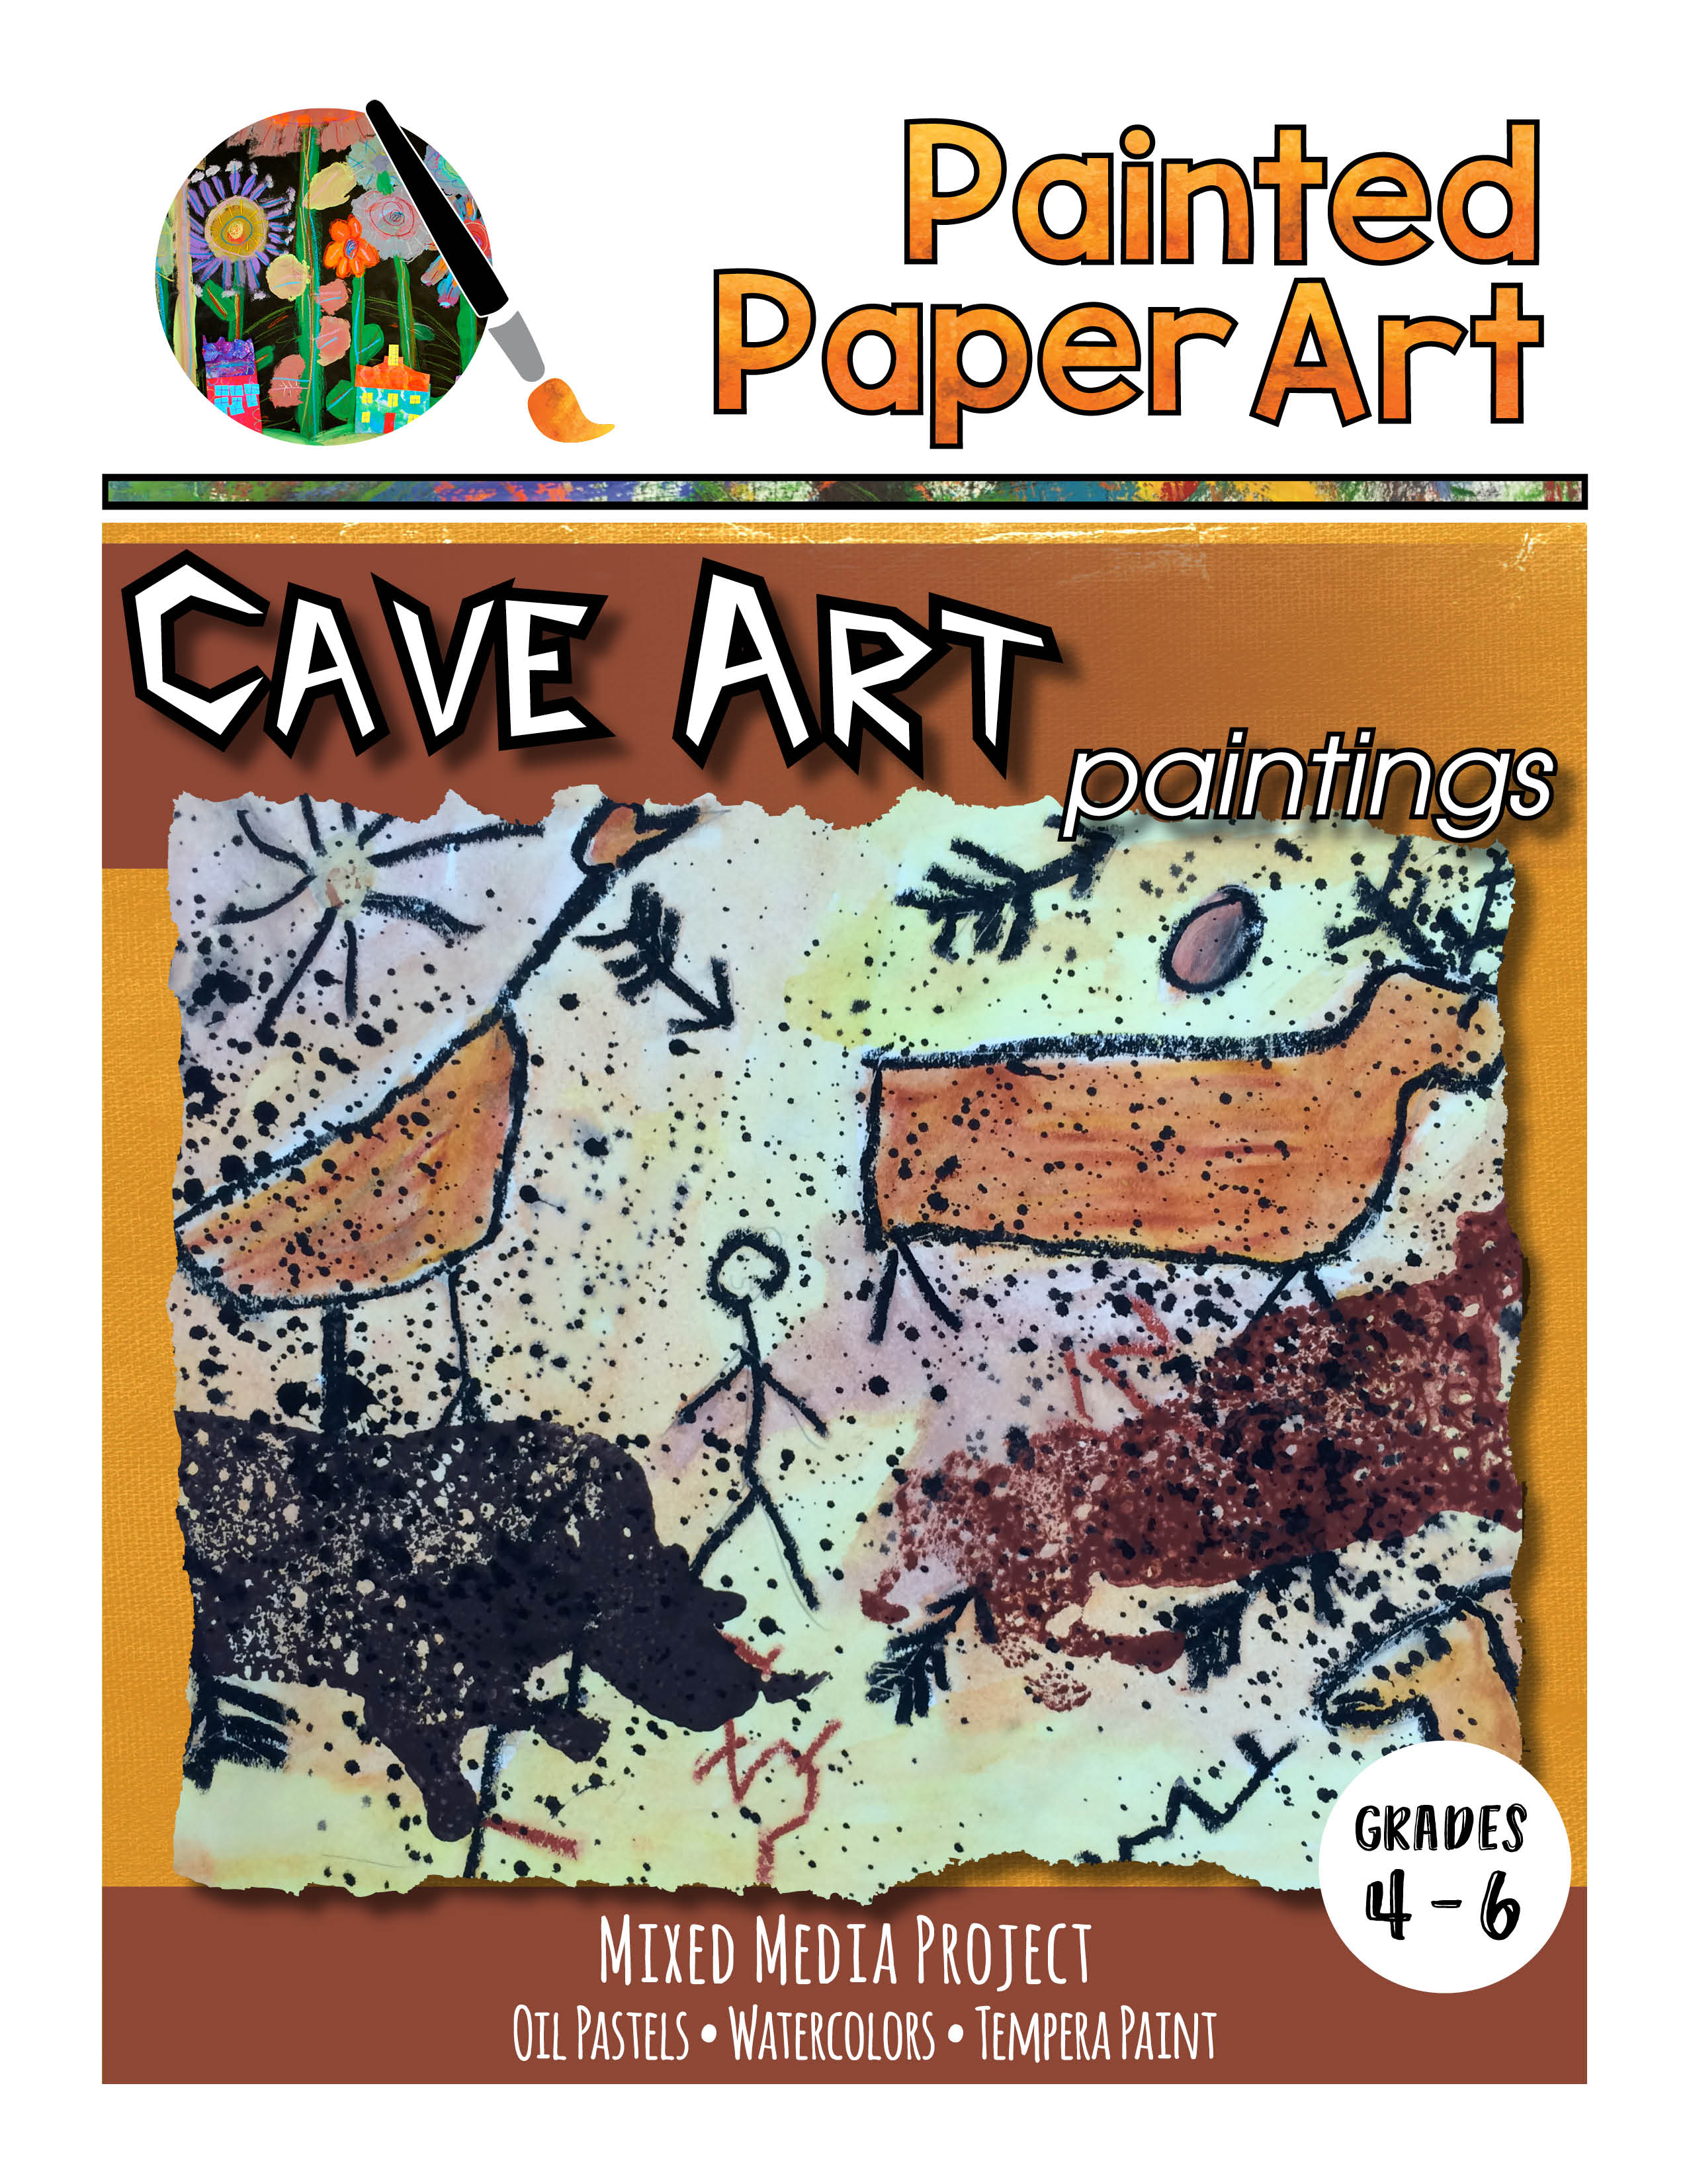
Our inspiration is from the paintings found in the caves at Lascaux, France. We create these projects at the beginning of the year to build confidence and work on some basic drawing skills. Many students love drawing more elaborate shape animals.
Inspiration
We looked at all different animals of the prehistoric time period.
This lesson is great for ages 8–12 but any age student will love creating these cave paintings.
Studio Time
First, students take a piece of white sulphite drawing paper and gently tear the edges of the paper to make it look ragged. After 3-5 animals are drawn in pencil, I also suggest adding some symbols such as sun, moon or arrows.
Use oil pastels to color in the animal shapes. Earth tone oil pastels work well (yellow, orange, red, brown, and black, no purples, blues, or green). Use a finger and blend the oil pastels inside the animal shapes. After the oil pastels, use watercolors (liquid or pan sets) and paint the background. The oil pastels will resist the watercolor paints and still stay bright.

The last step is to add pre-shaped animal stamps (purchased years ago from Roylco) and overlap the stamps on the oil pastel shapes. Then with a spray bottle filled with watered down brown or black tempera paint, lightly spray across the painting. This creates a pitted effect like that of the painting found in caves. If you can’t locate the stamps you could also make some stencils of animals with tag board and have the students stamp inside.


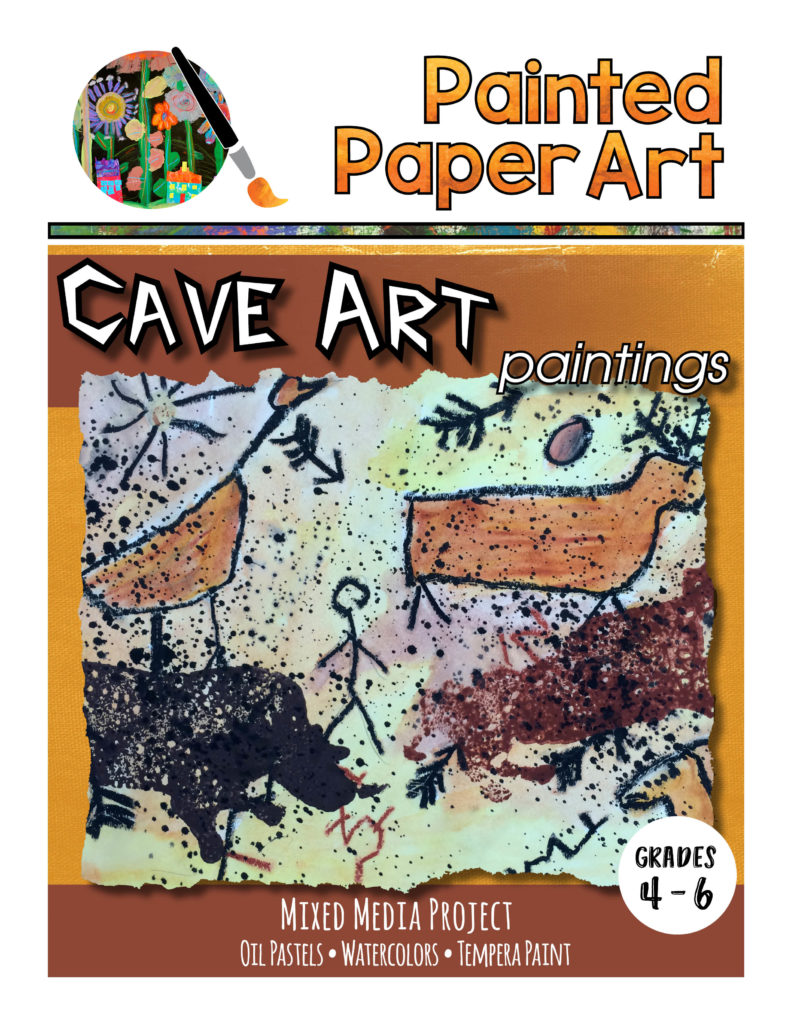
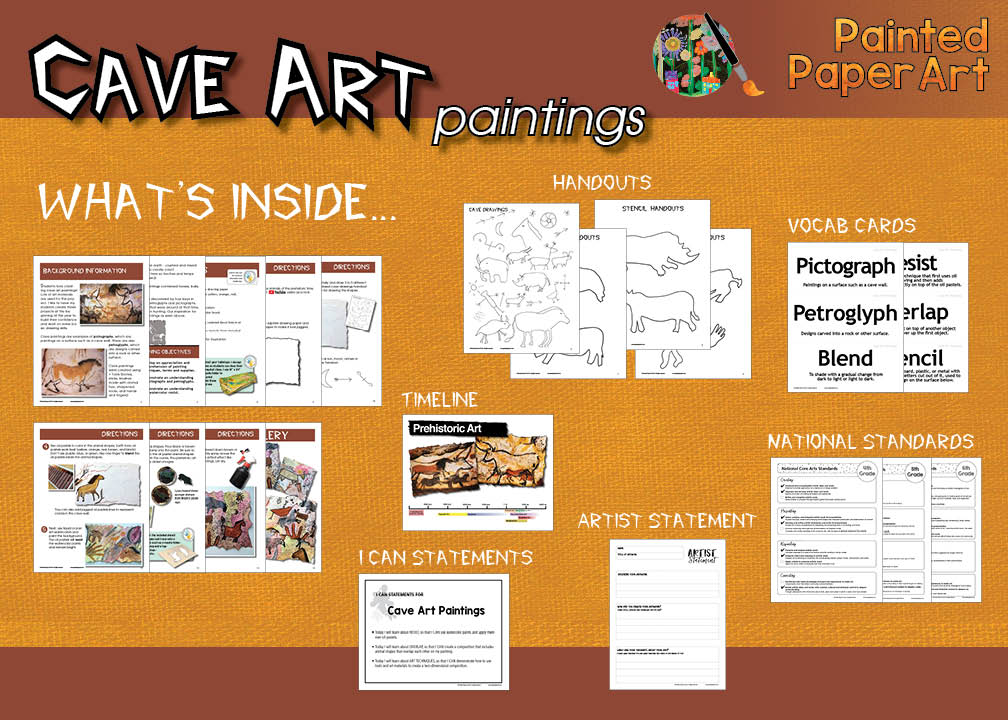
The pdf includes:
Step by step full-color photo tutorials
Background information about cave art
Vocabulary words and learning objectives
Supplies needed for project
Handouts for inspiration or to make into stencils
Student gallery
I Can statements
National Standards
Vocab cards
Artist Statement
Prehistoric Art Timeline
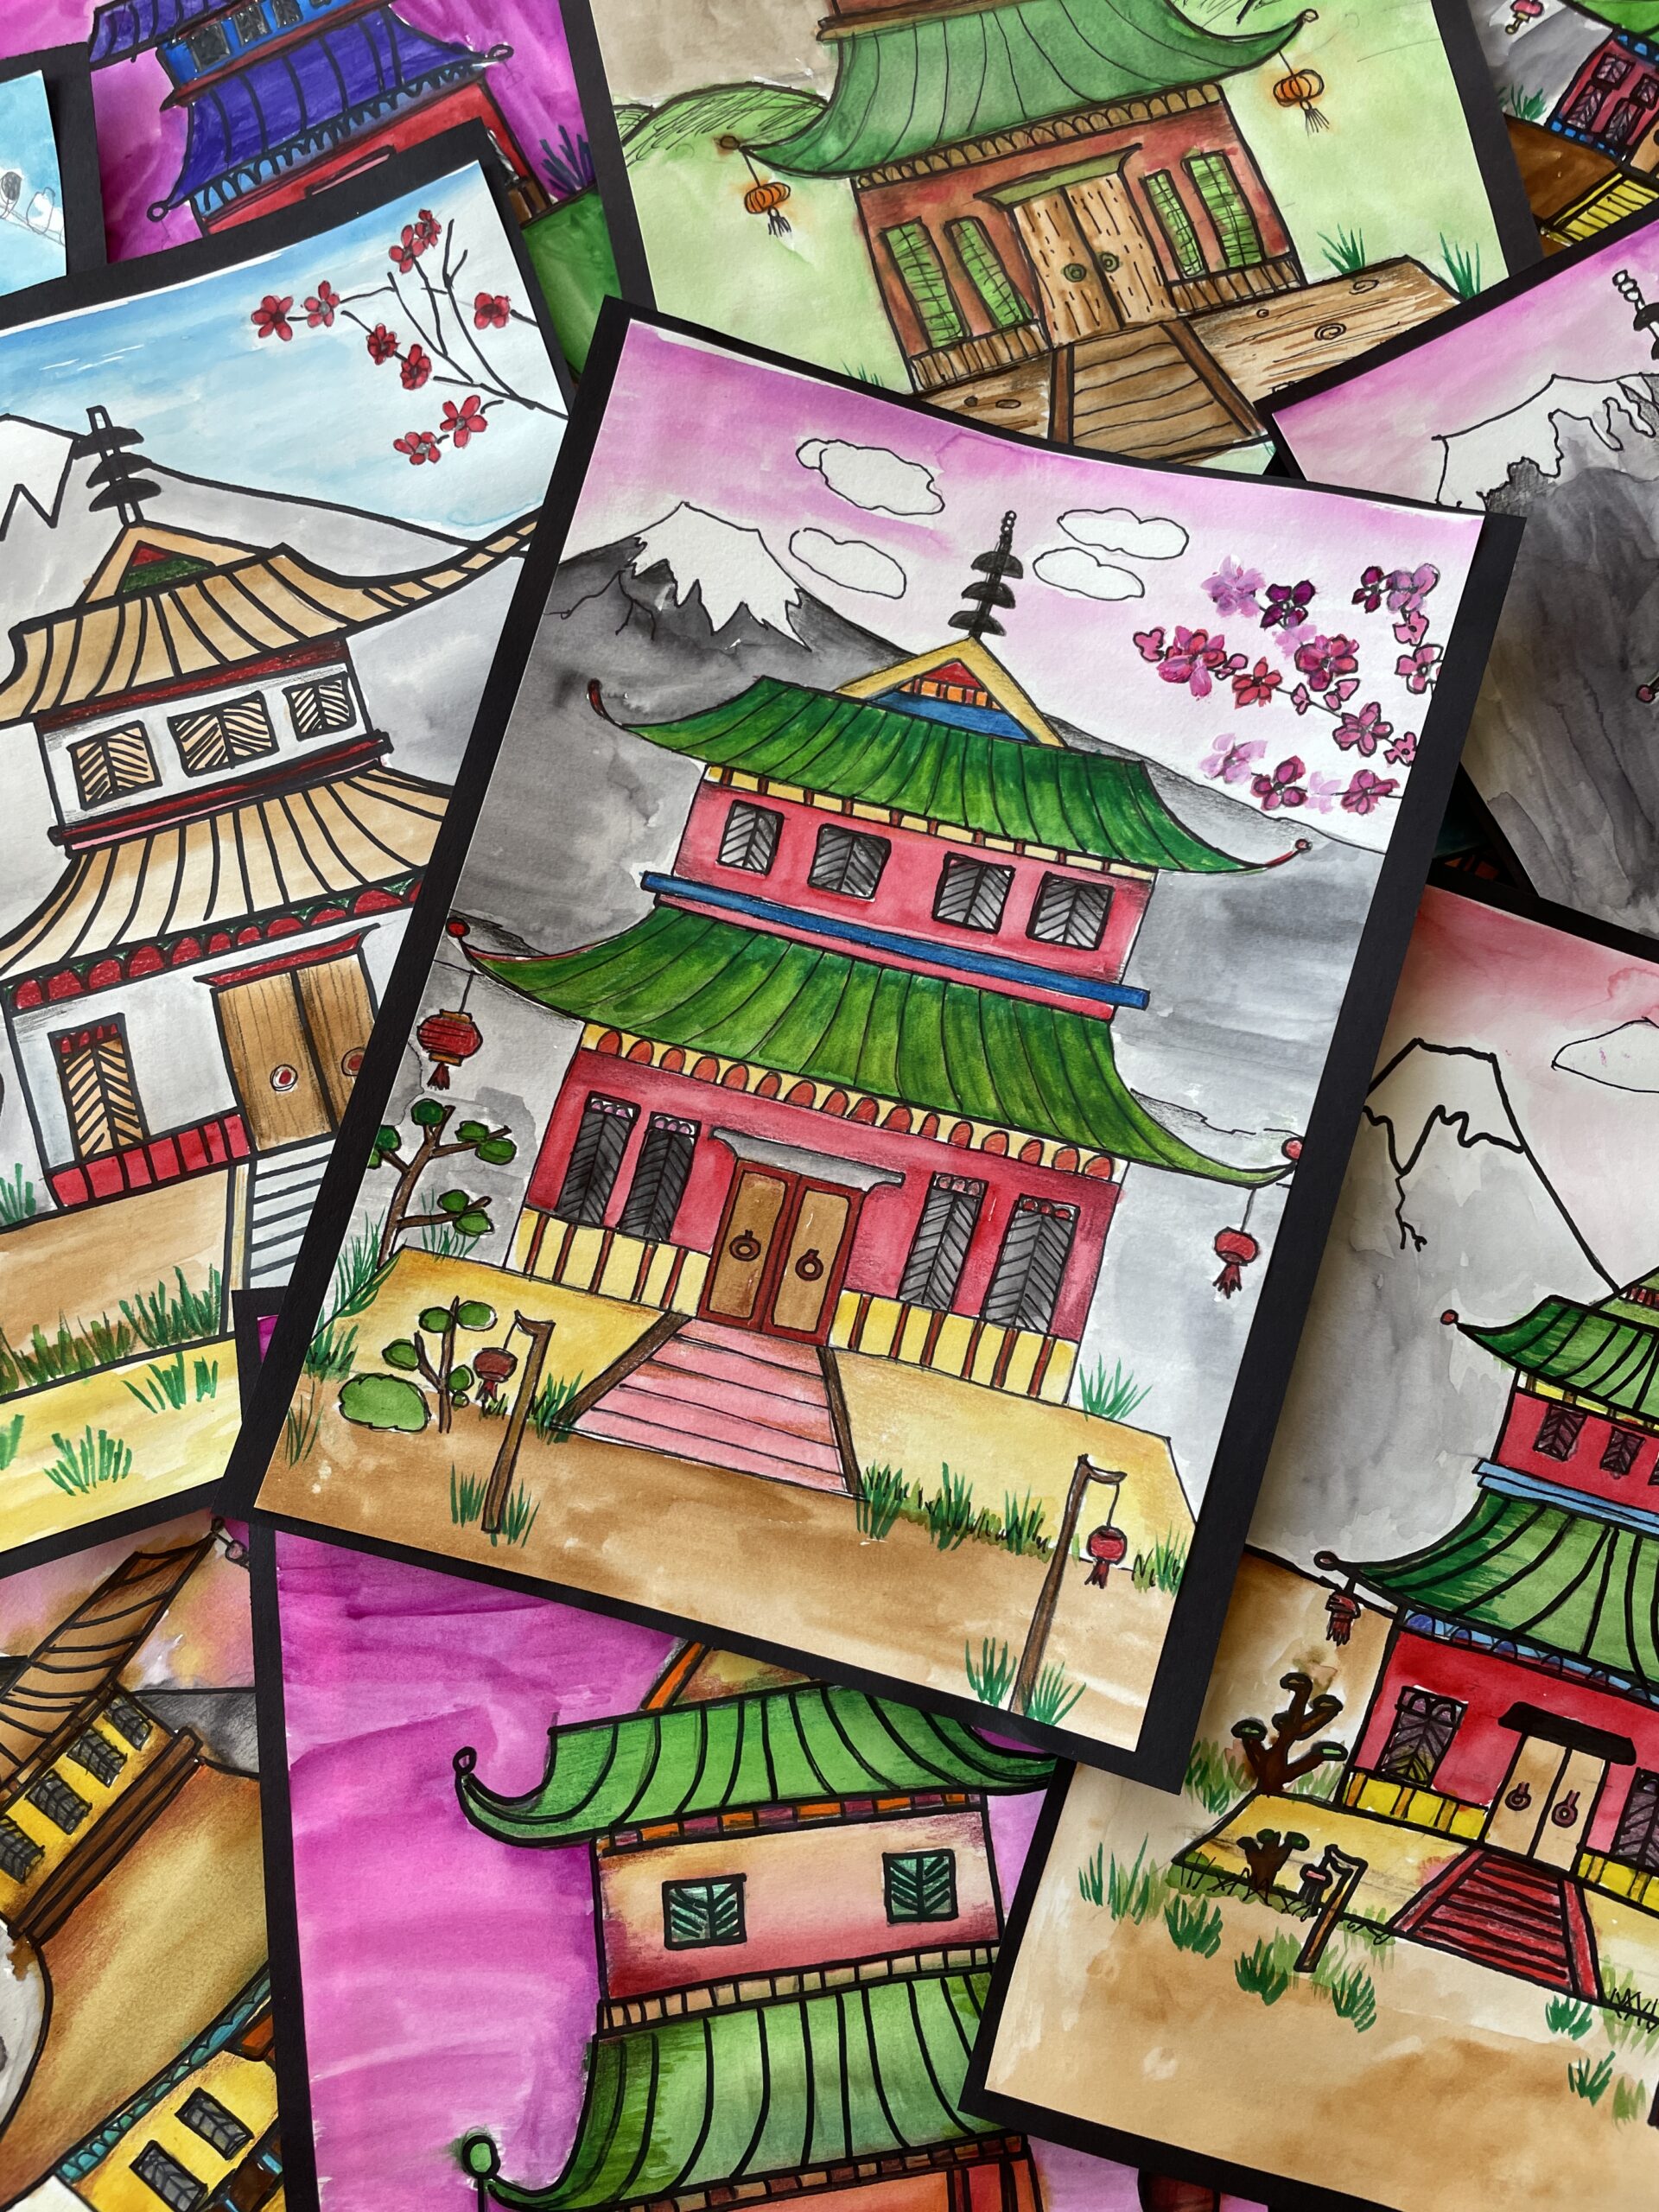
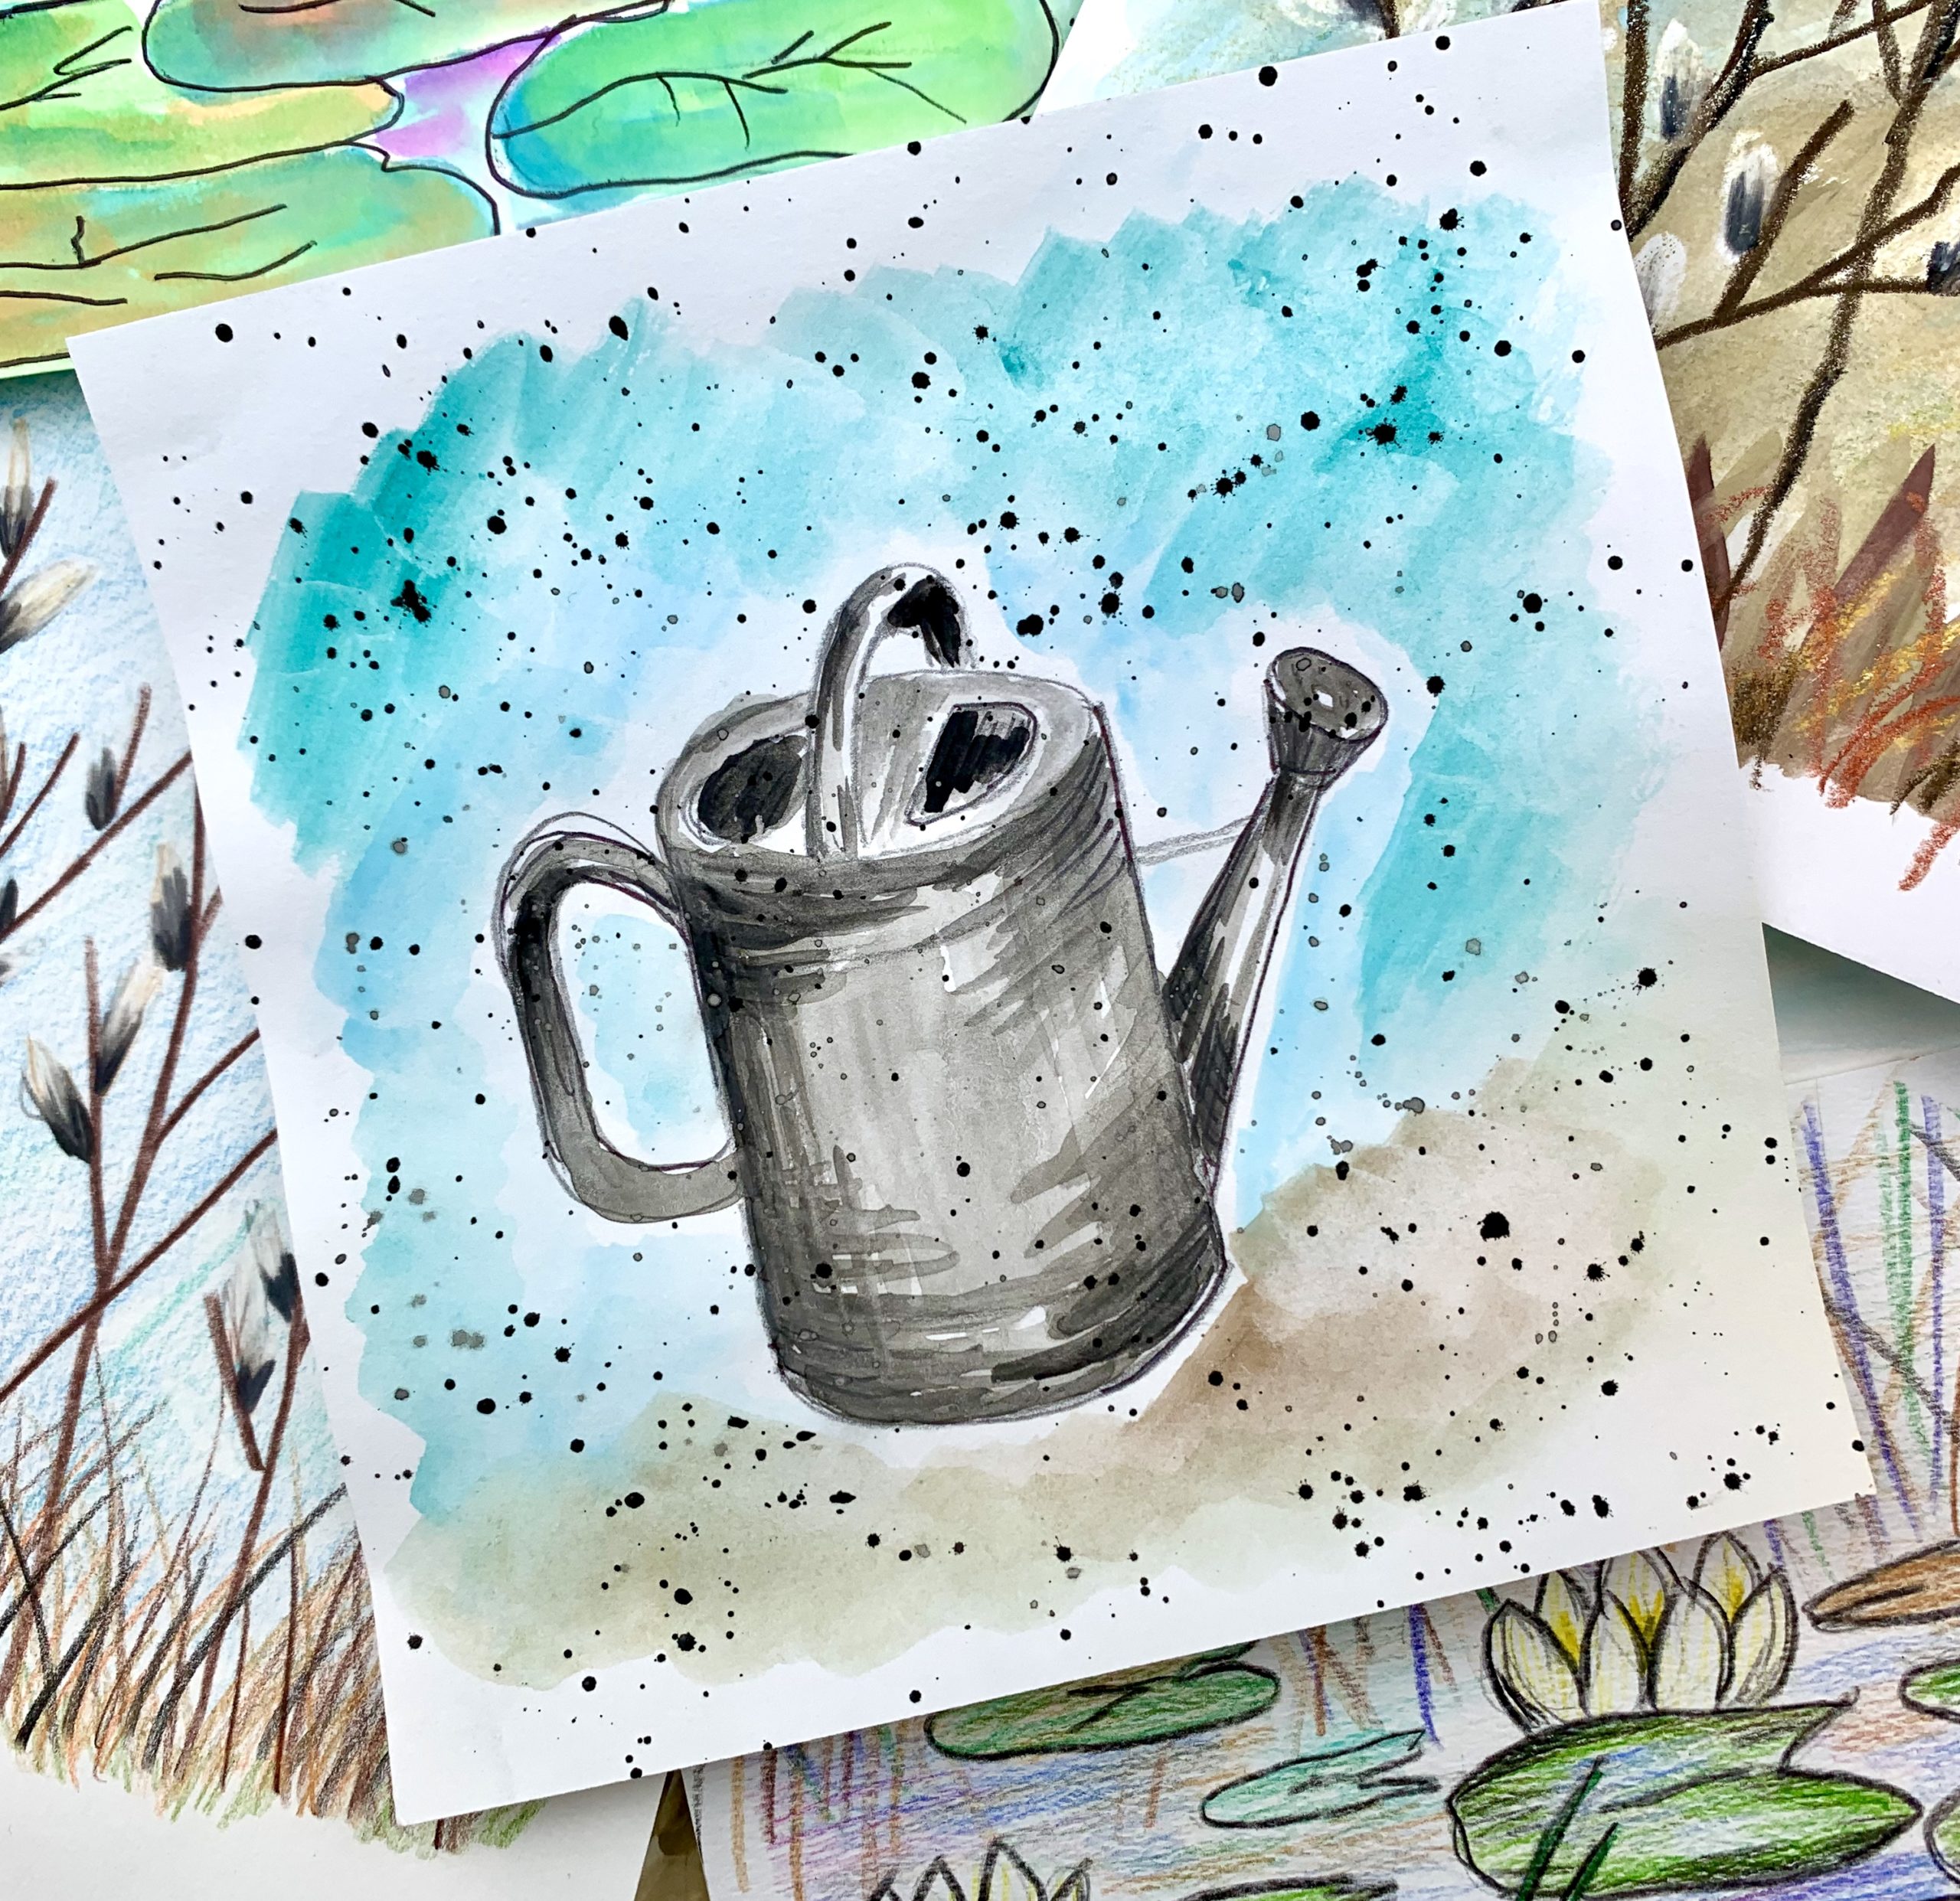
Gallery


Happy Creating!

This looks great. I am teaching Art history to grades 3/4 GATE students this year. Of course, we are starting at the beginning. I will be able to use this. Thank you!