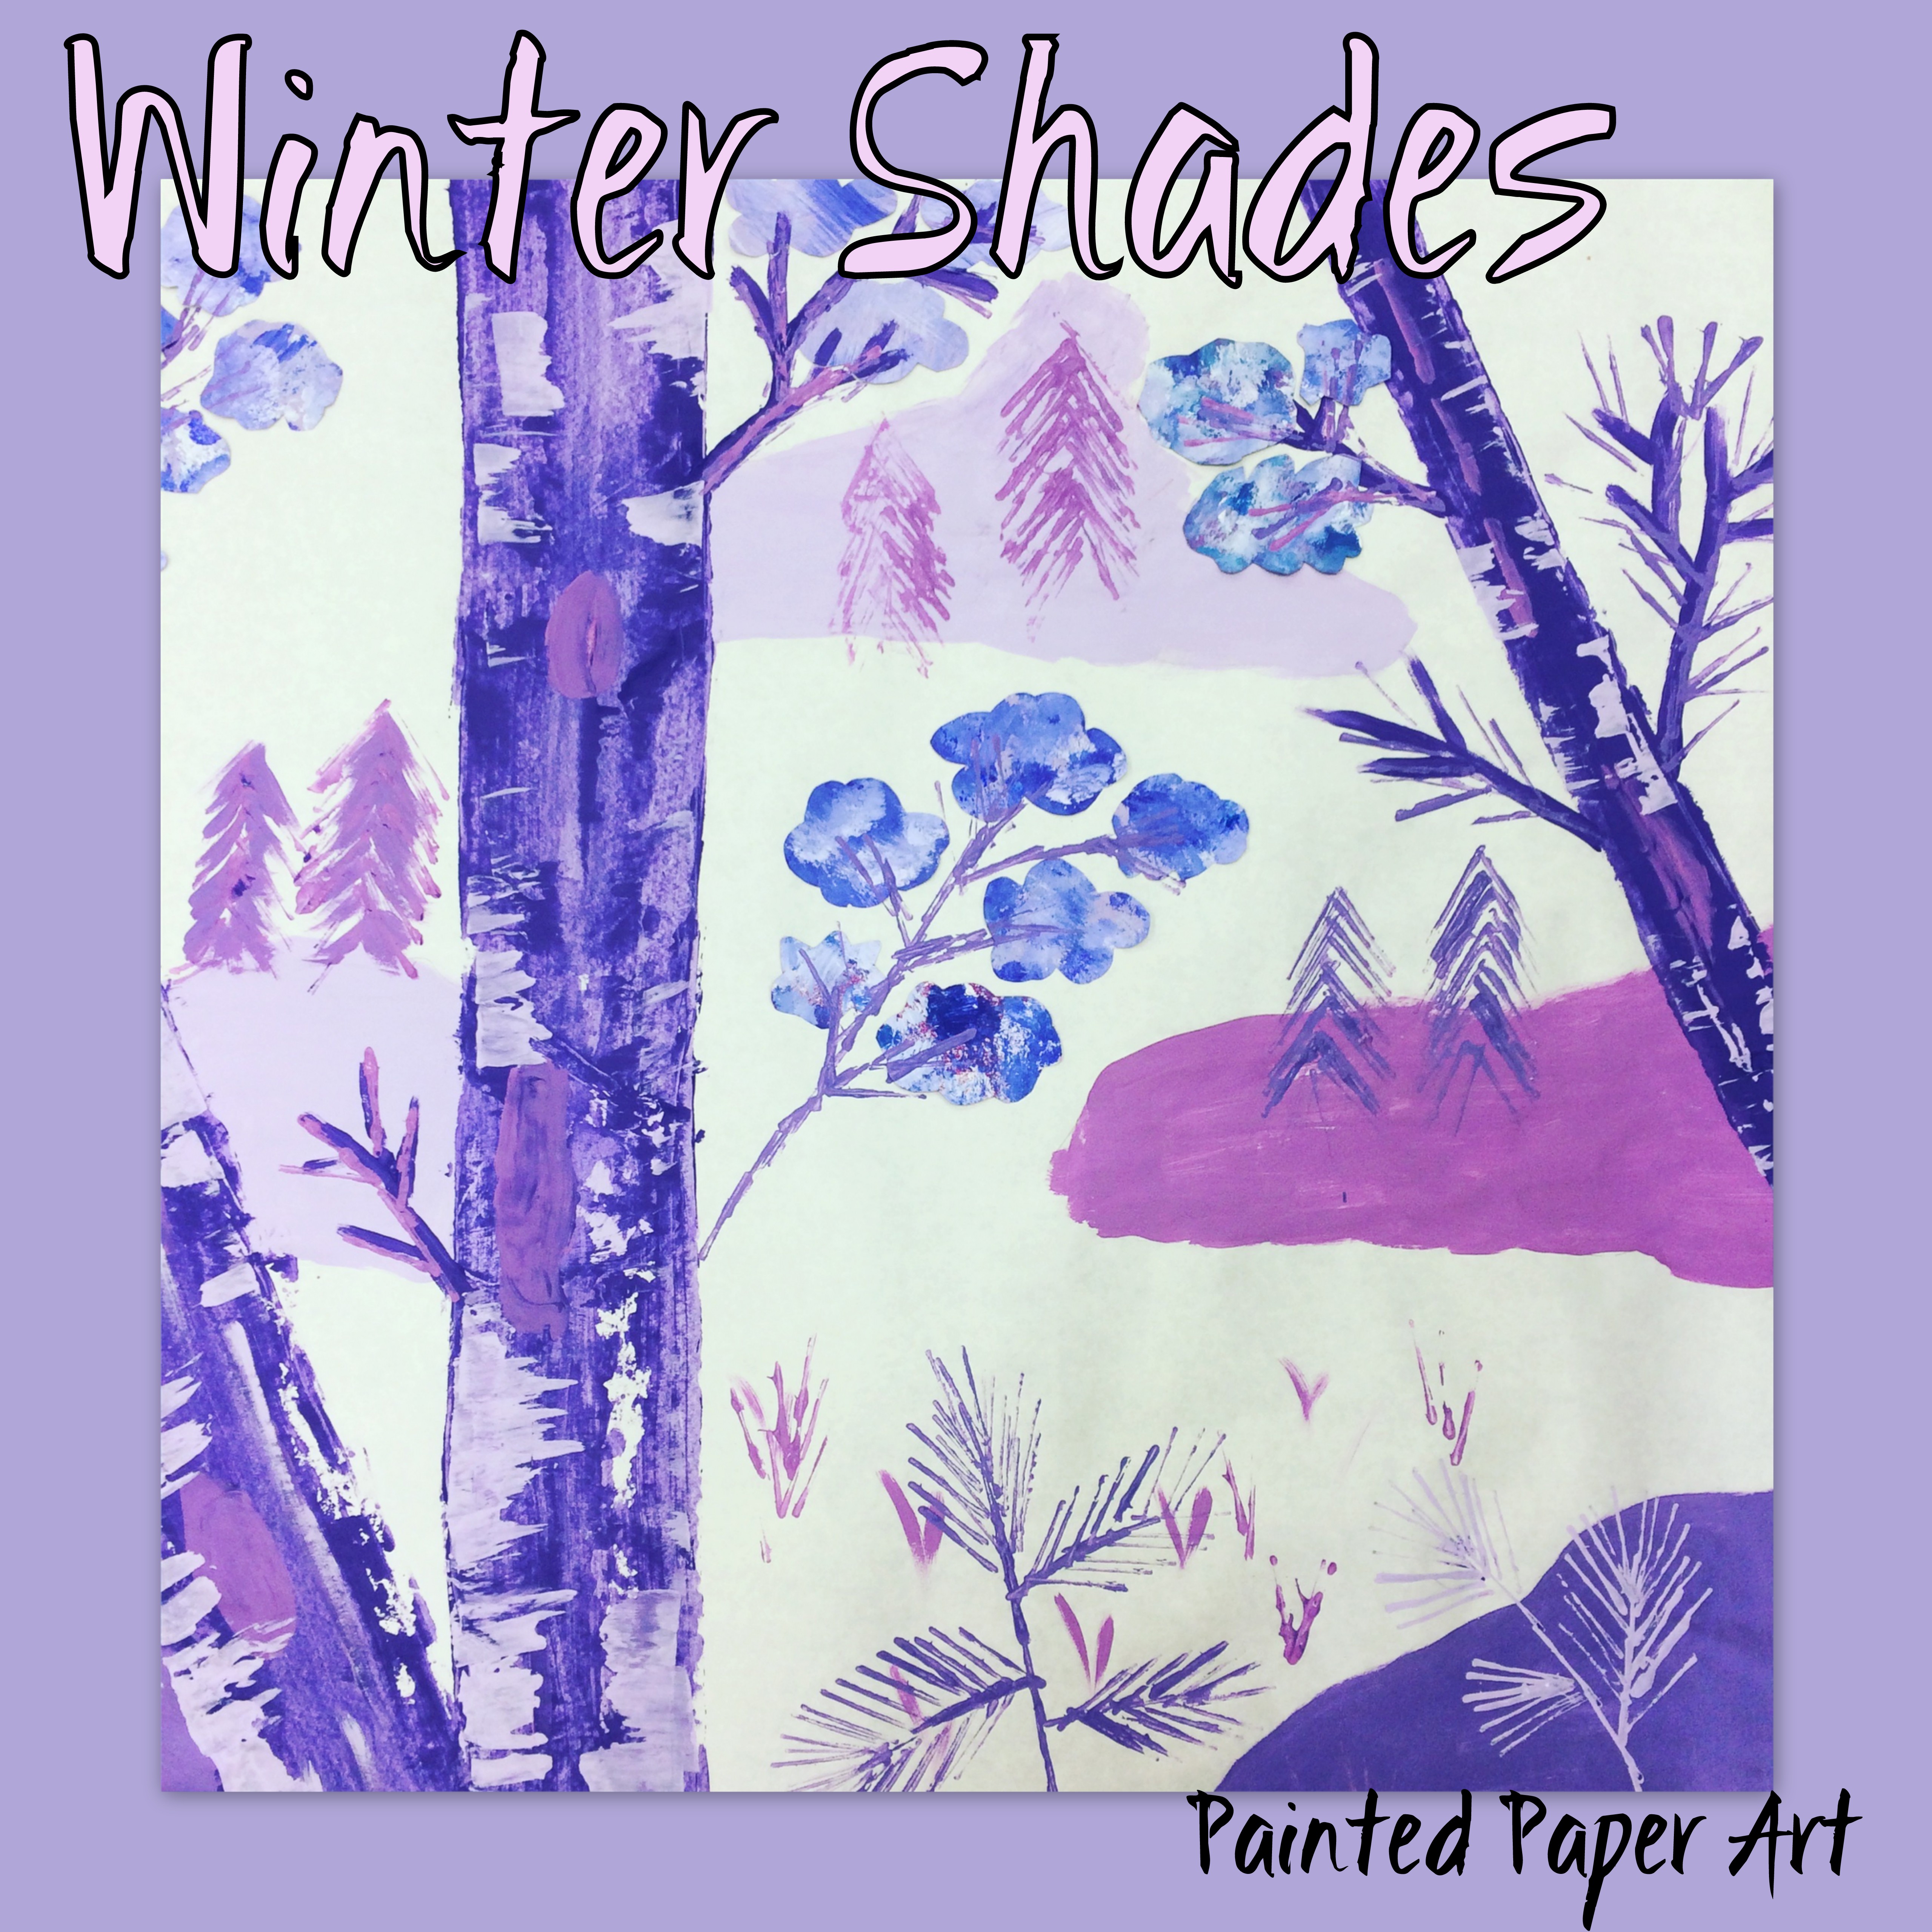
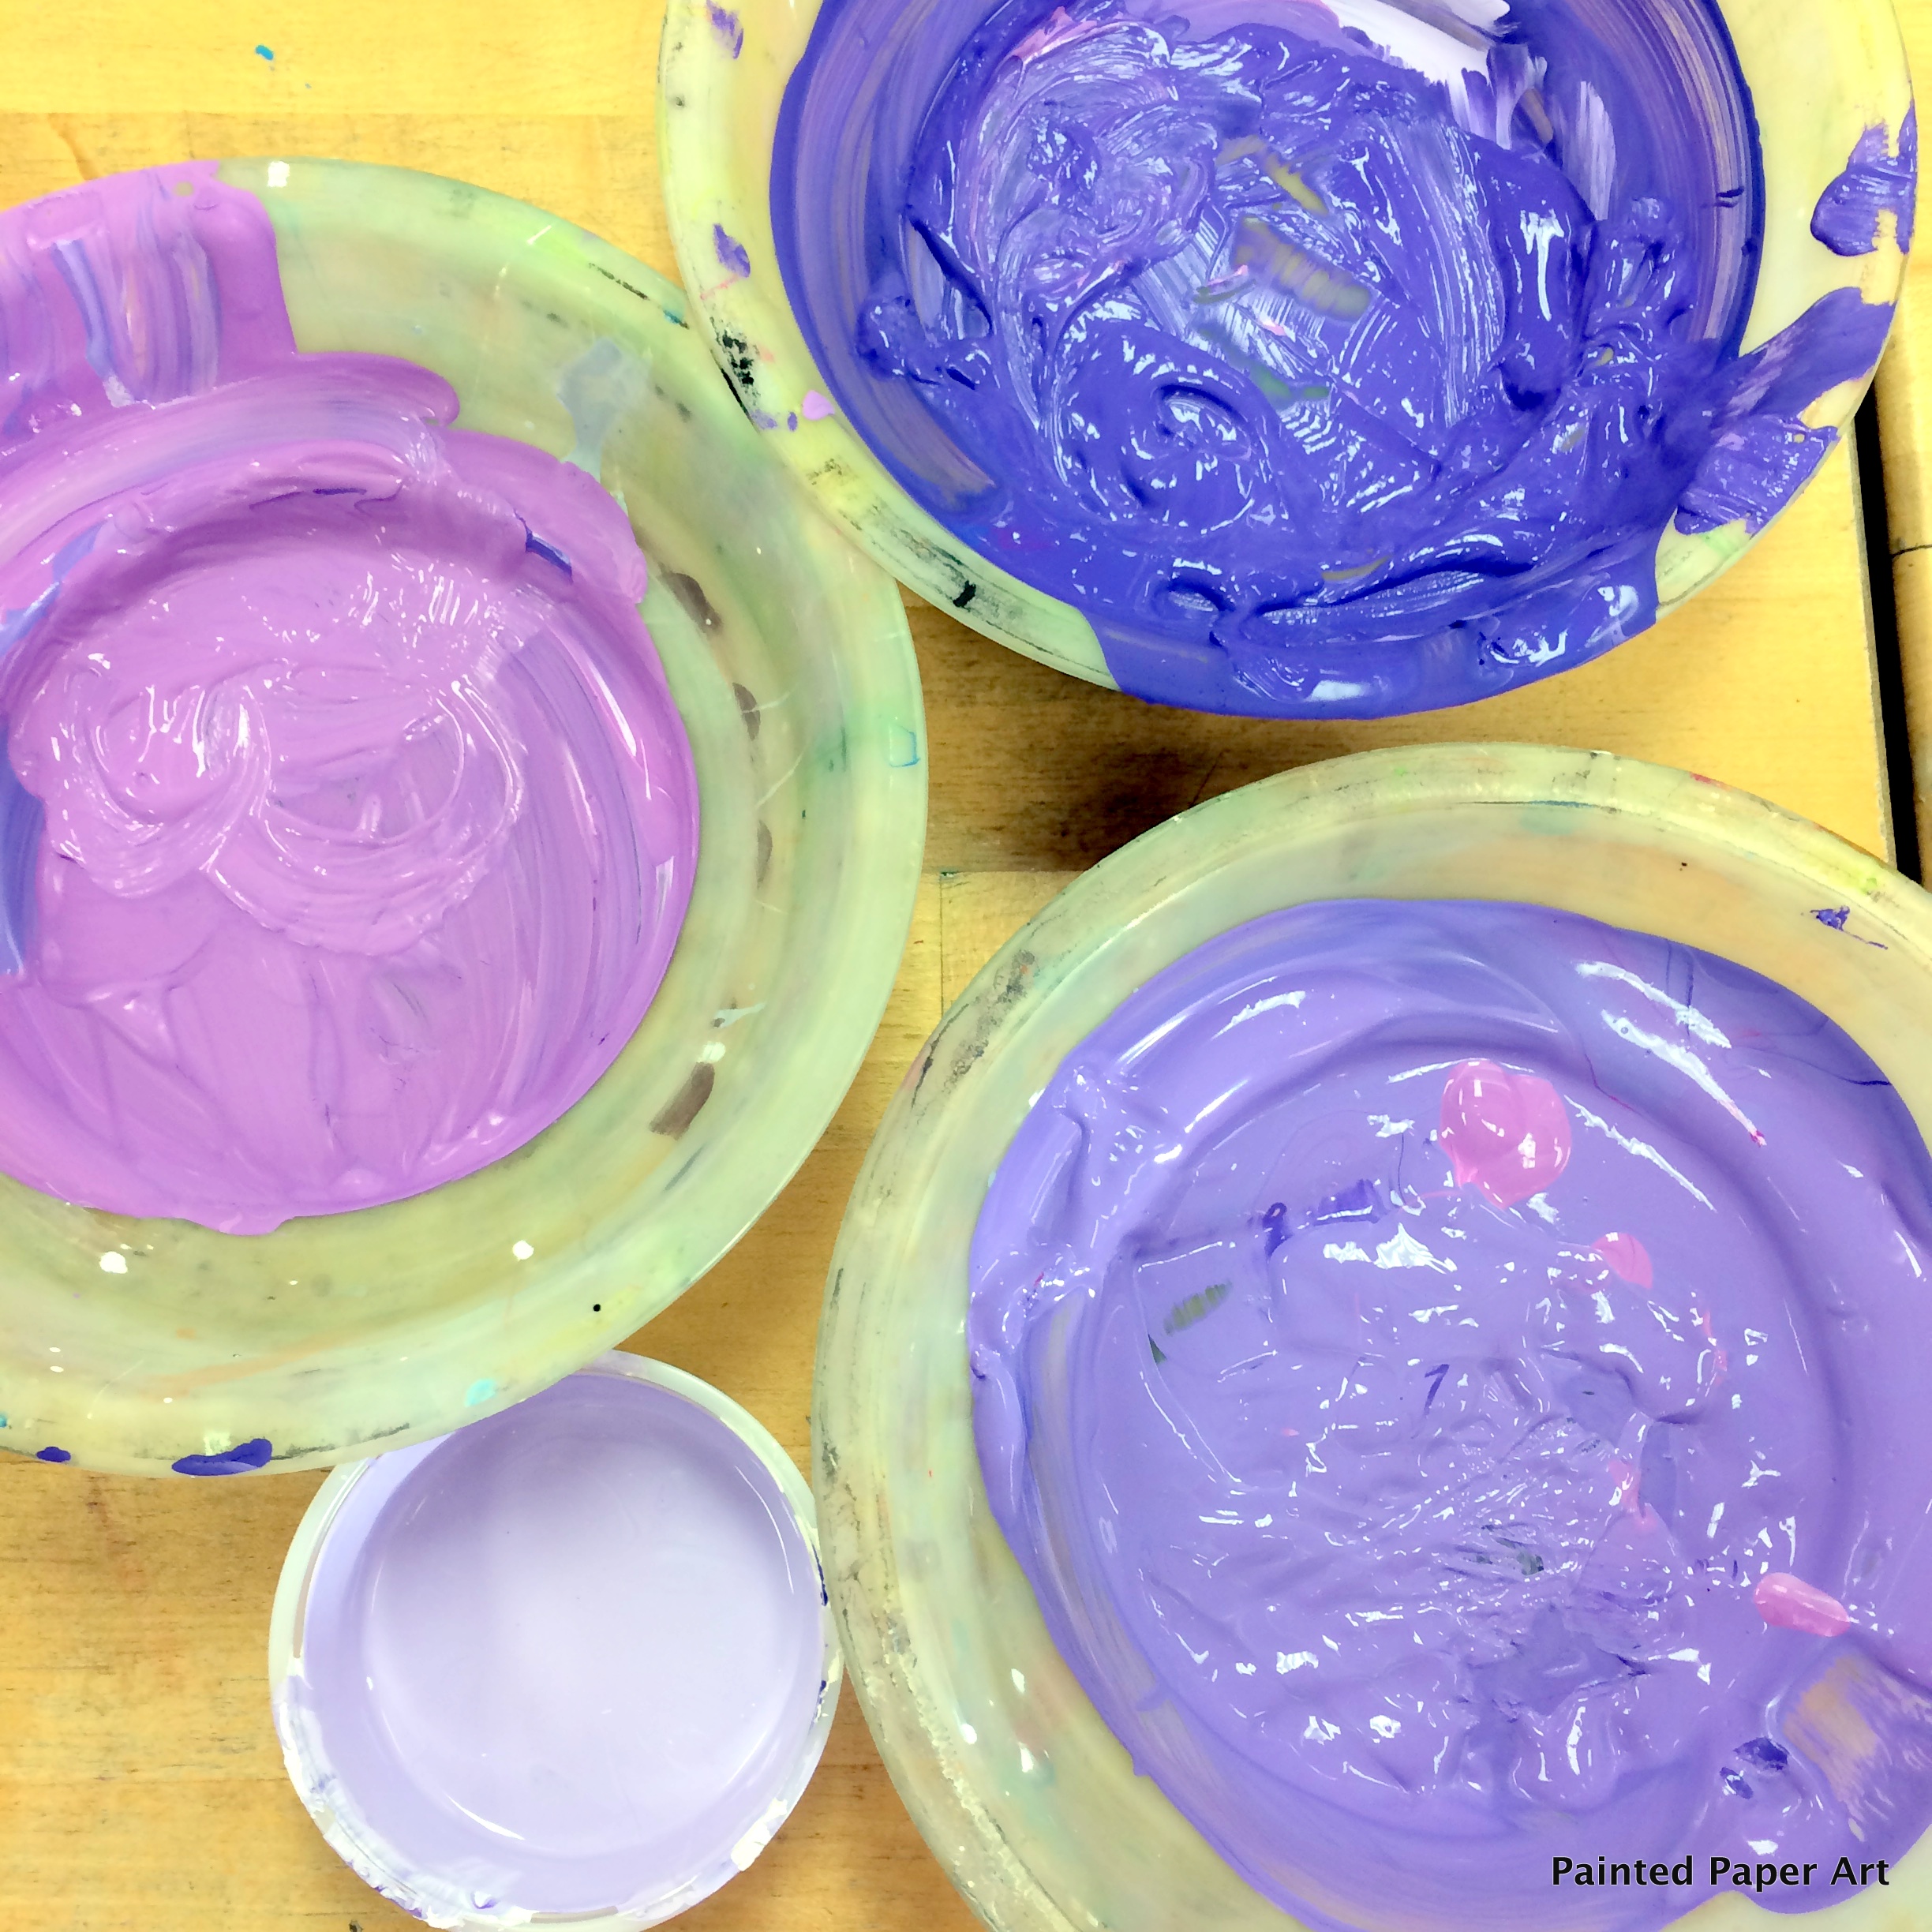
My 3rd and 4th grade Art Club members were ready to welcome Winter and all it’s beautiful shades. I mixed up a few shades of purple and pinks to get the project started.
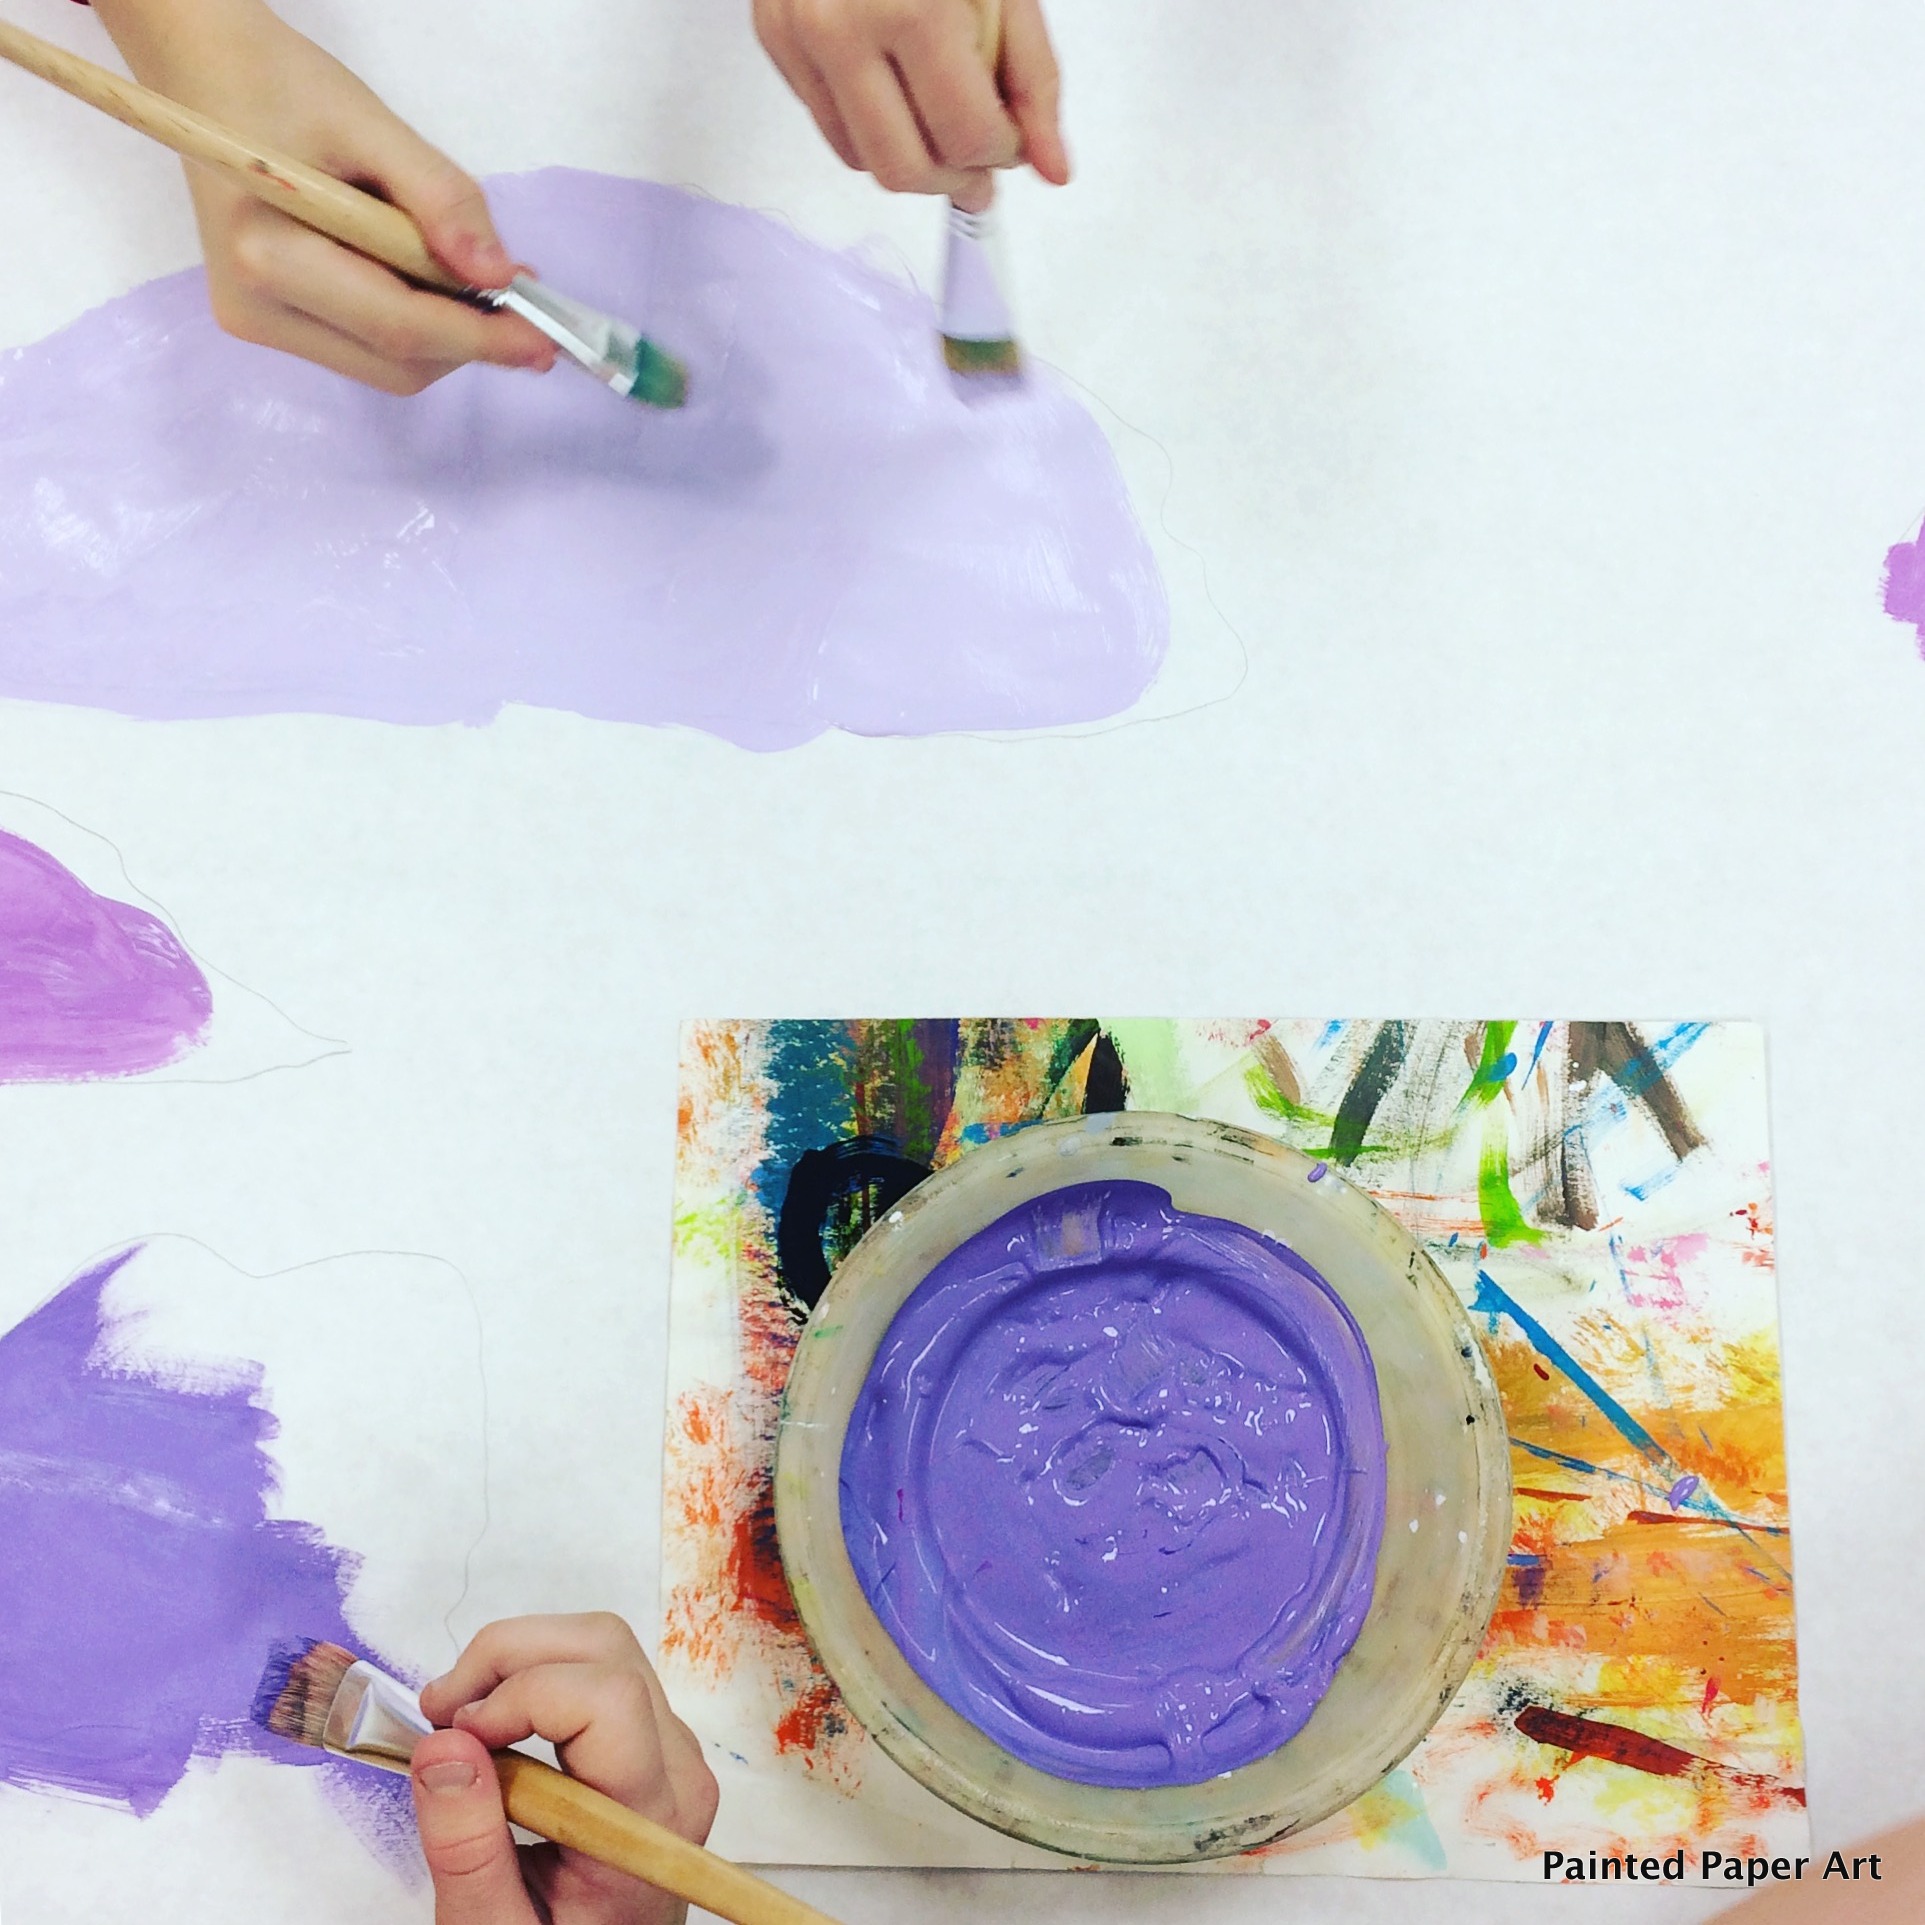
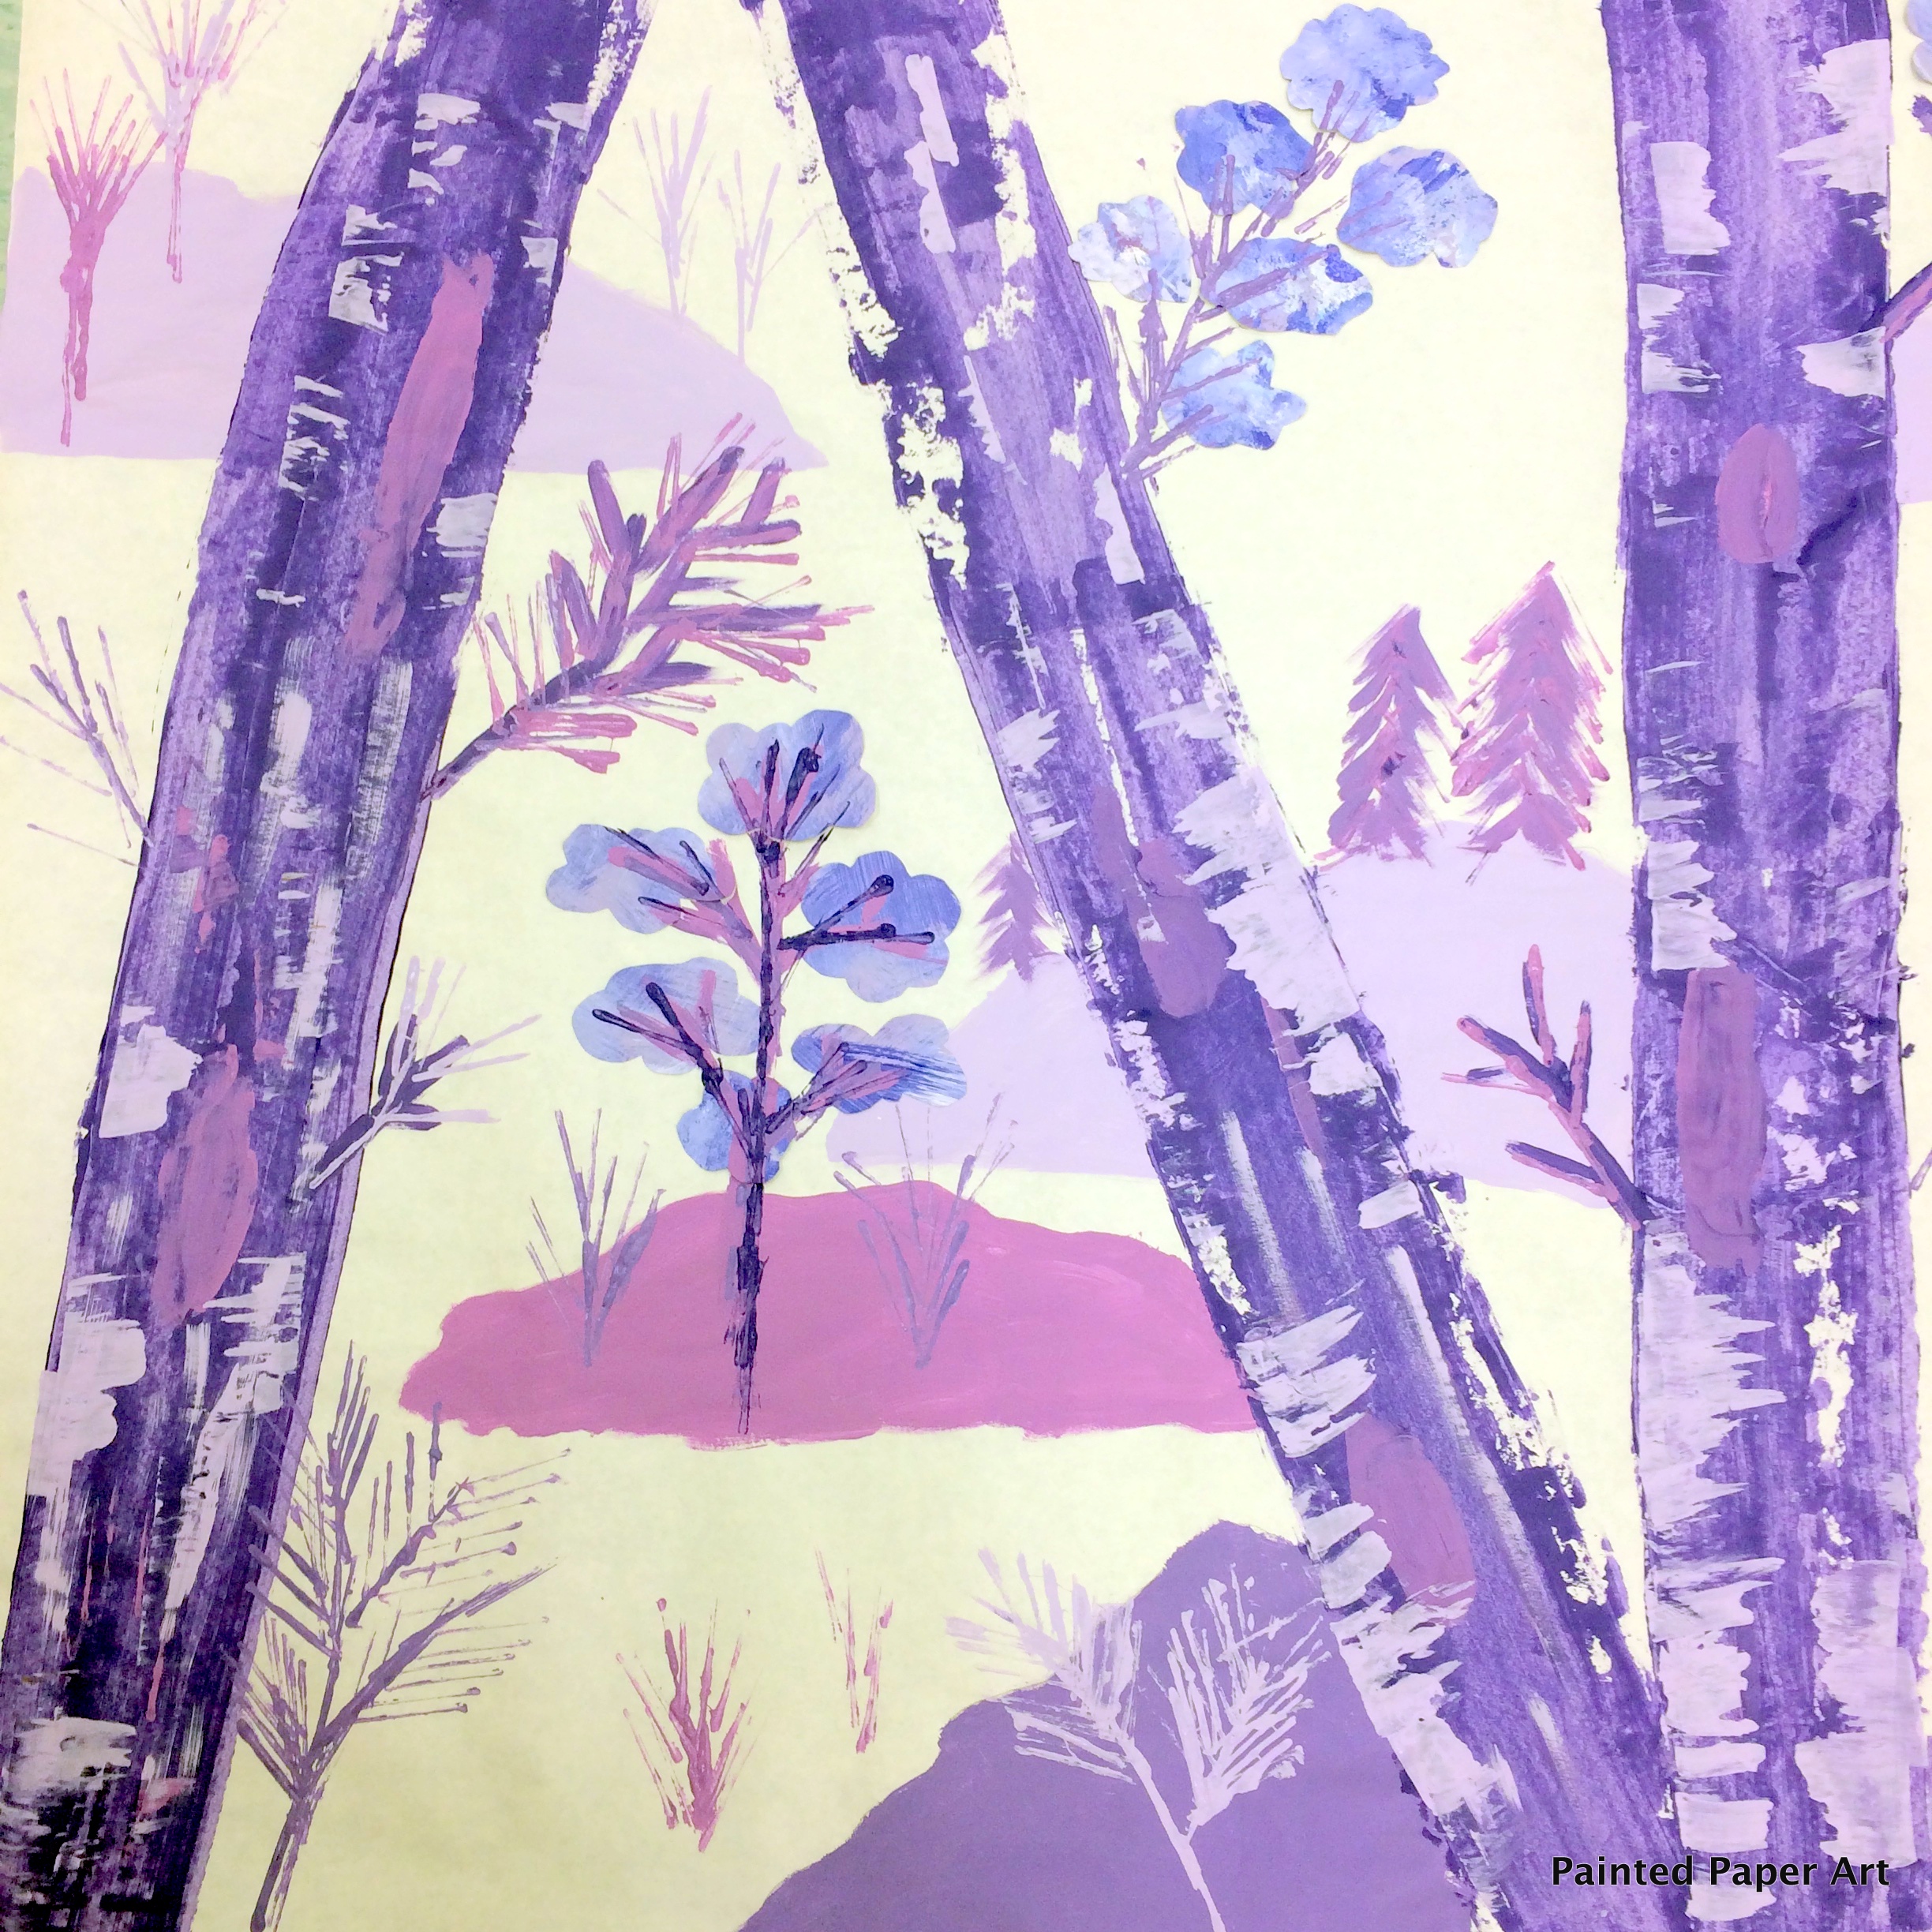
Big brushes and a big piece of display paper make for a perfect background to add all the various materials such as tempera paint, painted paper, and tape. Students painted large shapes representing islands, on the paper, using the lighter shades of the pre-mixed tempera paint.
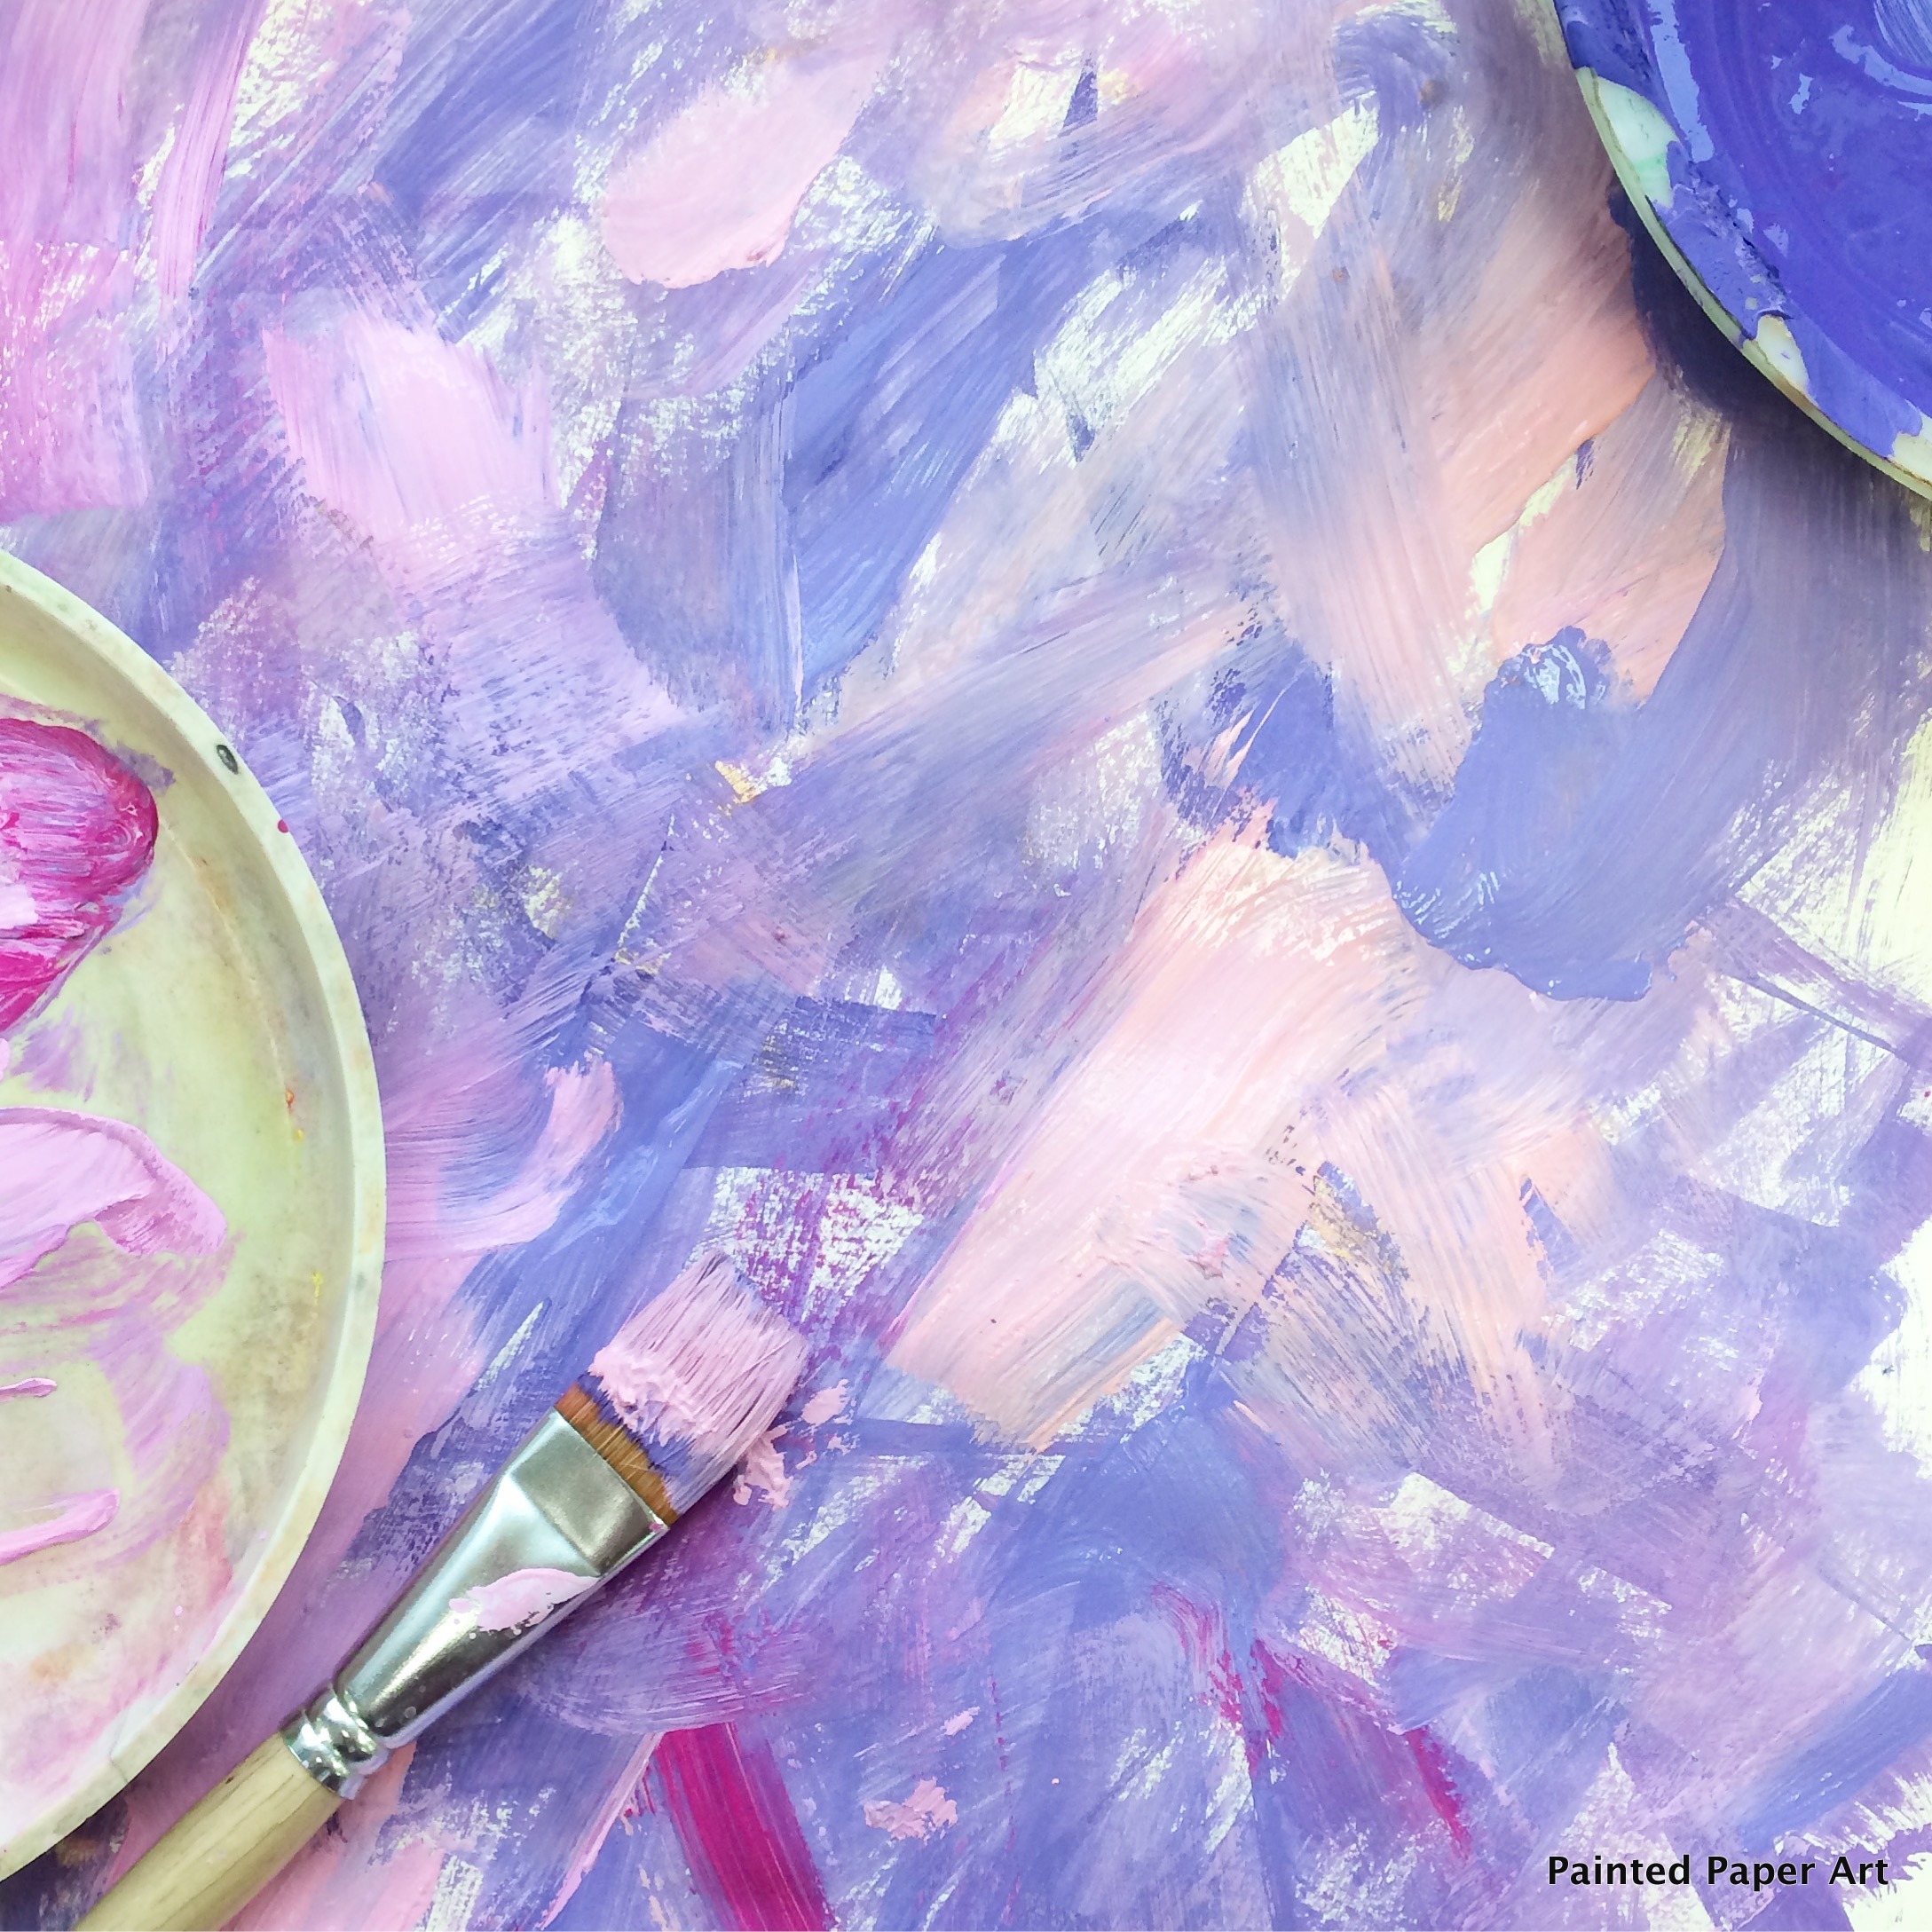
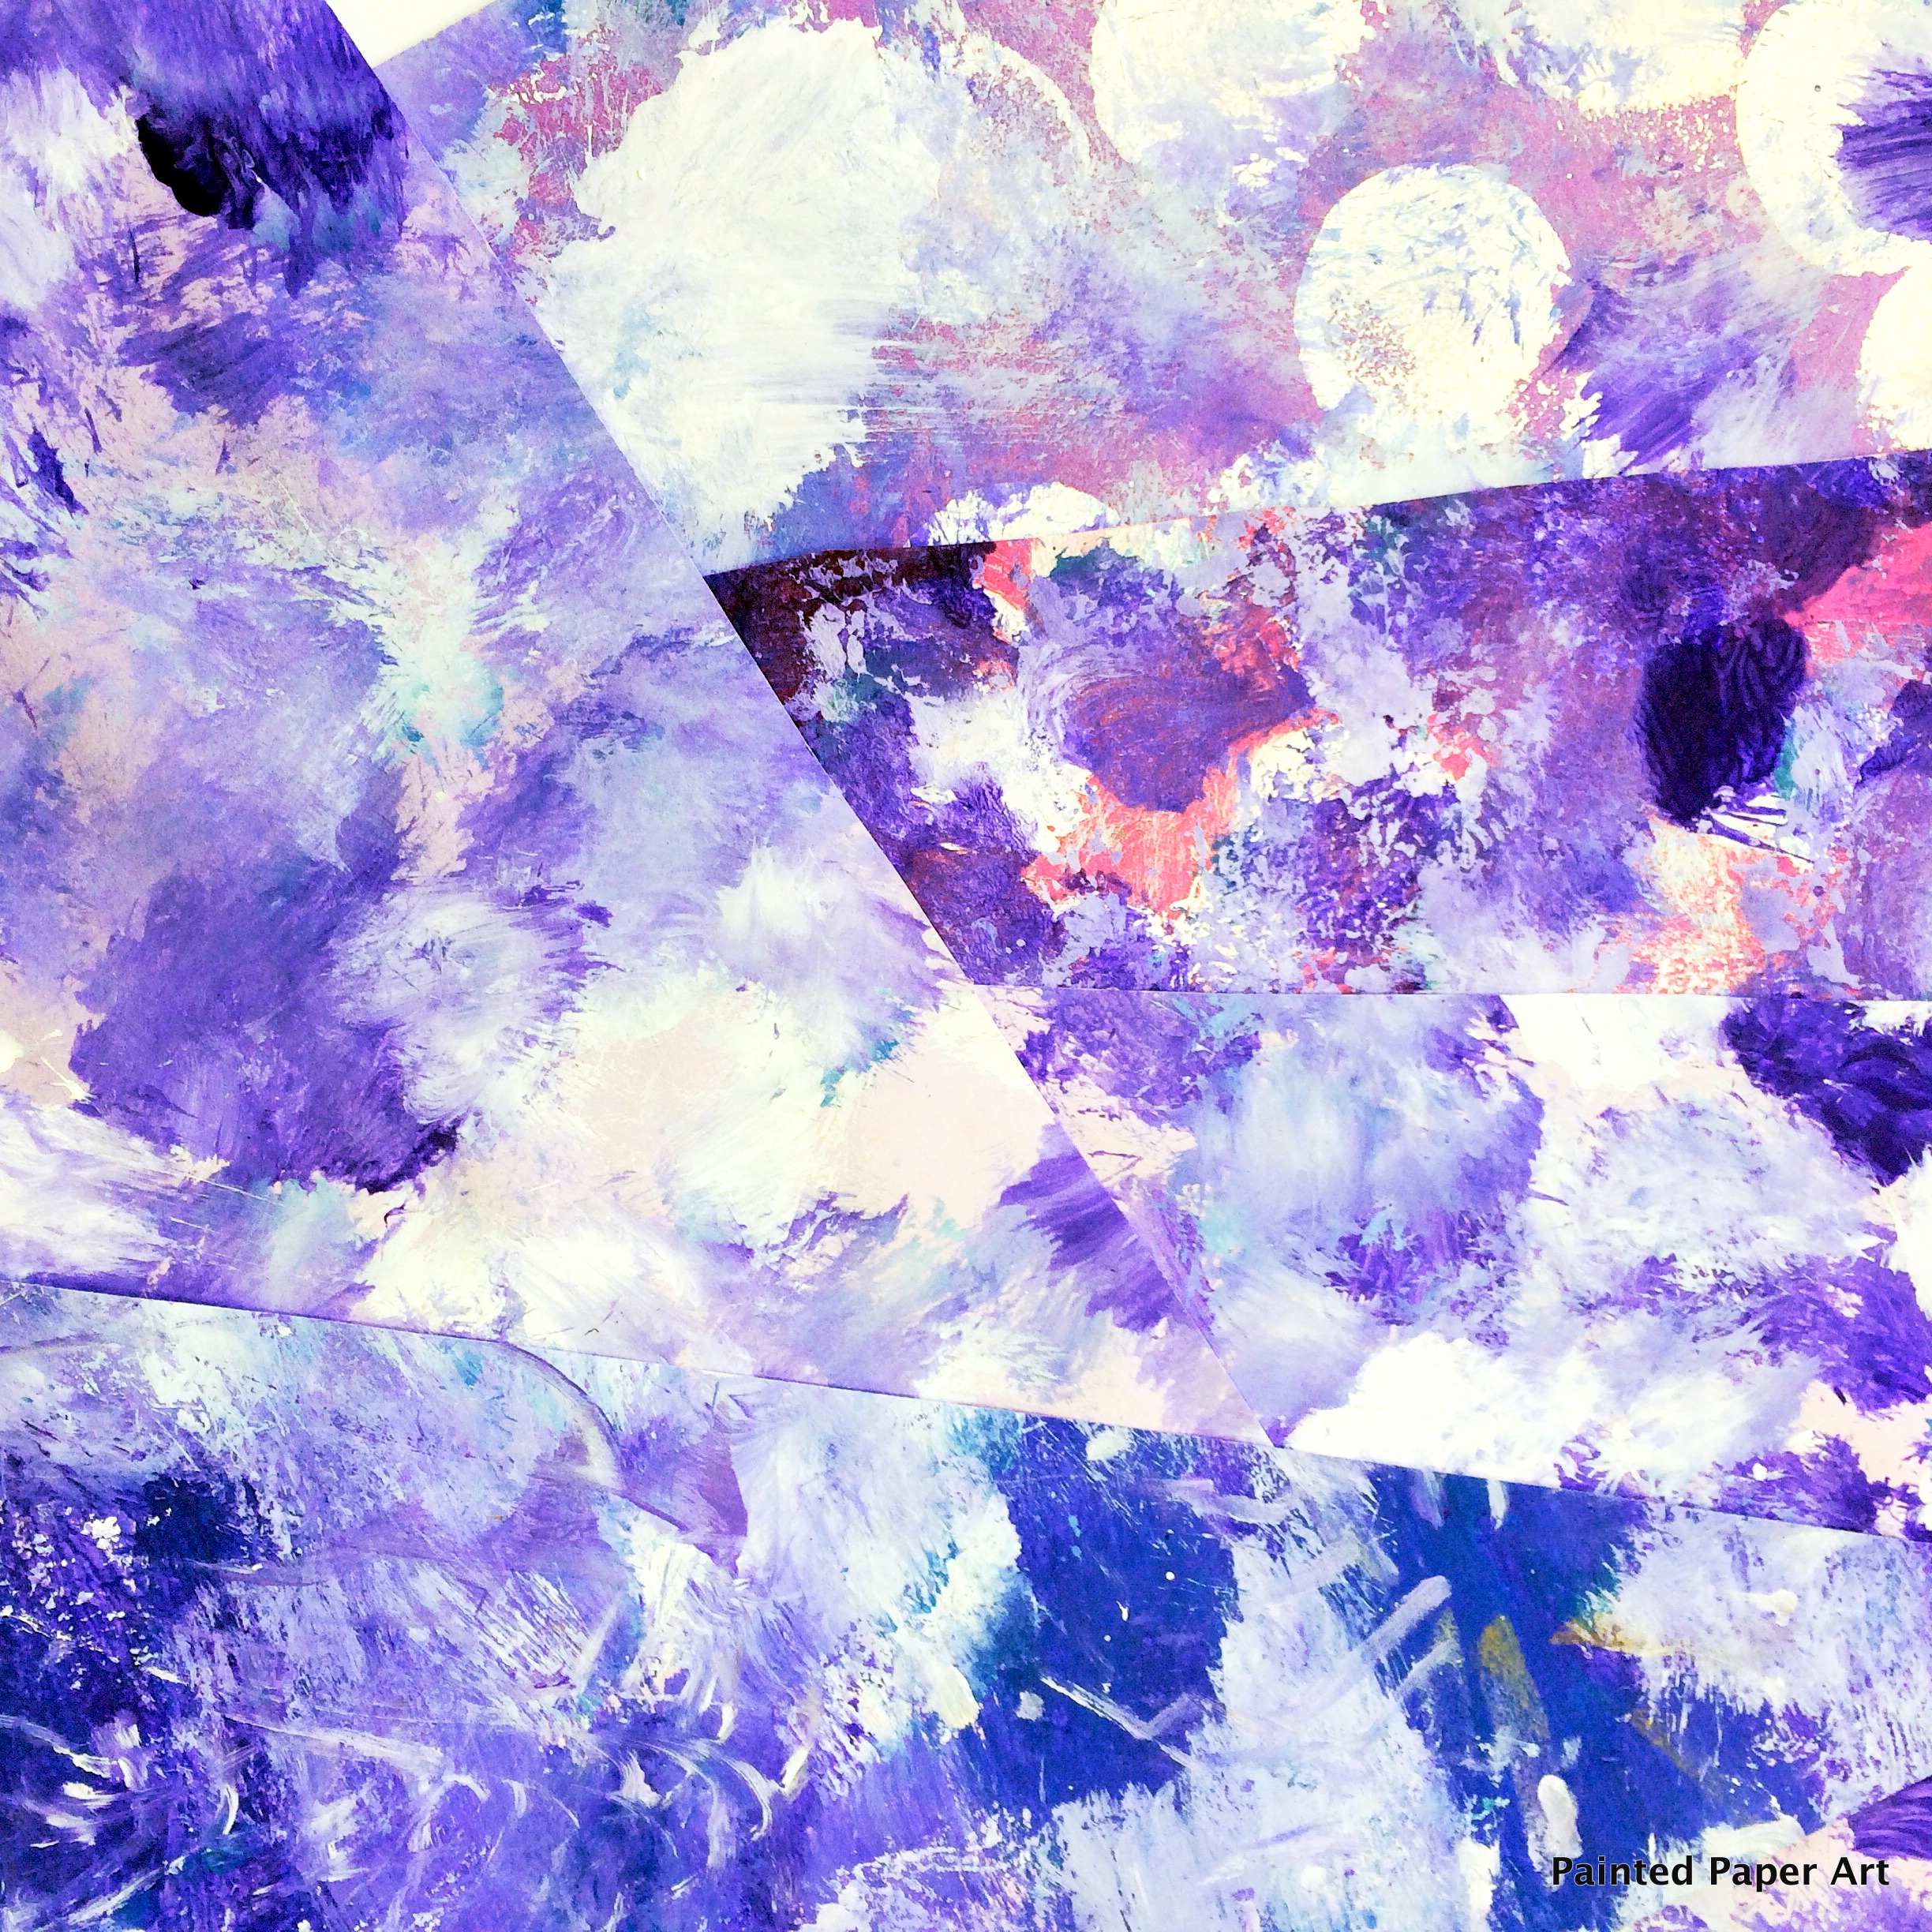
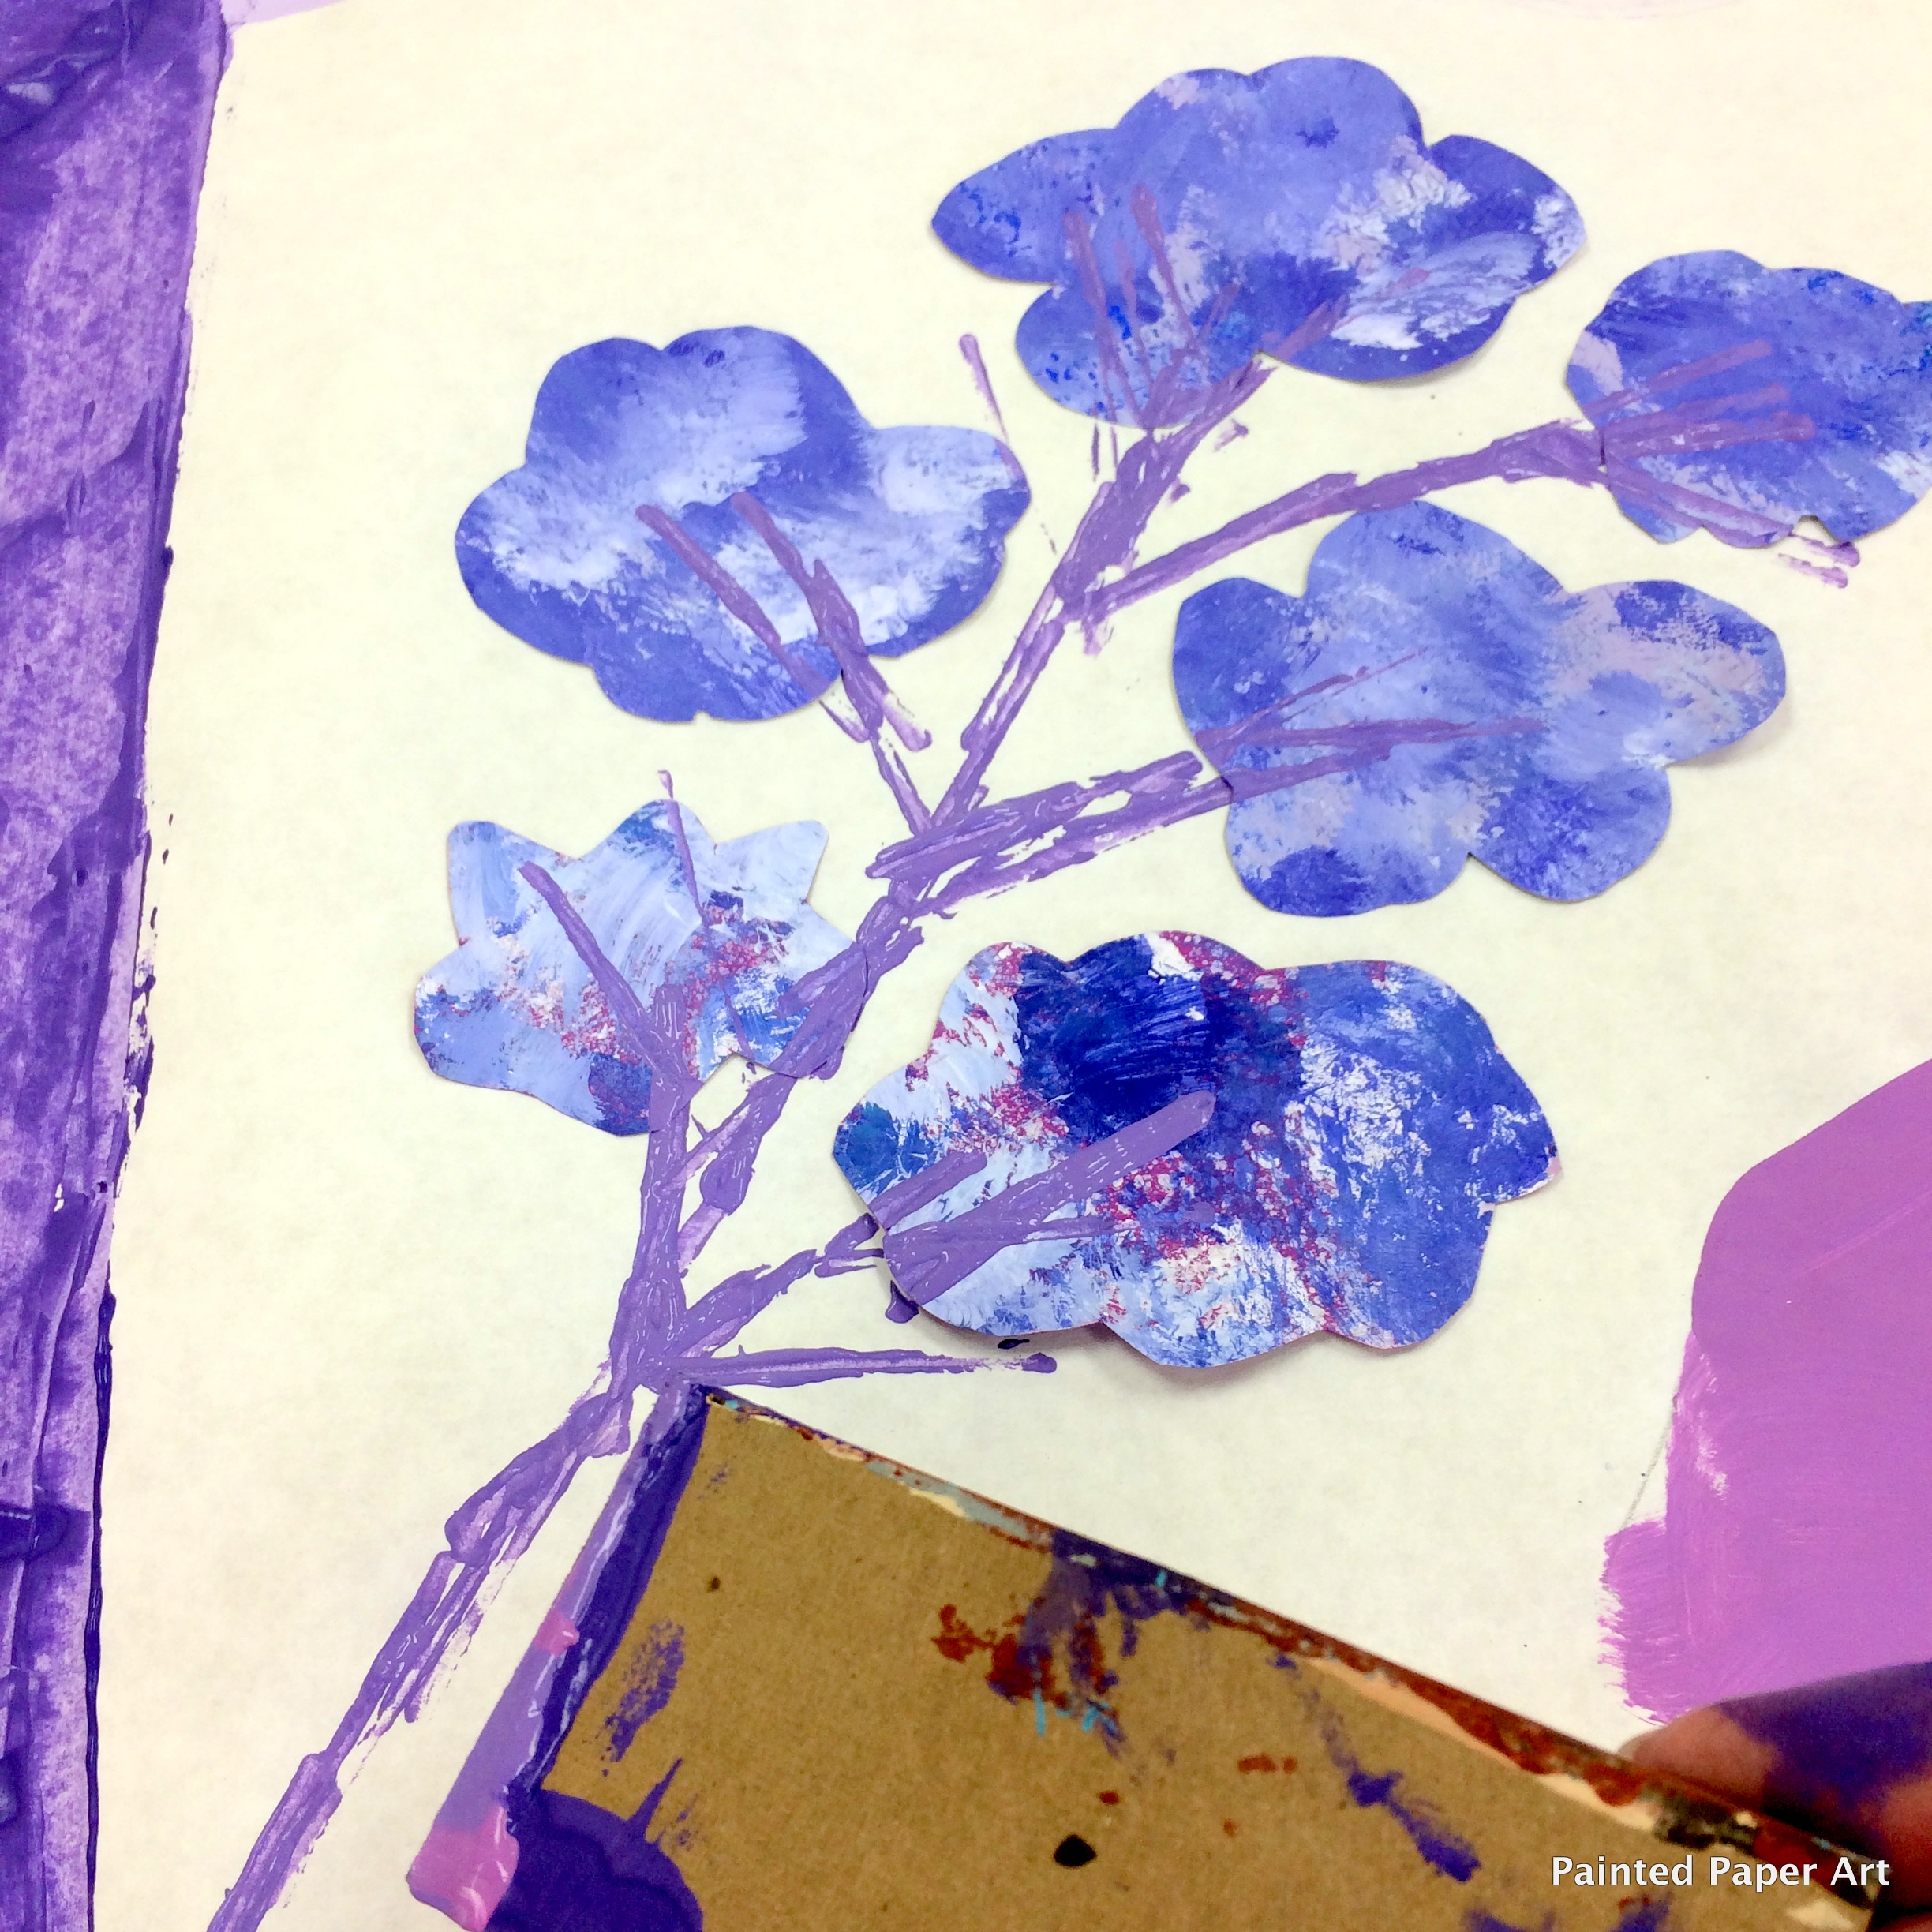
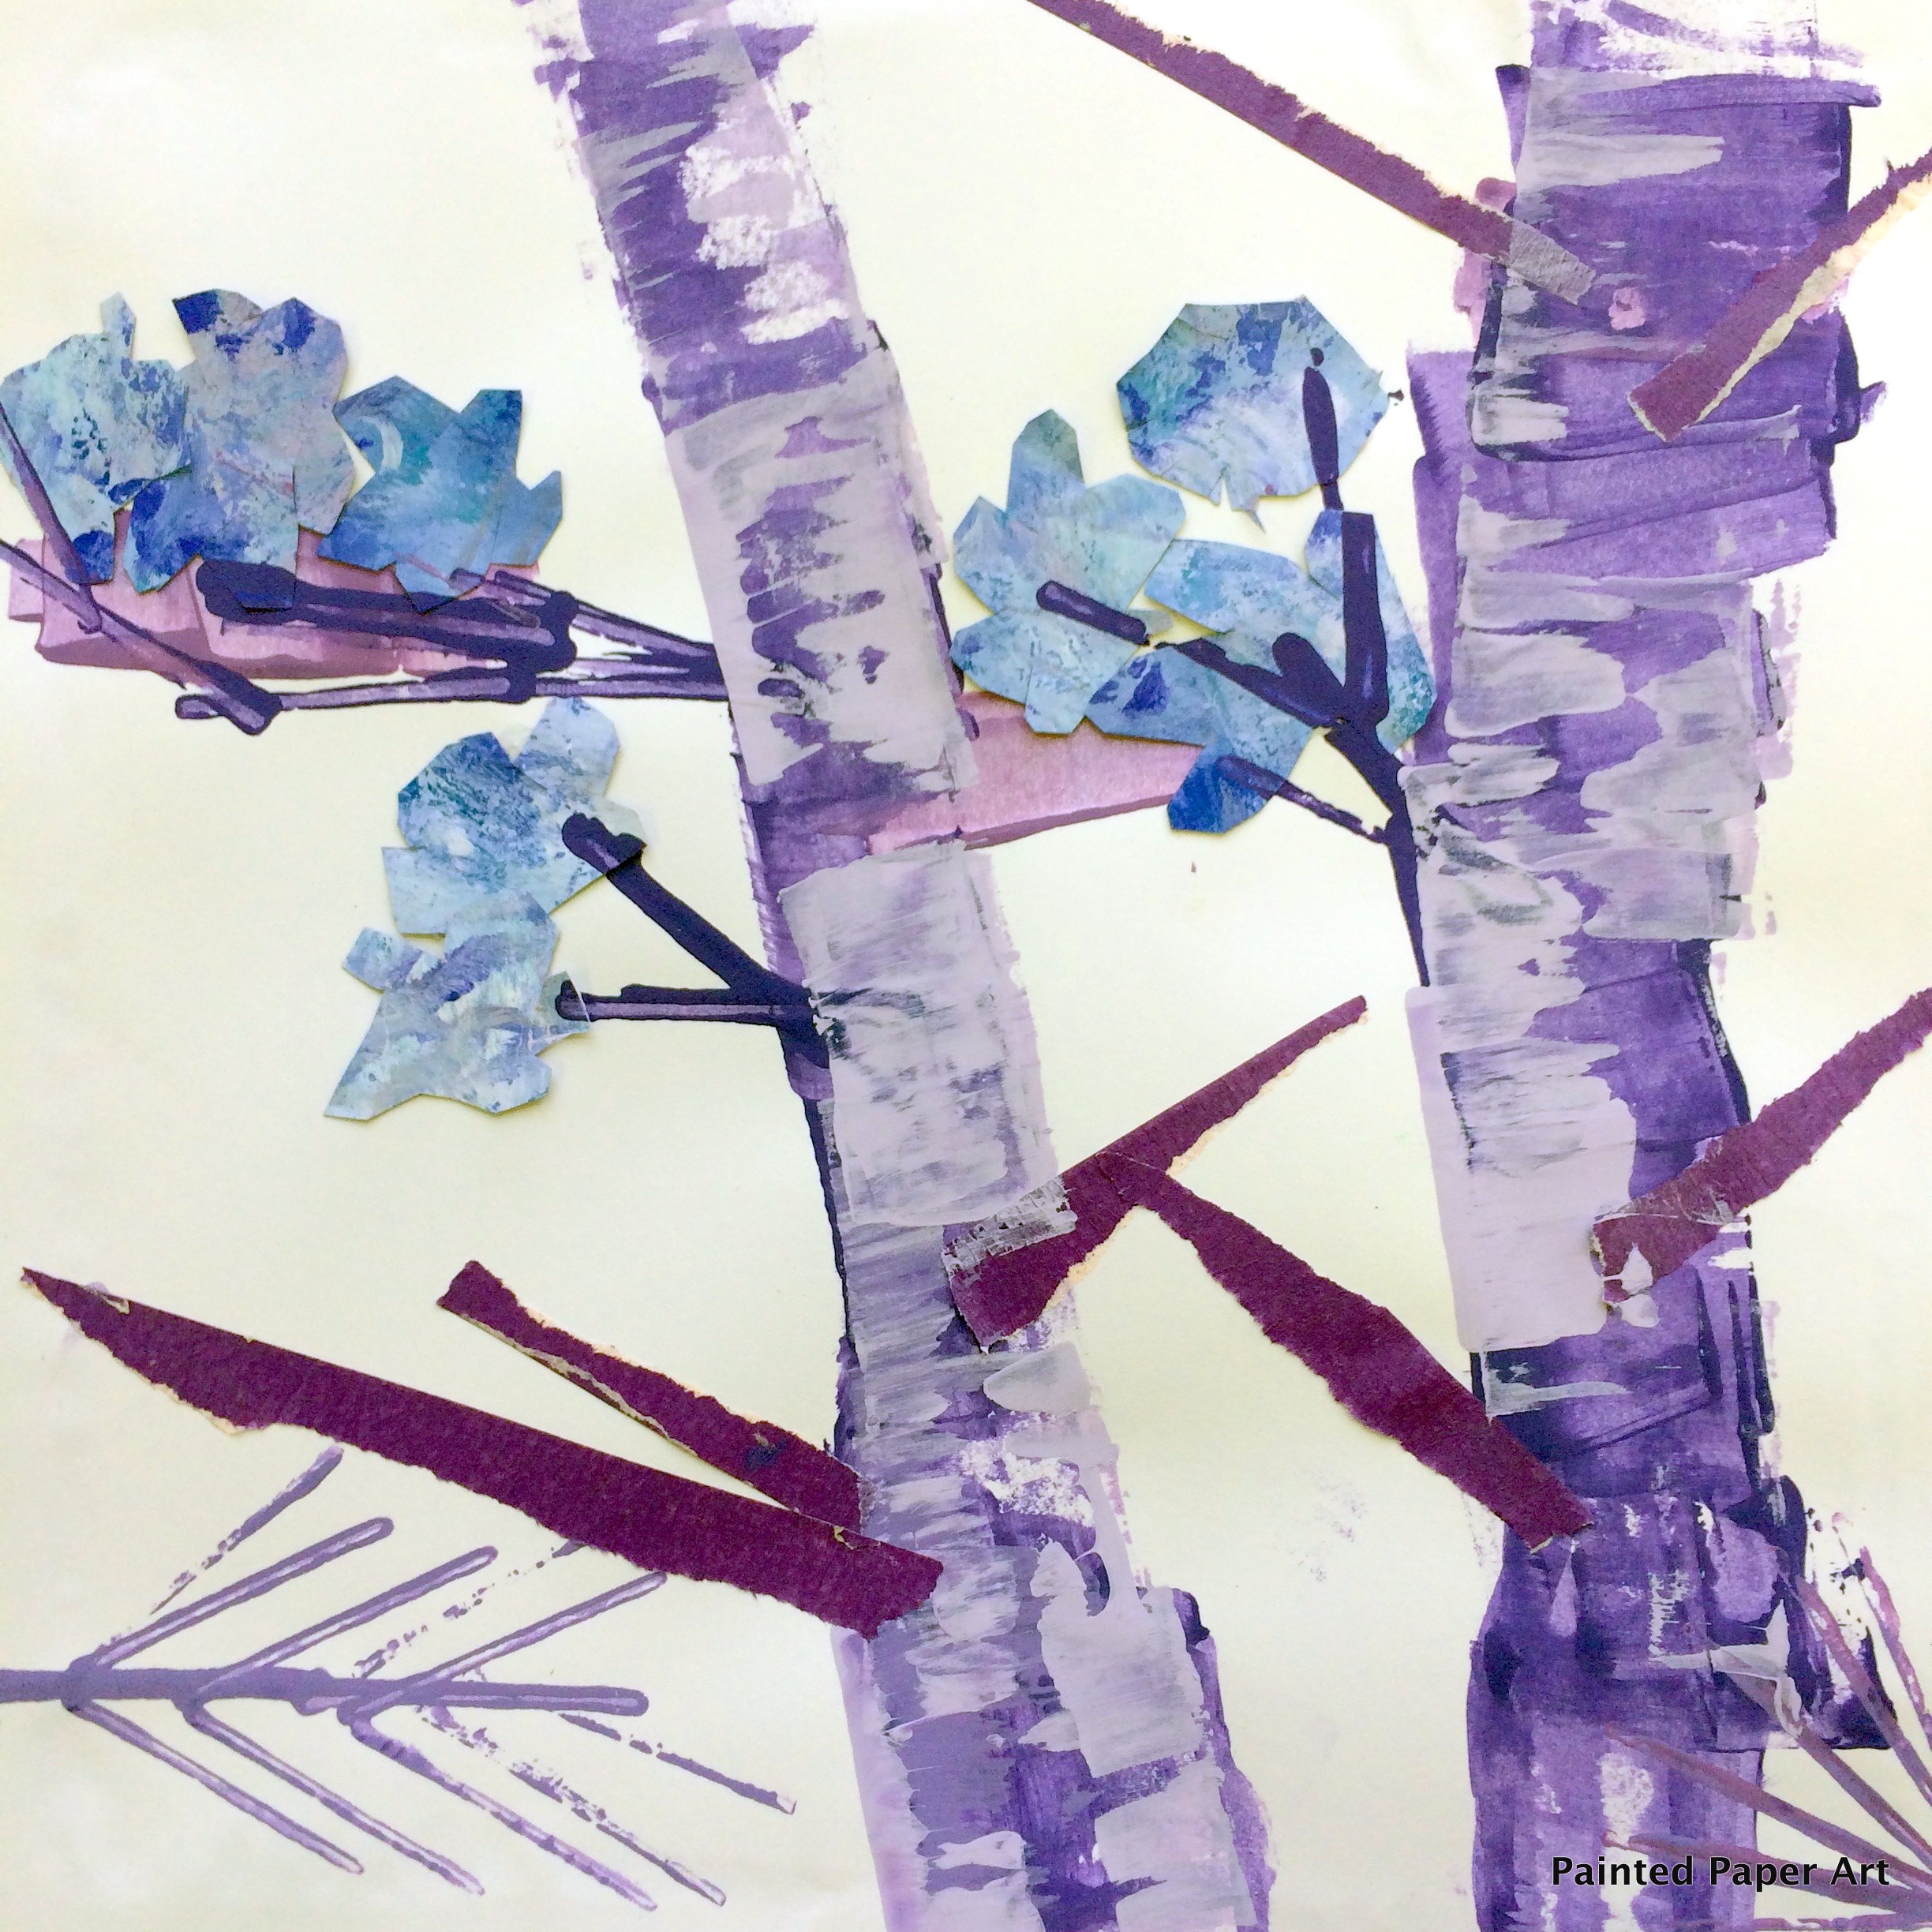
Using painted paper, cut medium sized organic shapes or cloud shapes and glue down in clusters to represent the leaves on a tree.
Dip the cardboard scrapers into the darker paint and drag from the edge of the paper to create large tree trunks.
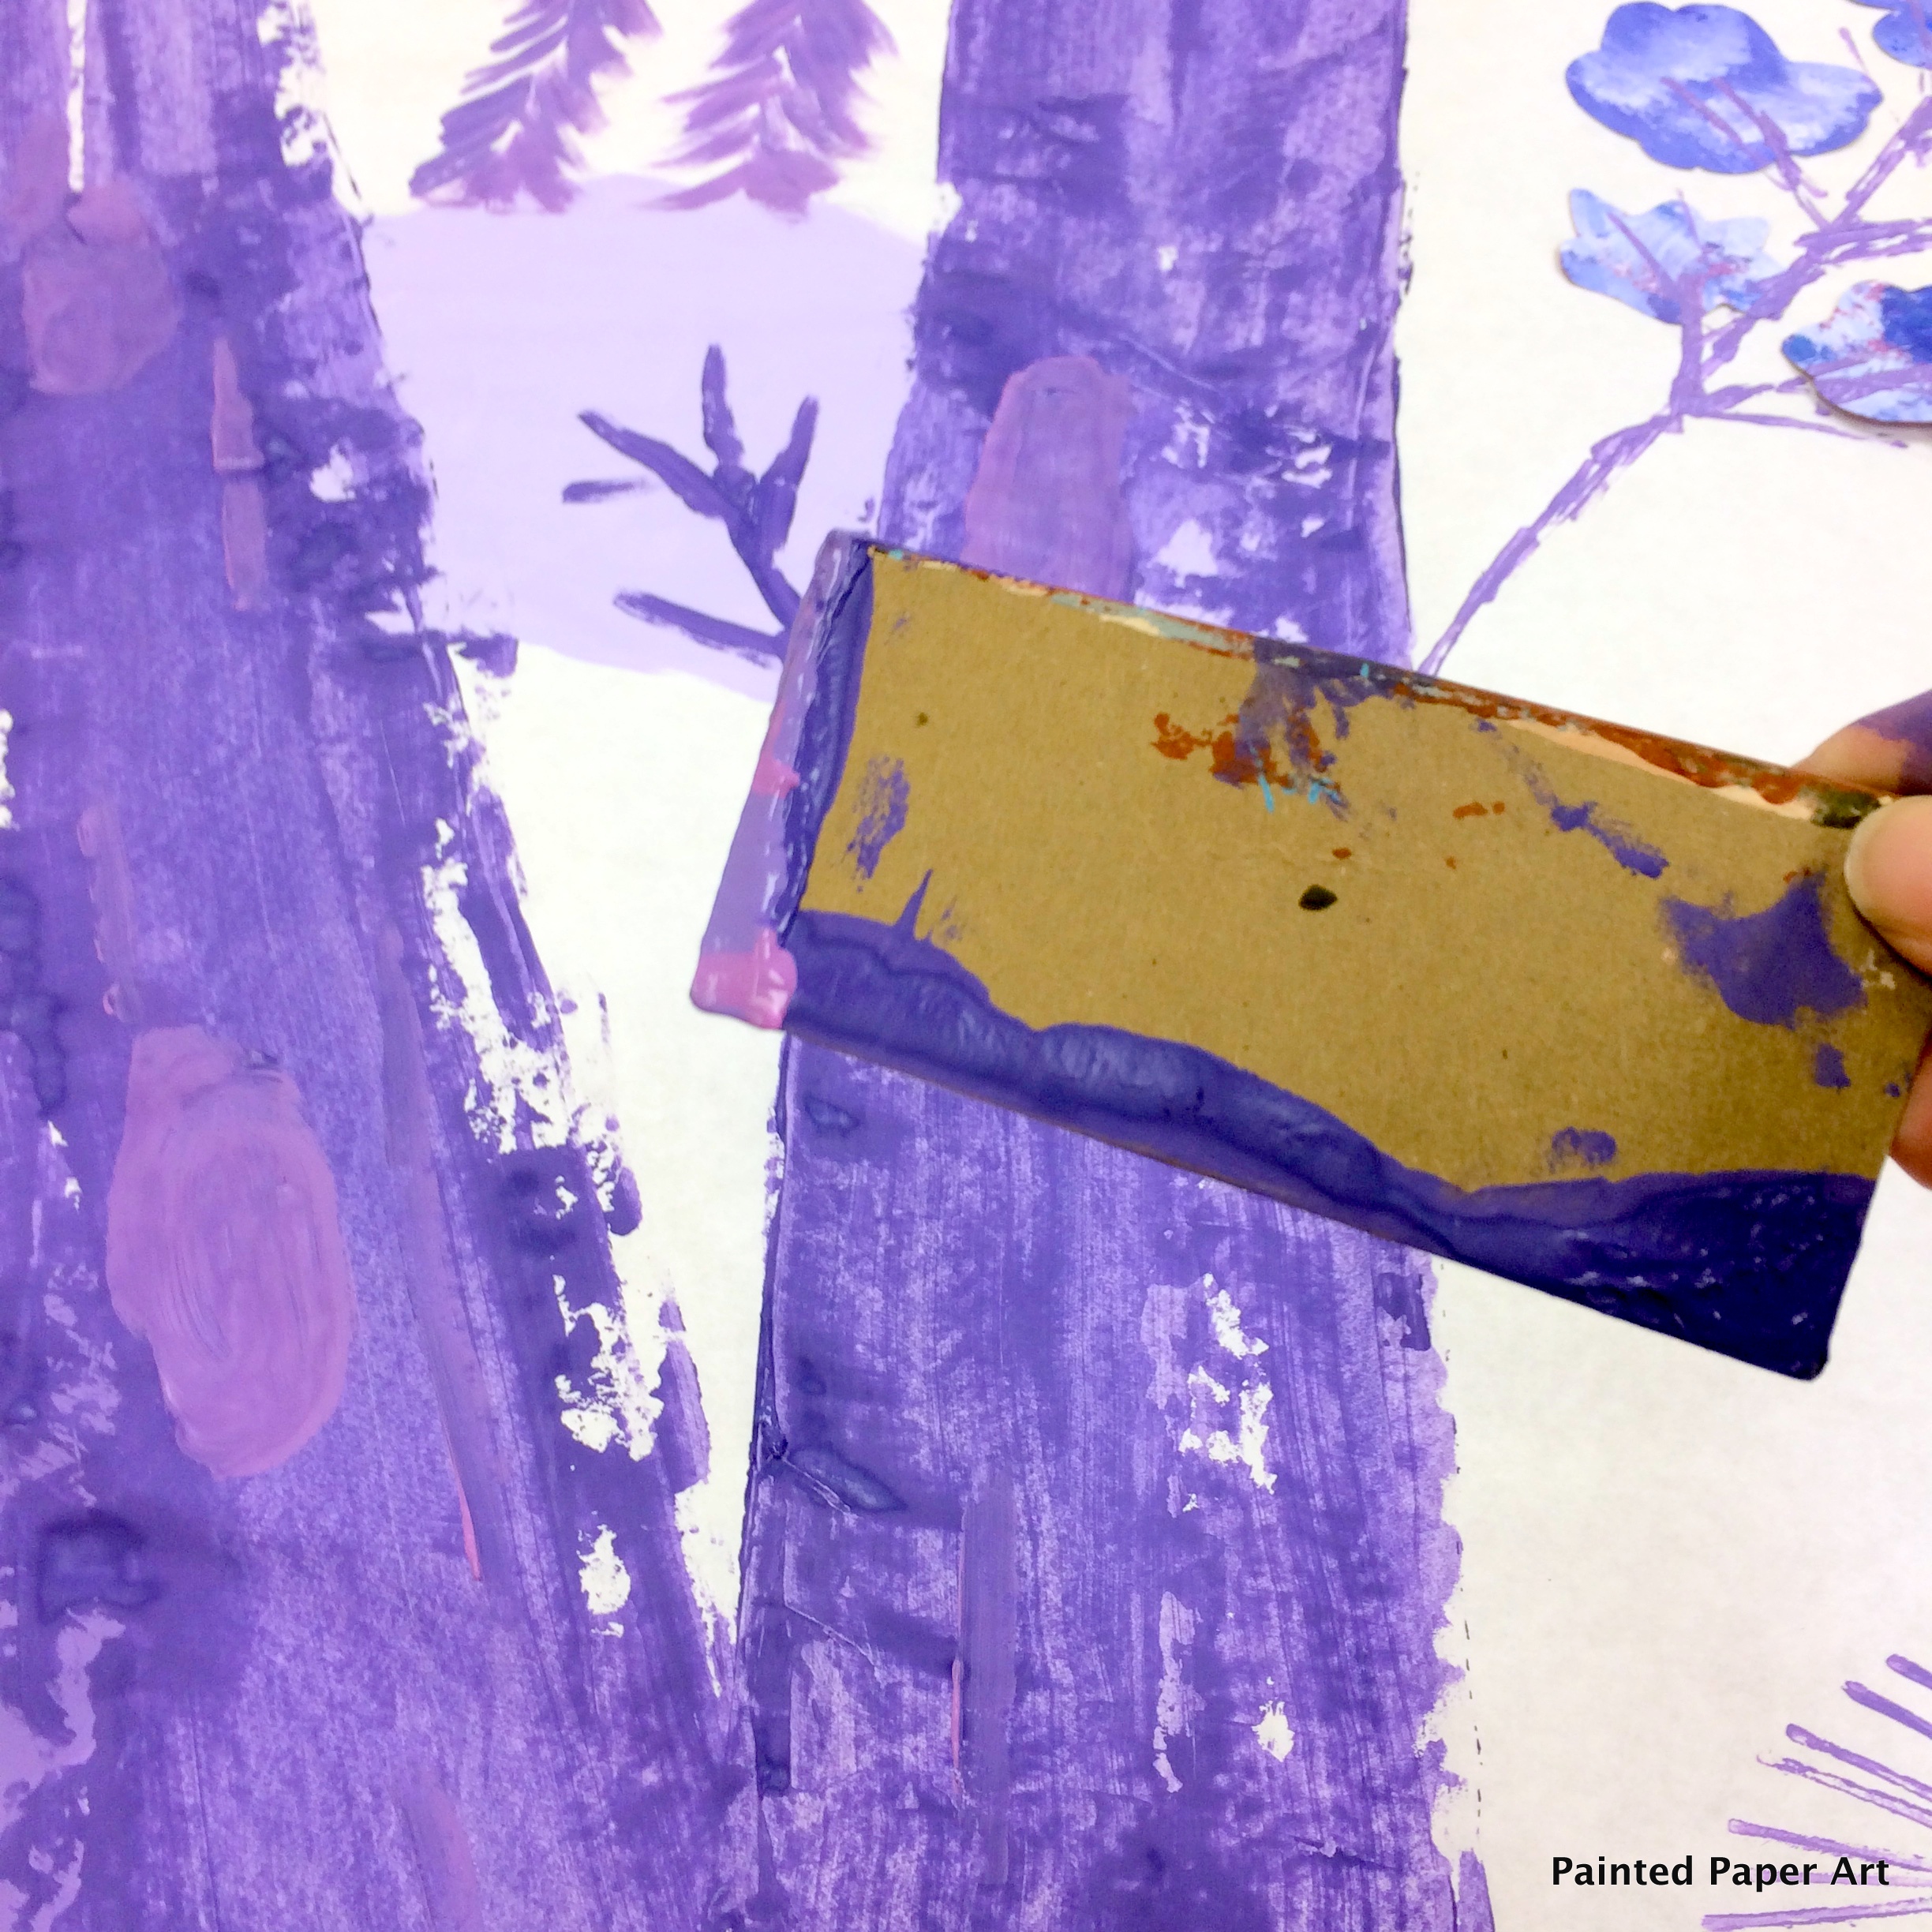
Continue with the cardboard scrapers and dip the edge of the cardboard in the paint and stamp thin trunks and branches.
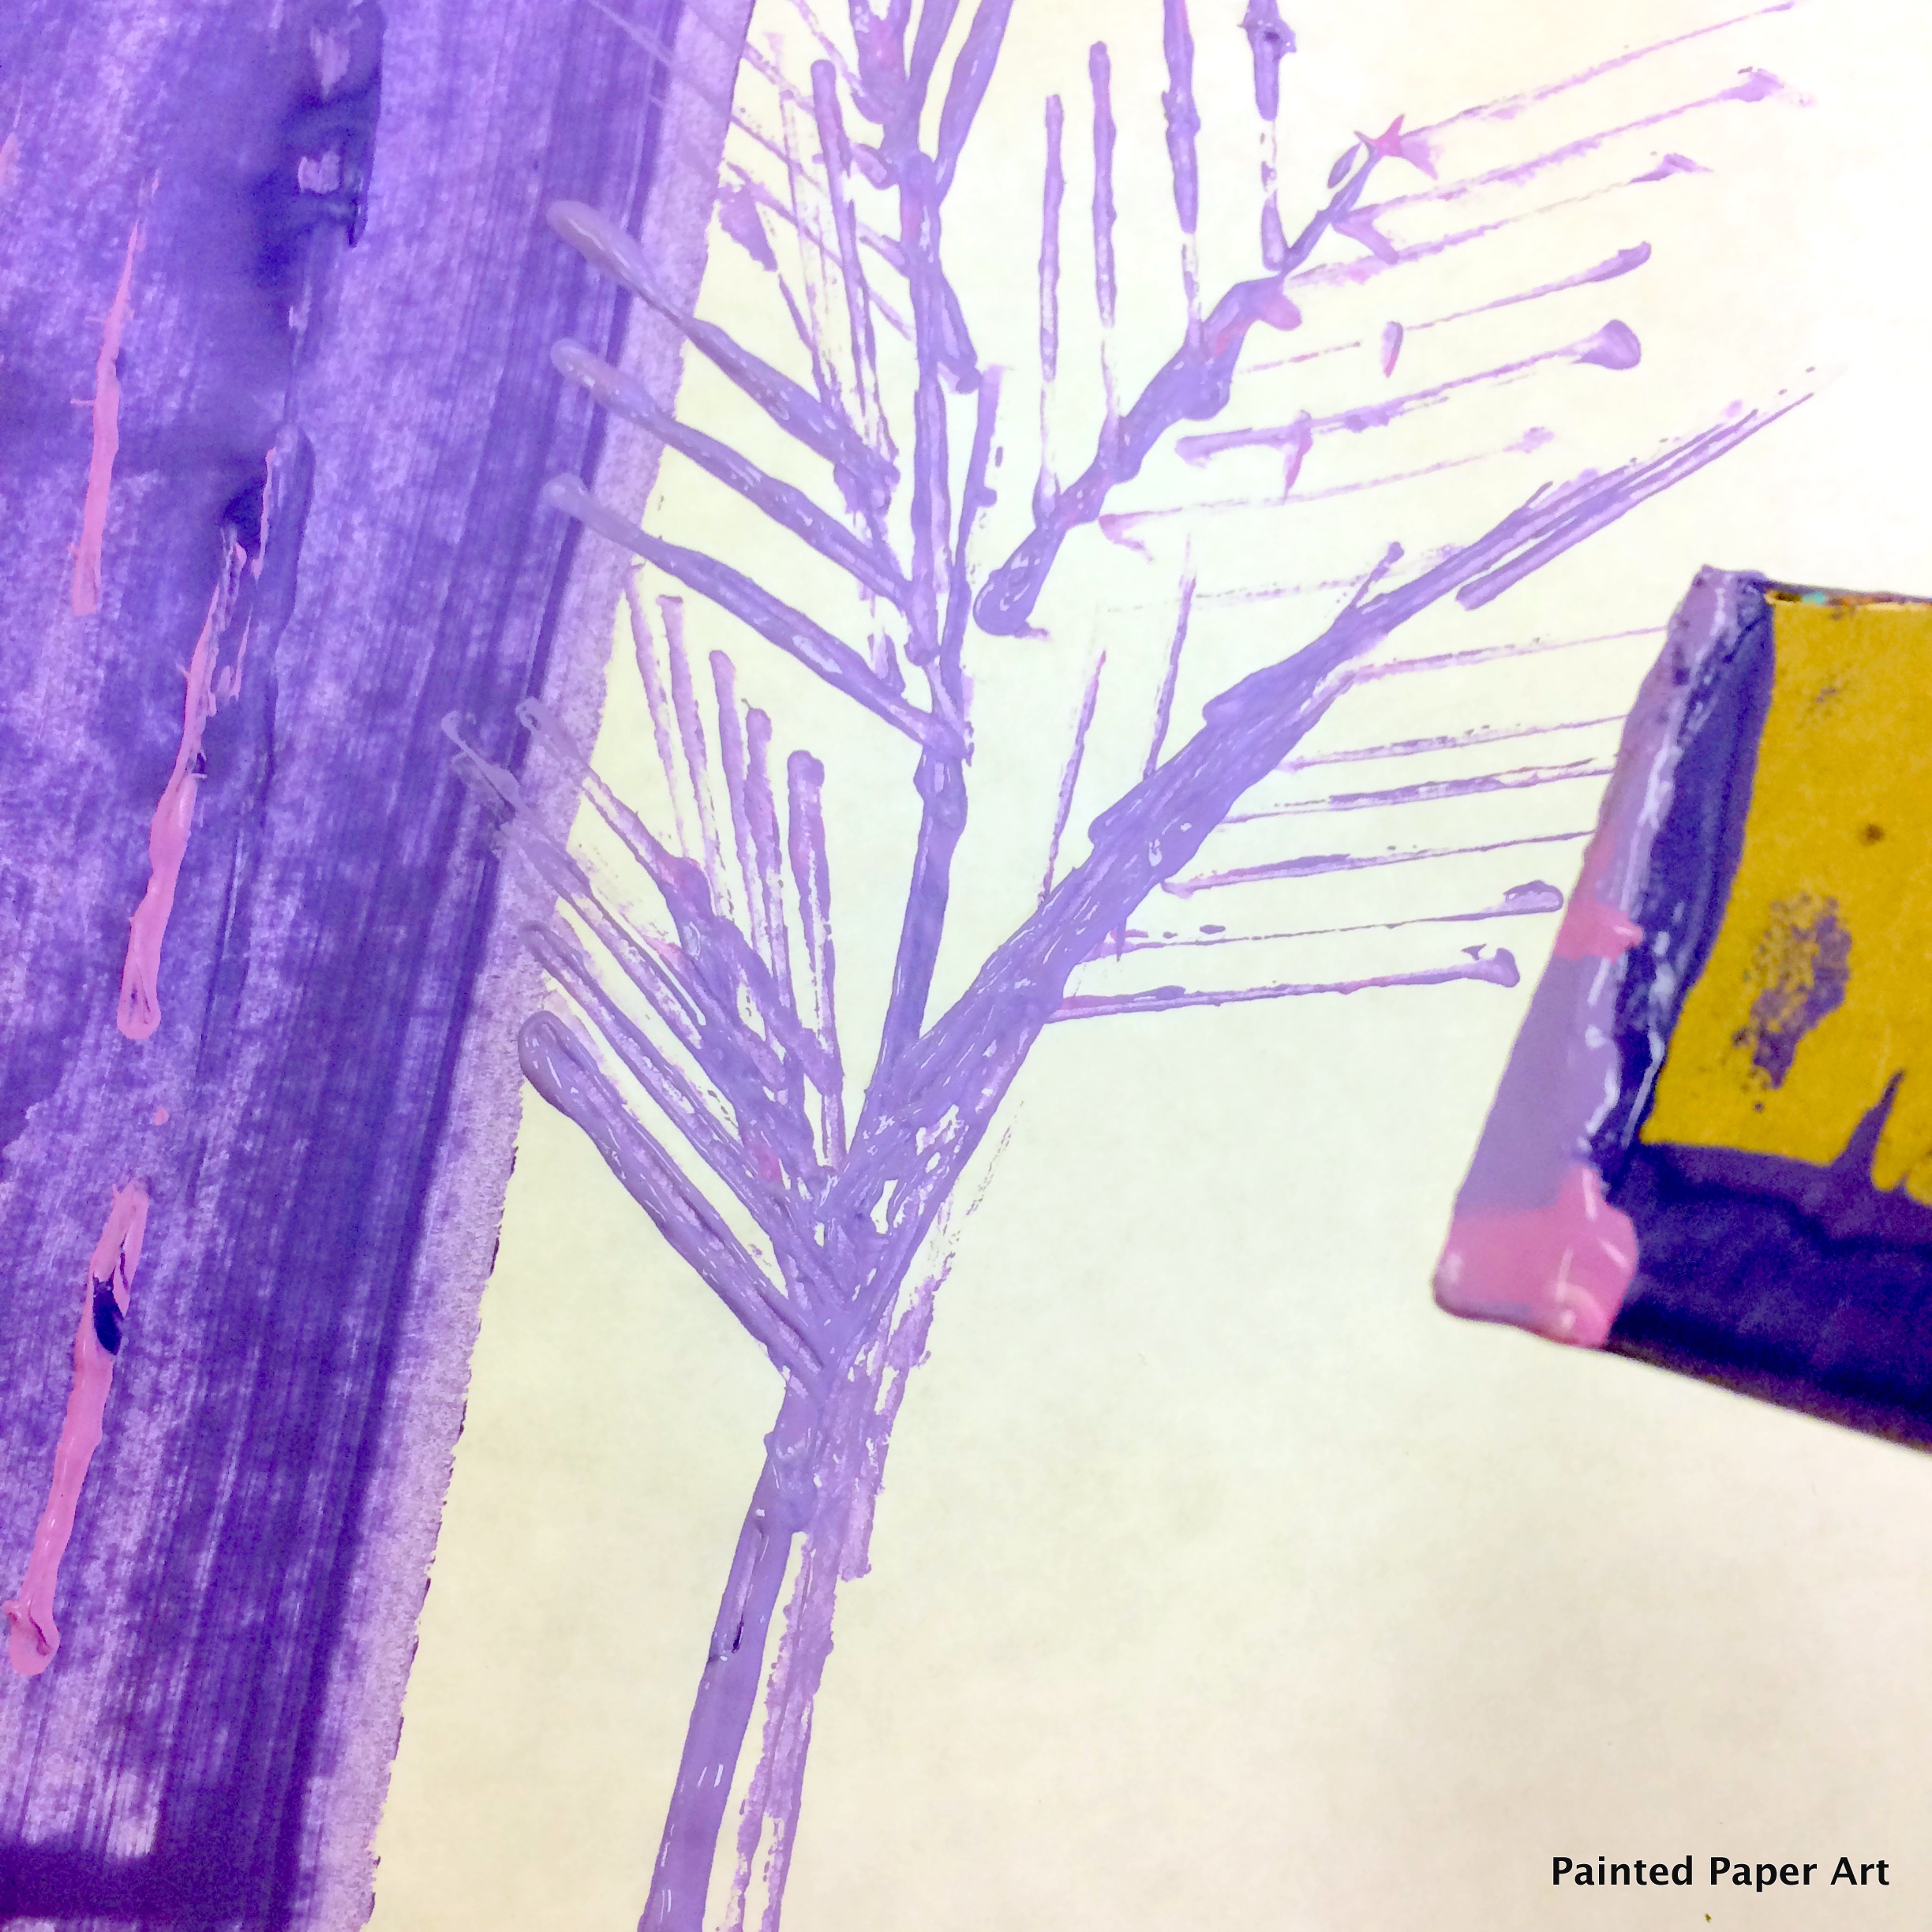
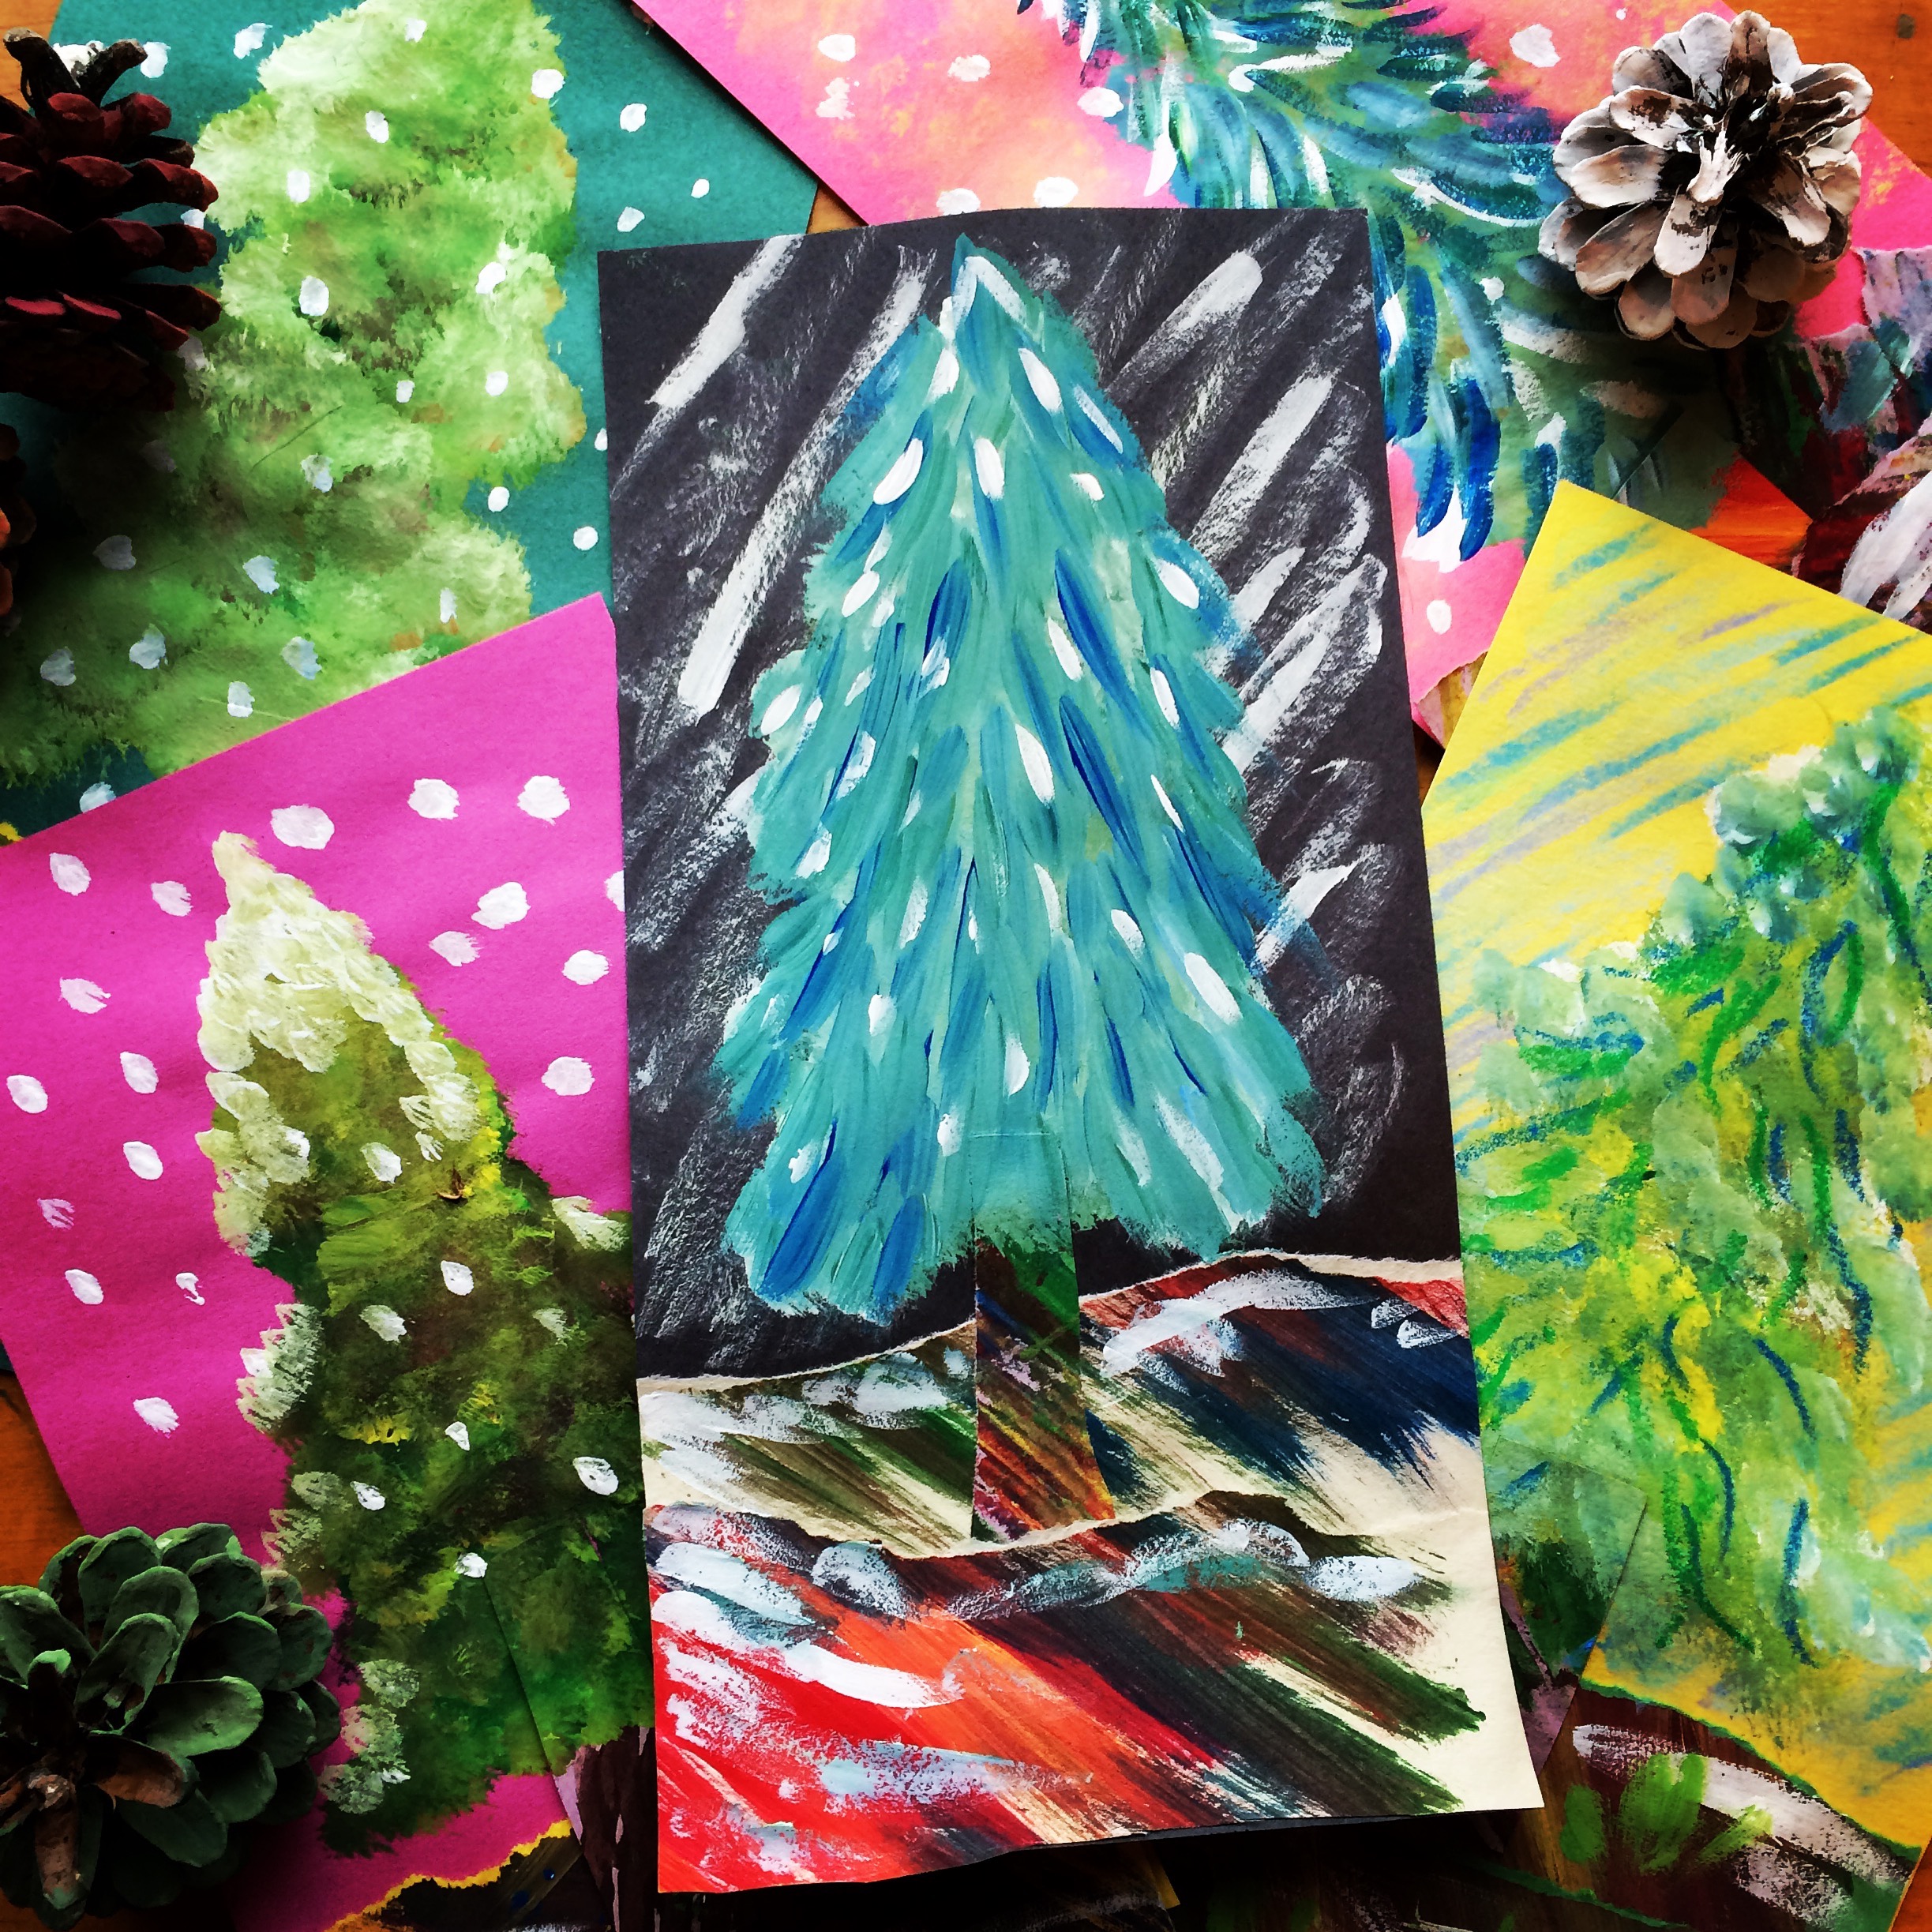
Continue with the cardboard scrapers and create thin pine needle boughs, using the lighter shades of the tempera paint. Create more textures on the darker, bigger trunks with the lighter colors, for a more appealing affect.
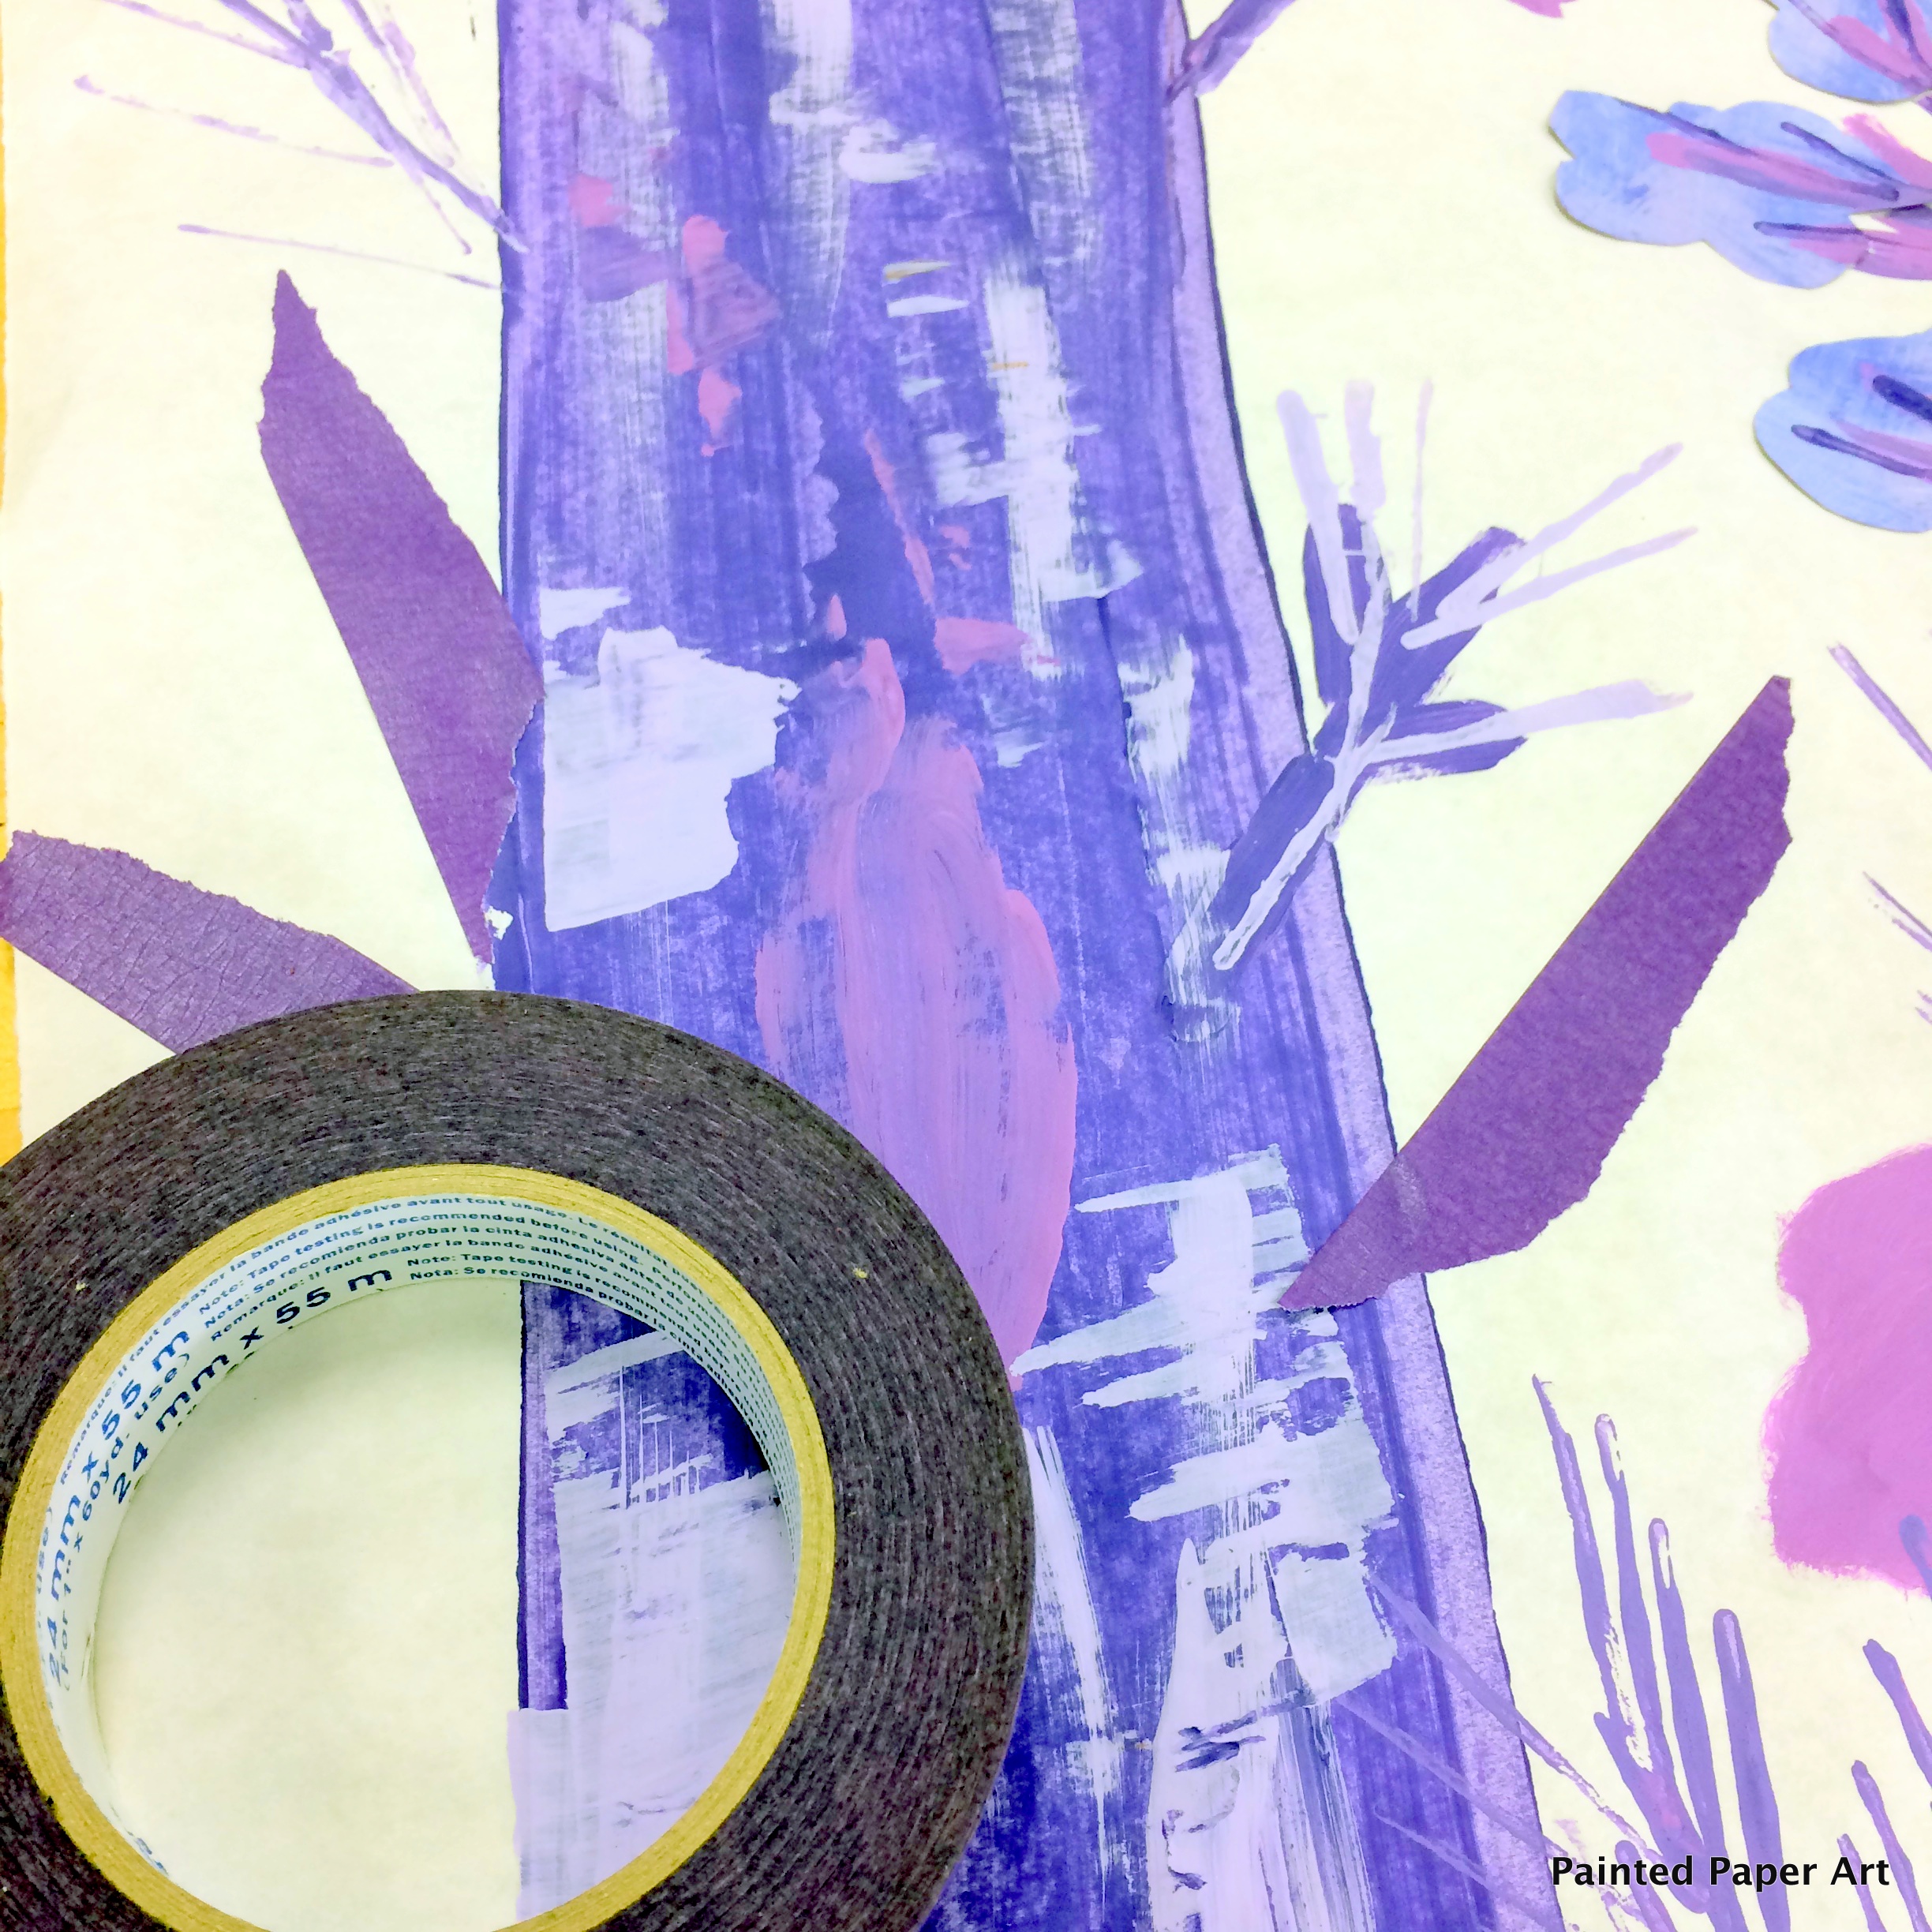
Let dry. Add jagged branches with colored taped.
Hang and display.
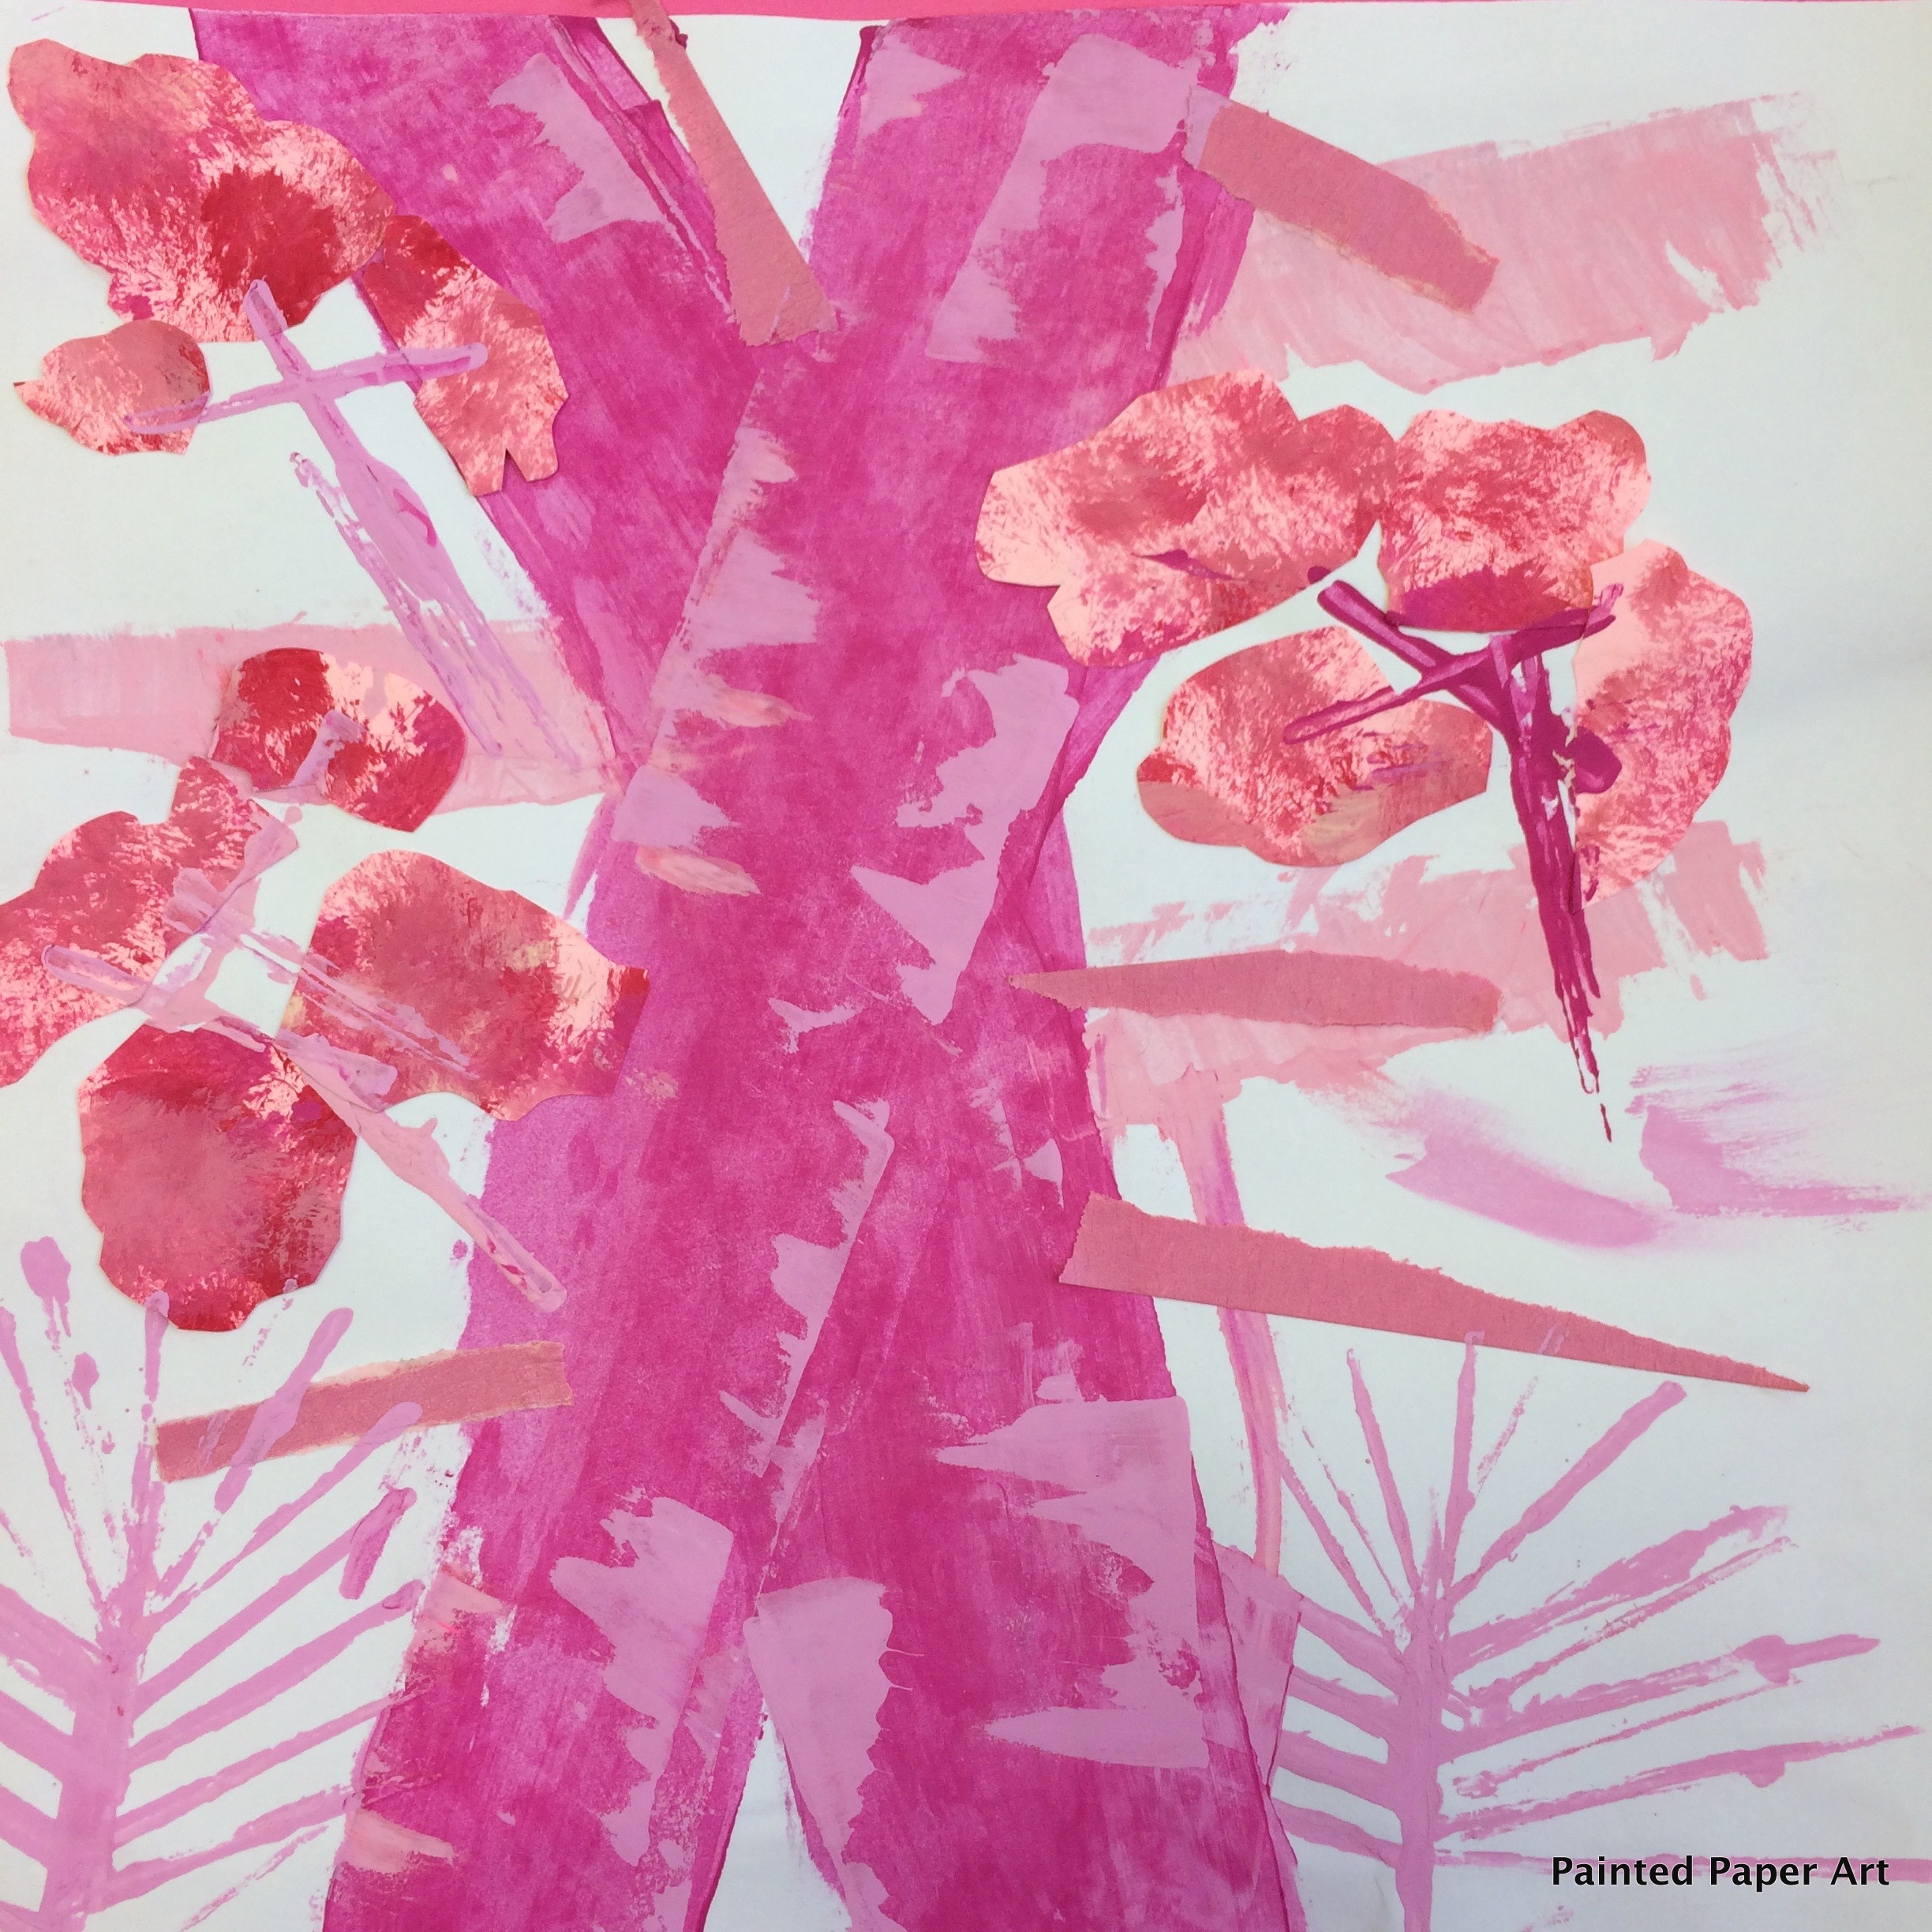
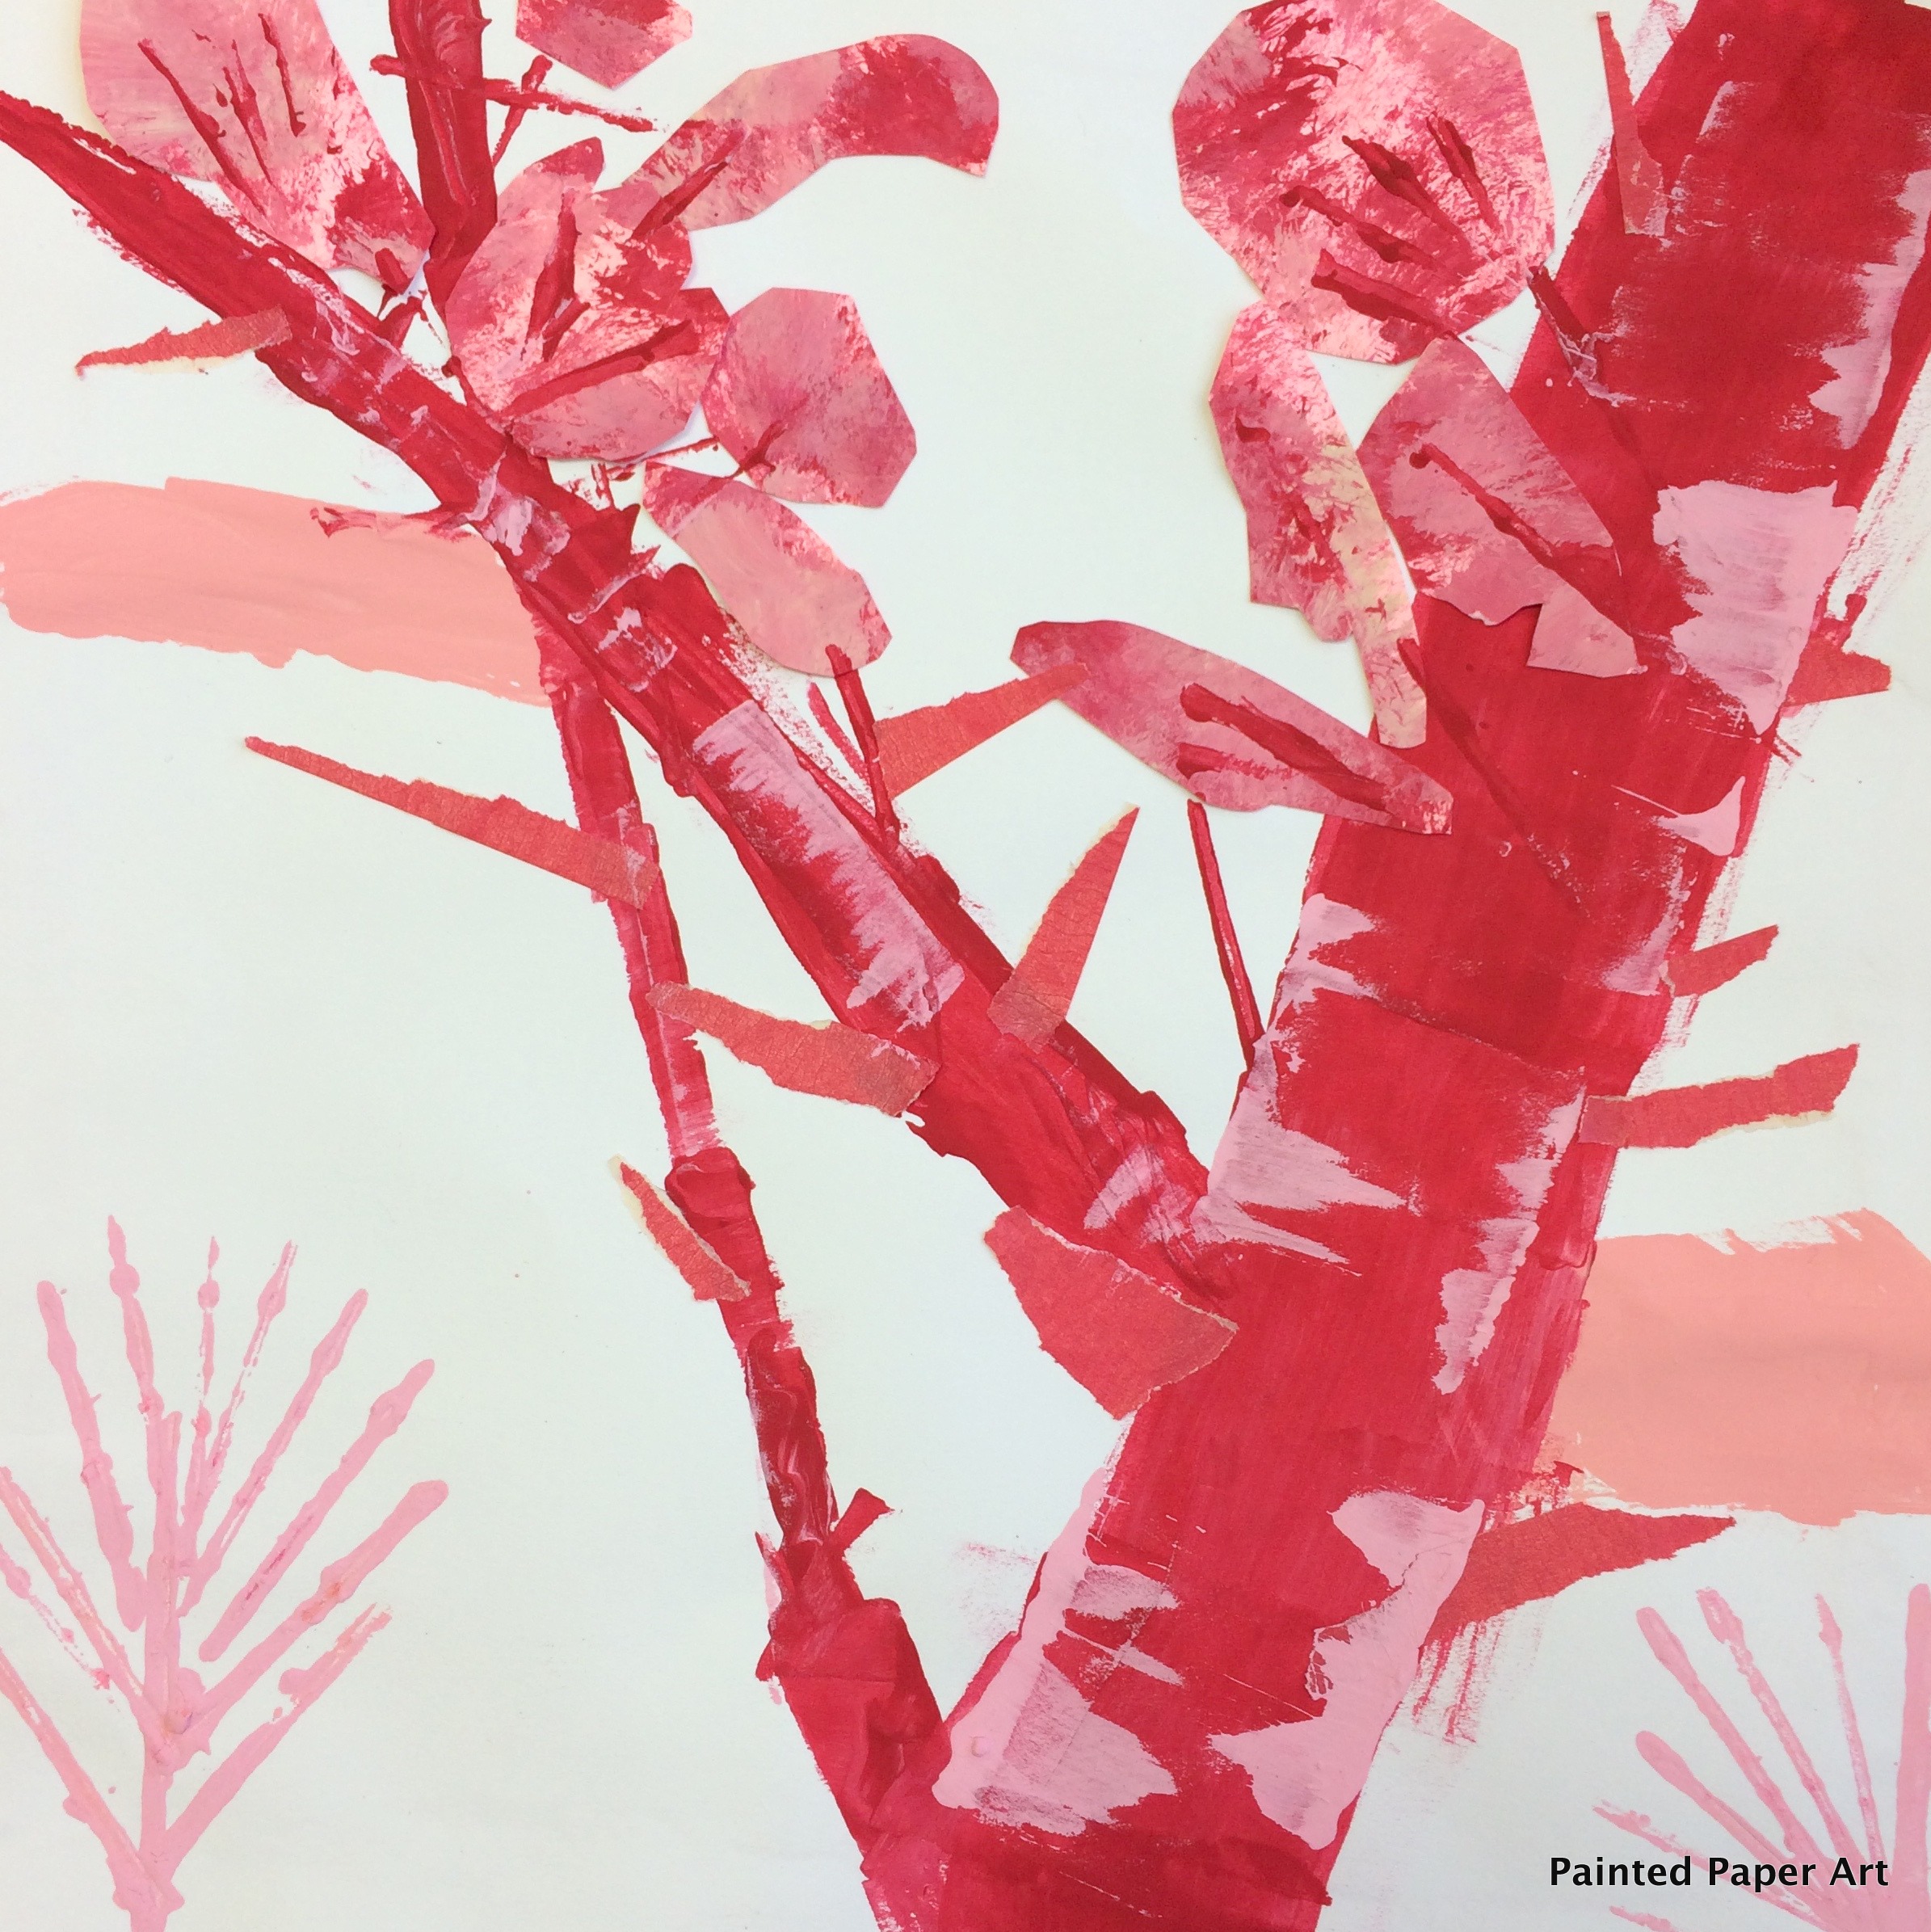
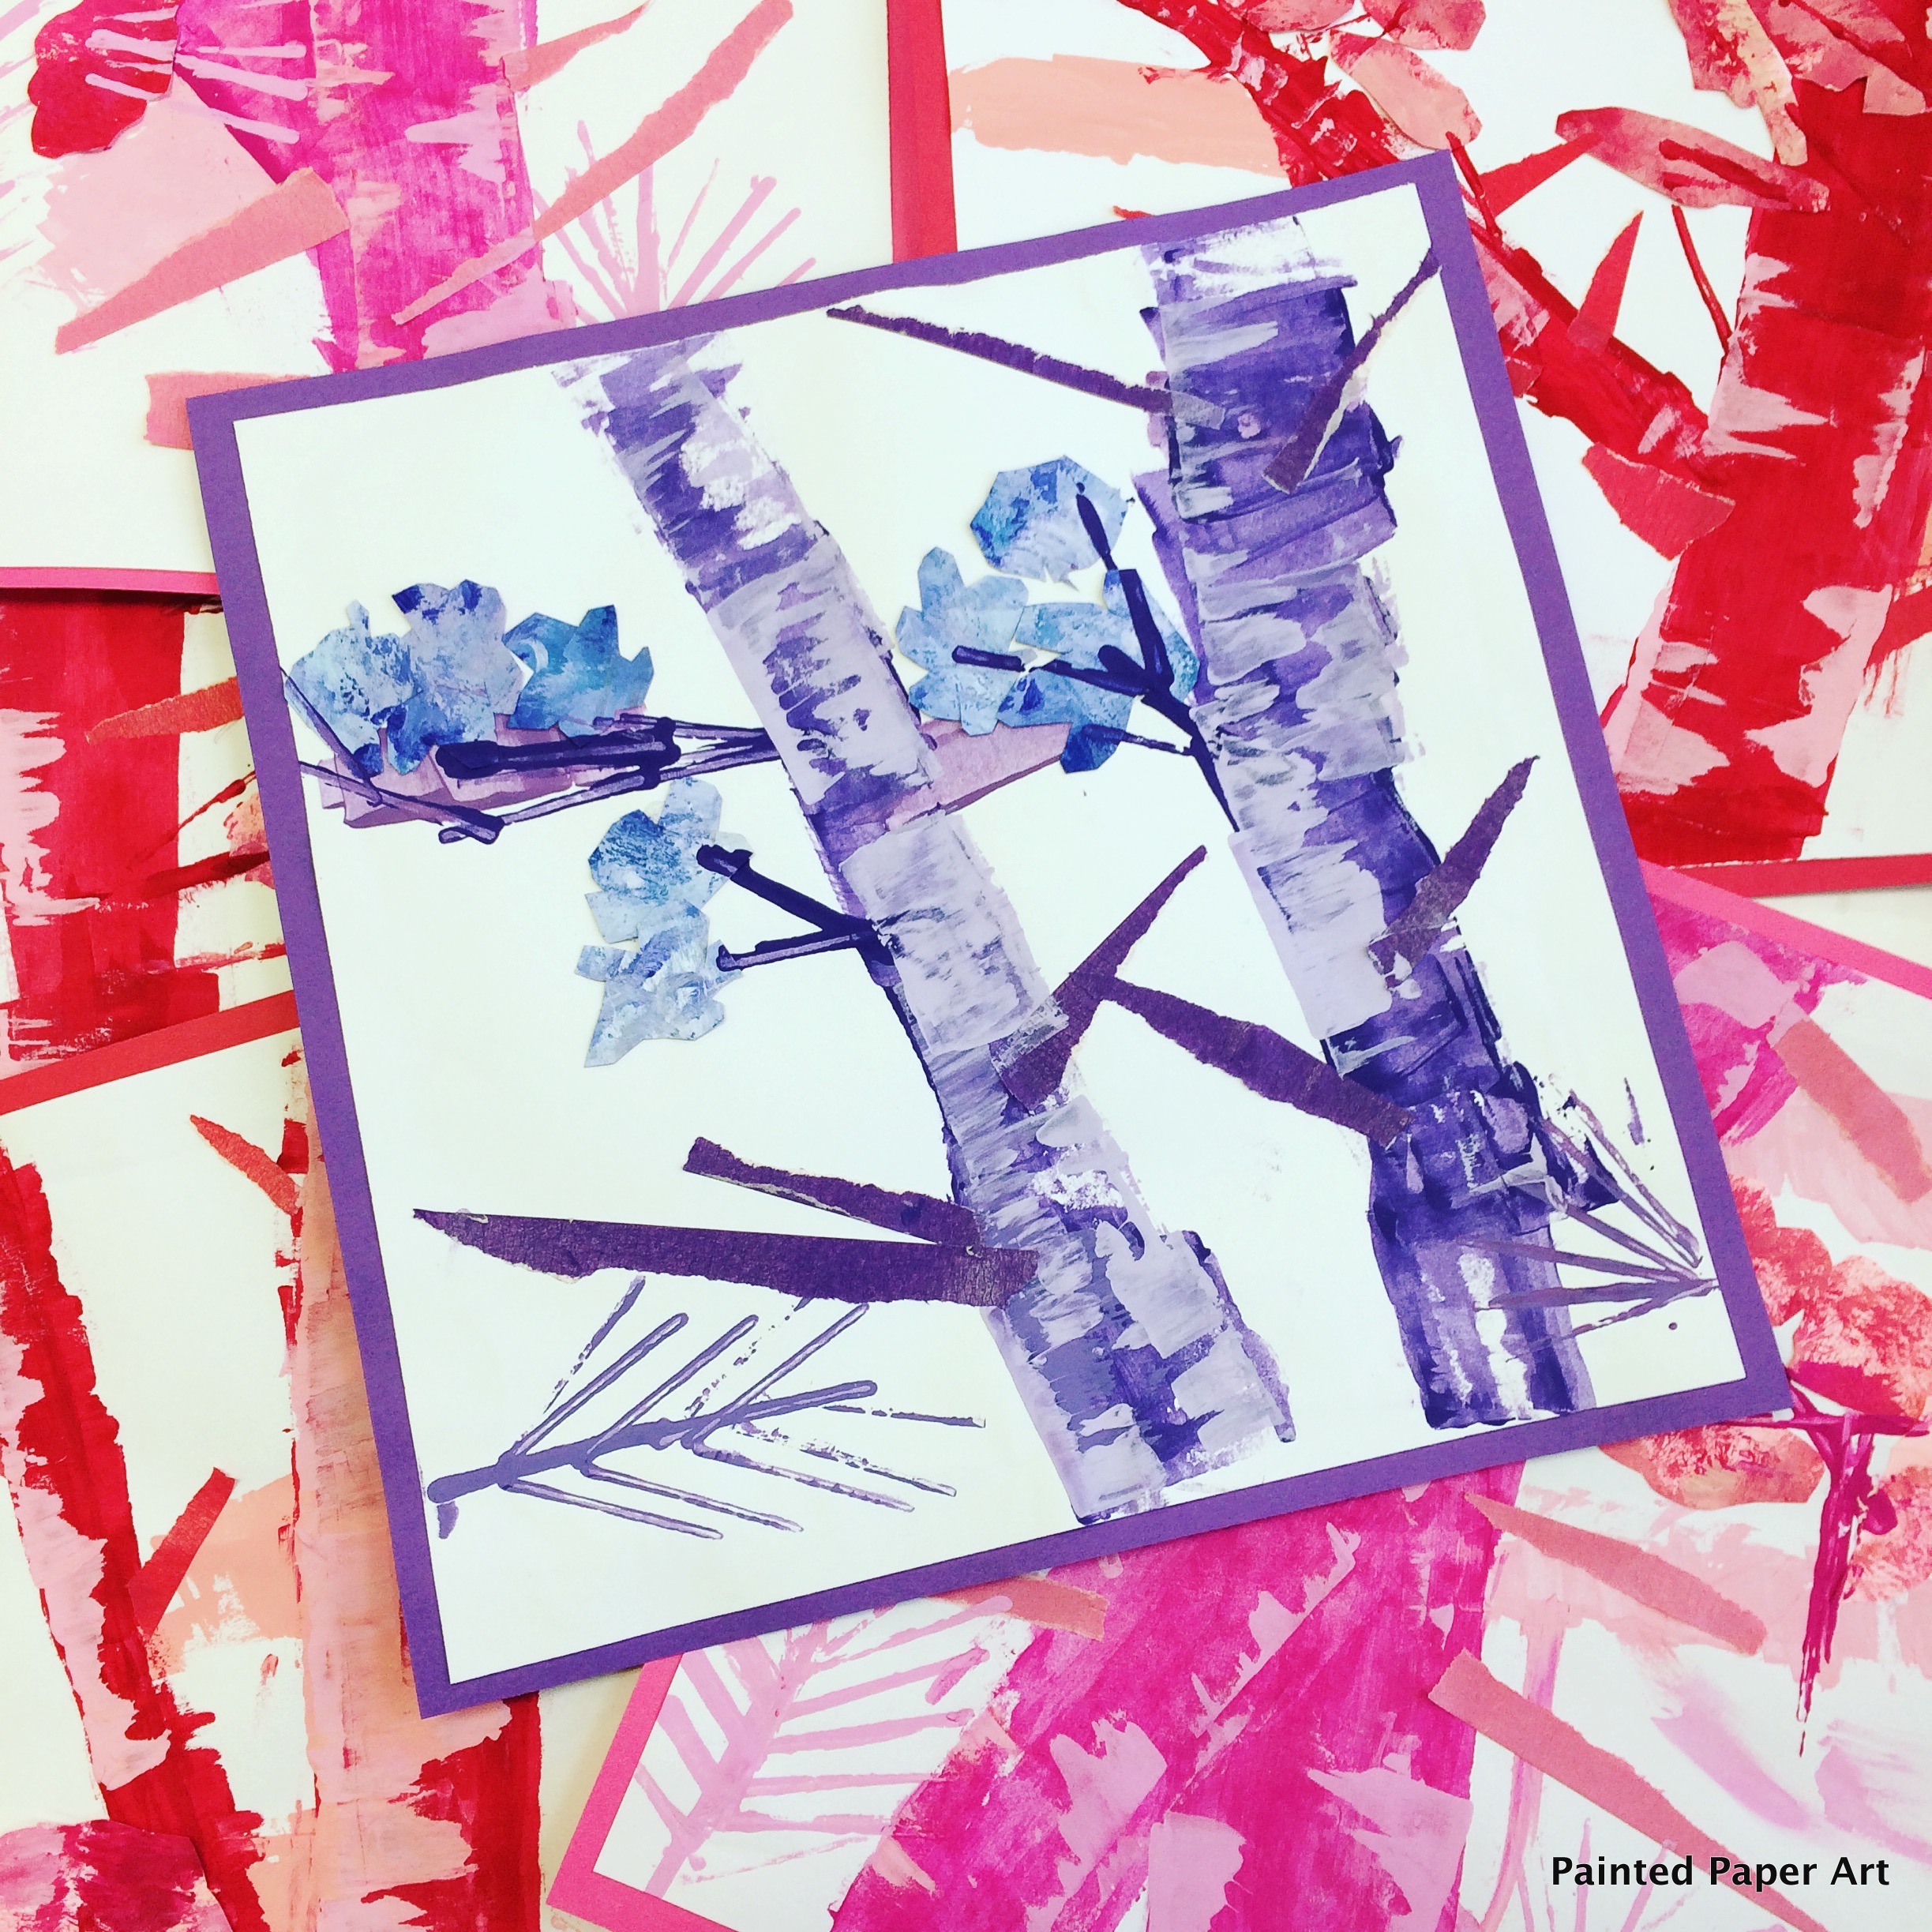
We also made smaller versions using 11.5″ by 11.5″ sulphite drawing paper with the same color, along with red and blue. Make two additional tints of the main color. (A tint is when you add white to a color.)
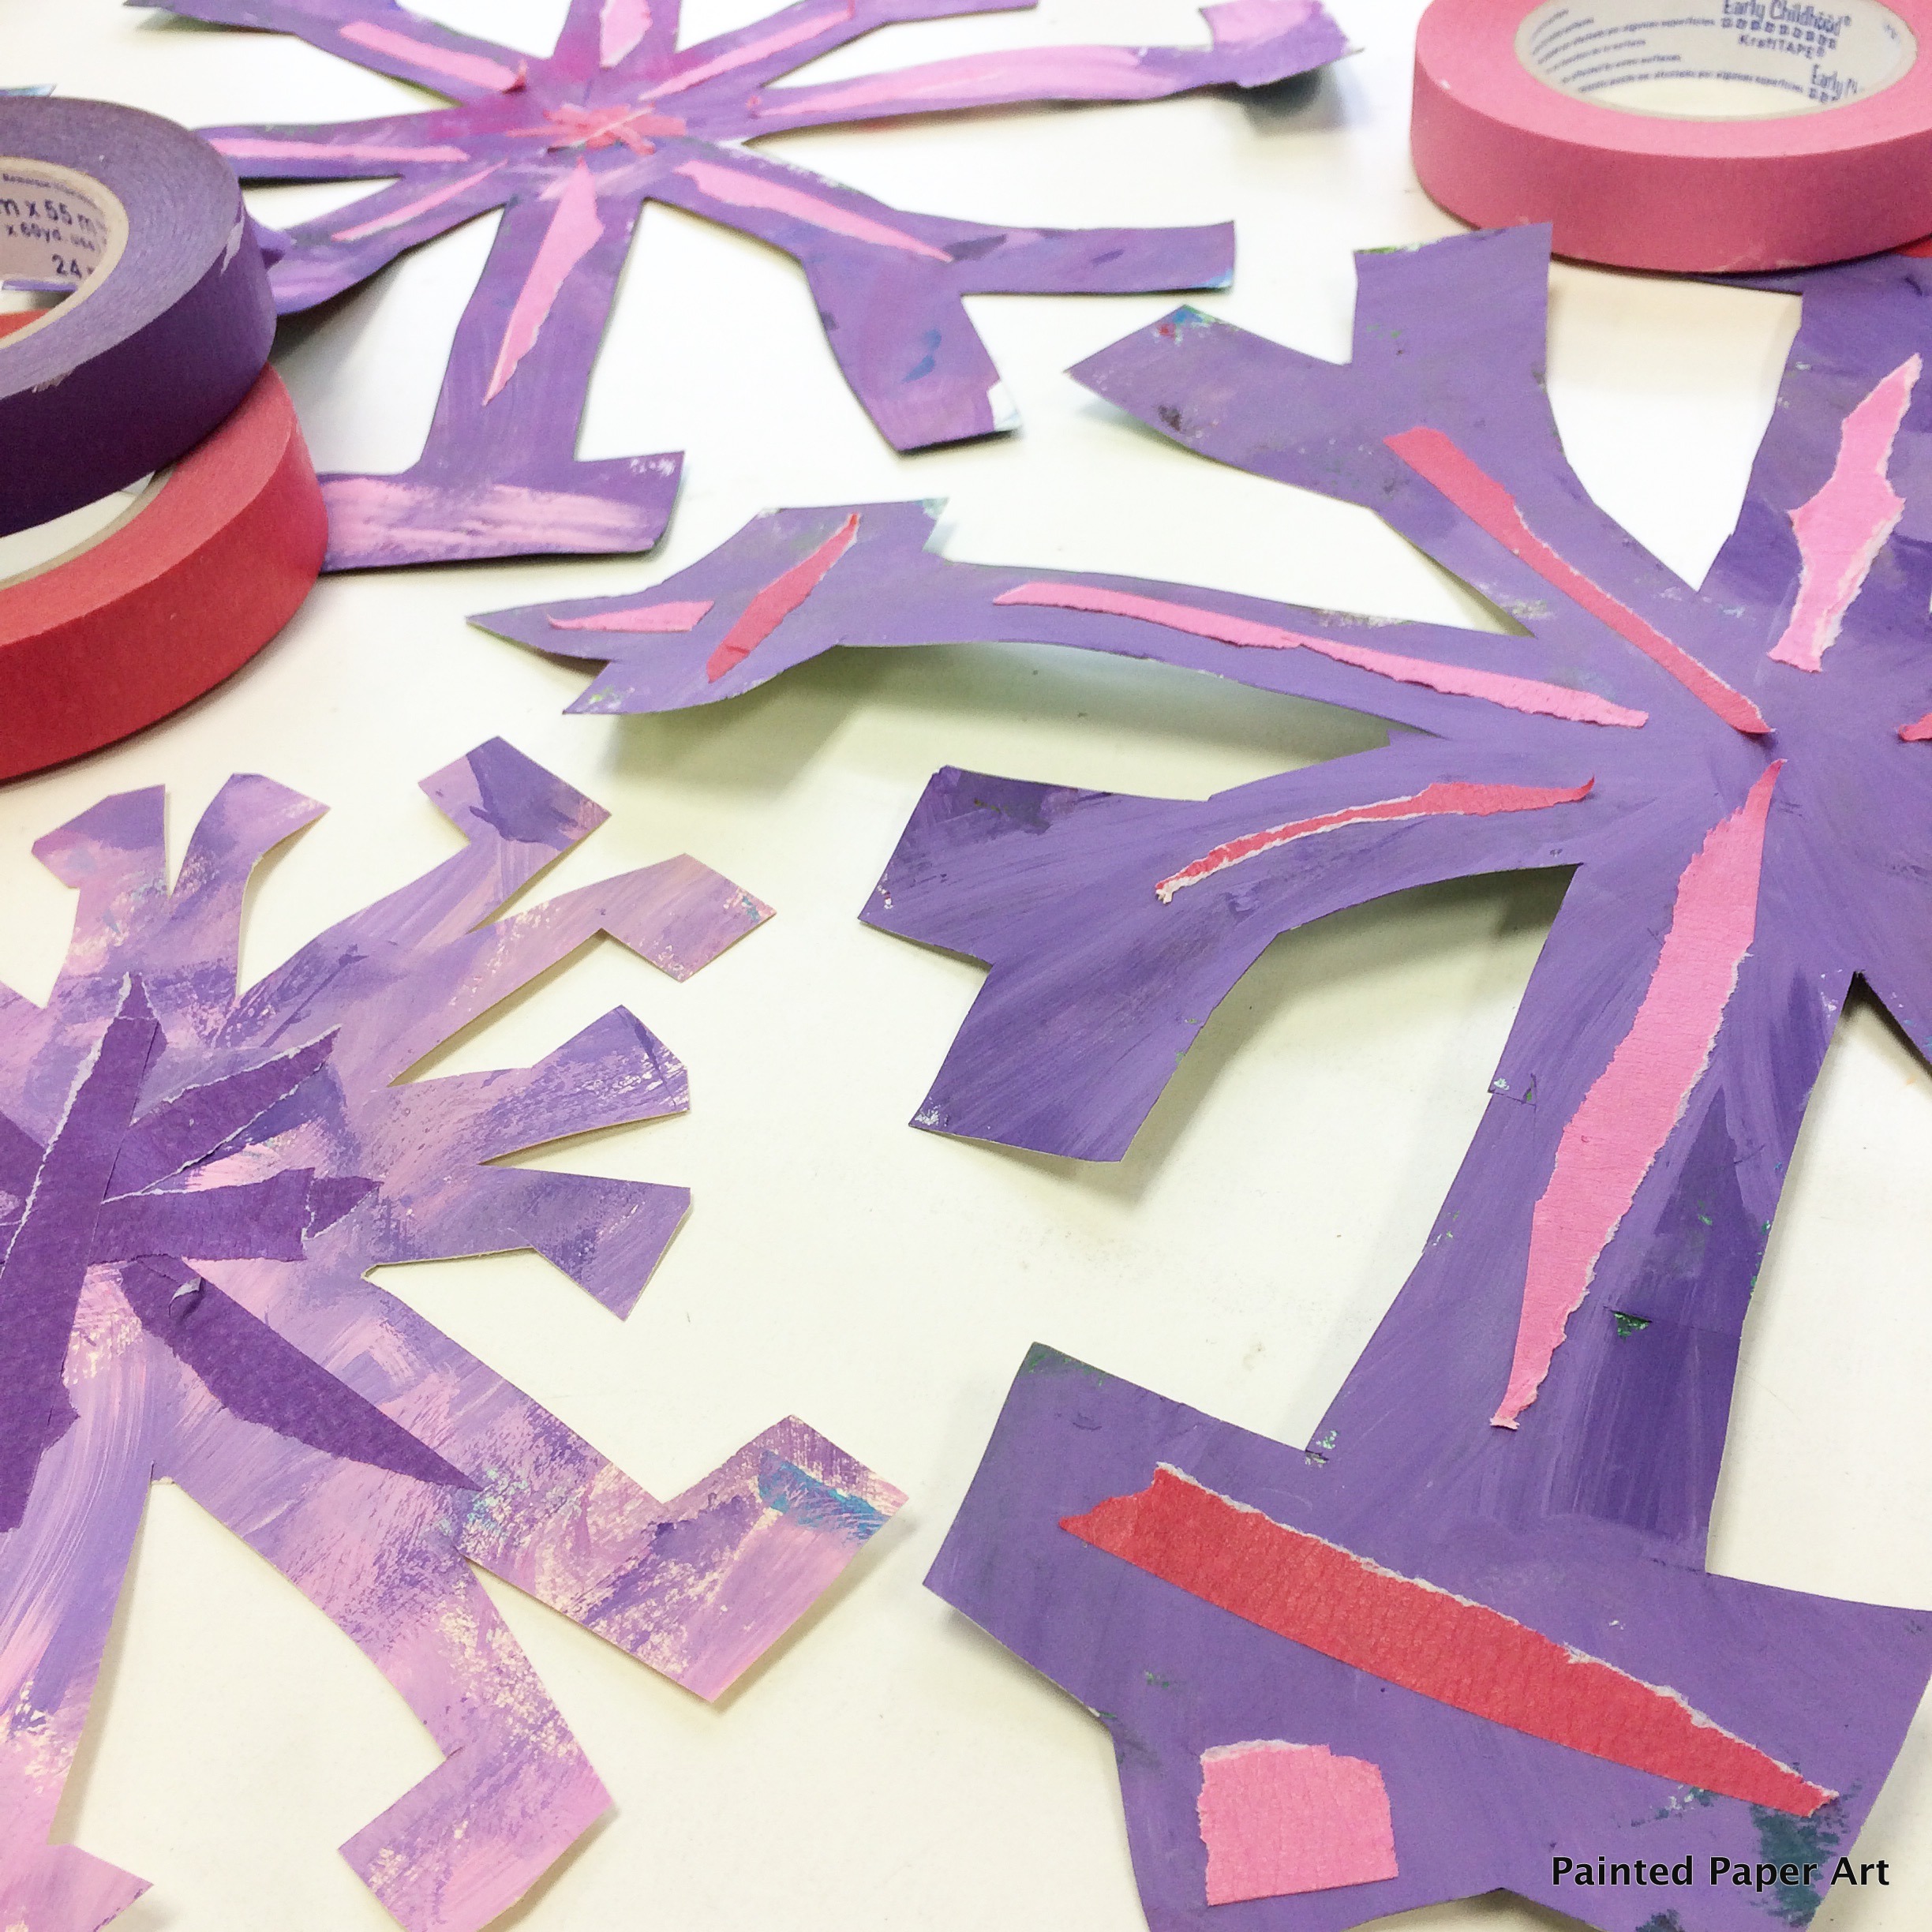
We also made BIG snowflakes with the left over paint and added some details with the colored tape.

Leave a Reply