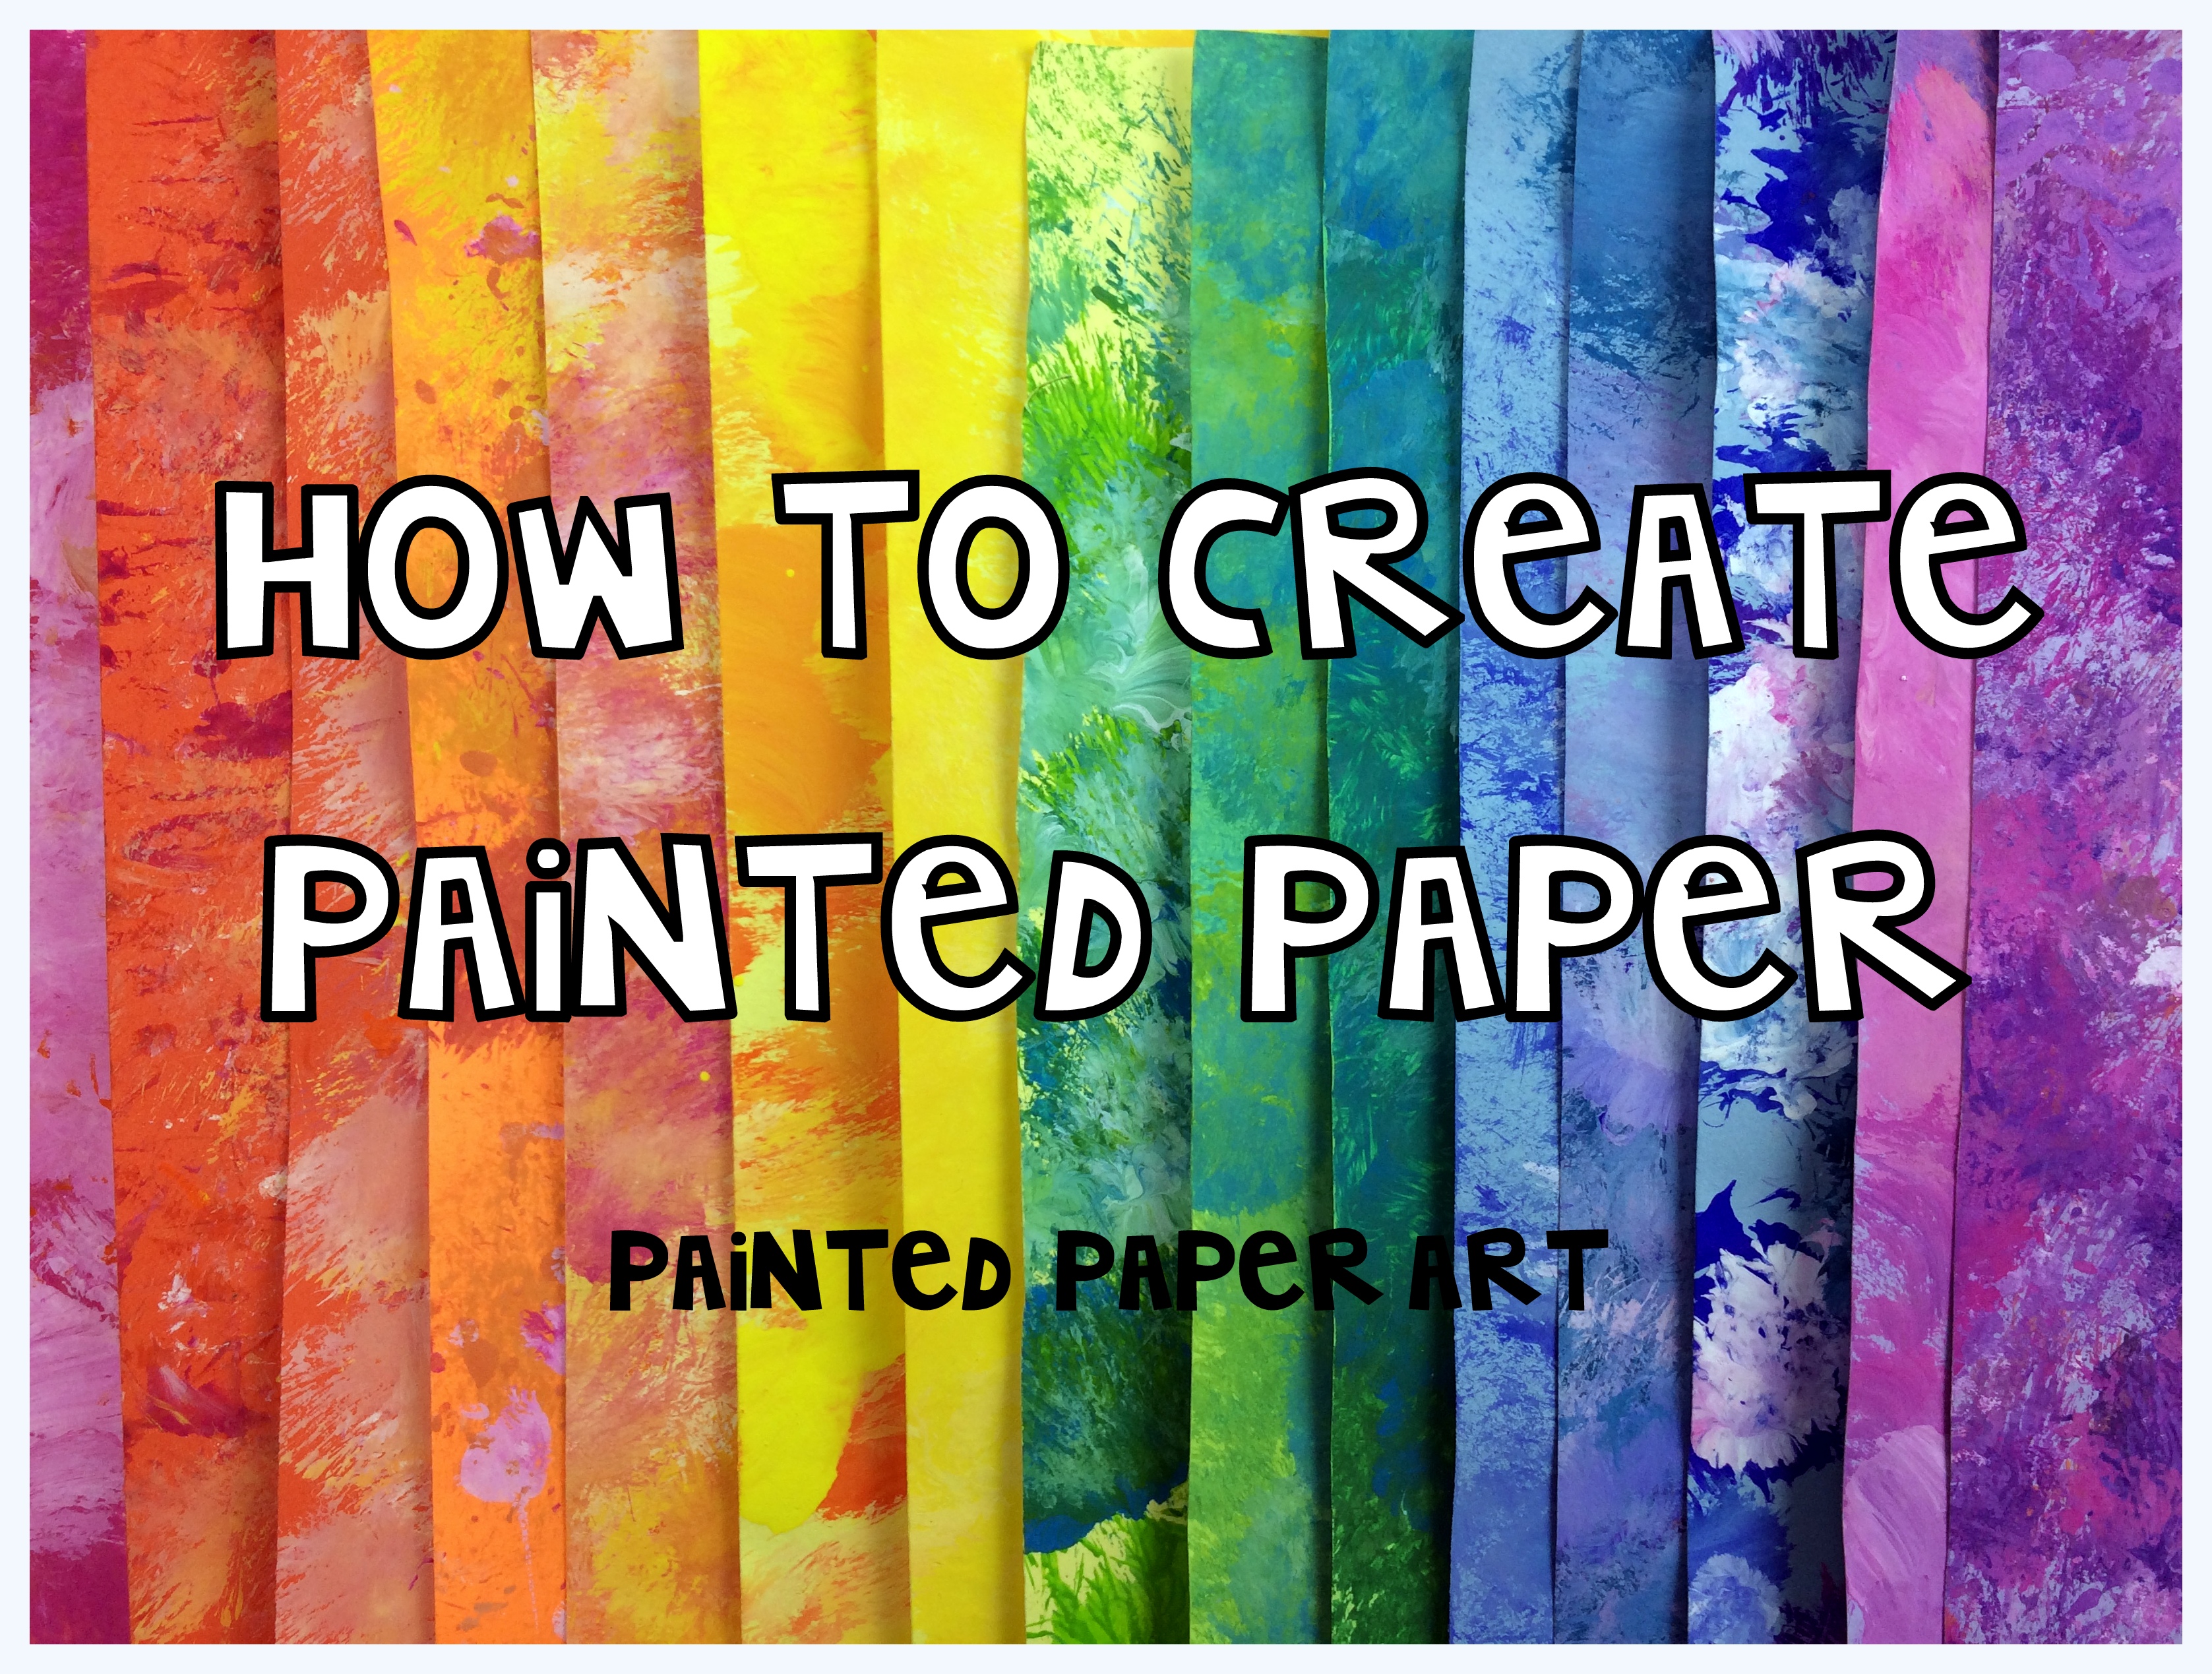
Many folks have had some great questions about the process of creating painted paper. I created a tutorial video on how I create painted paper with my little artists.
How do I organize creating painted paper so that I will have the right colors and amount of paper that I need? I basically have the kids paint the paper in a rainbow of colors. Here is where it gets tricky. If you don’t have a drying rack you will want to paint paper in small doses. Like maybe 25 sheets a day. I have a huge drying rack so I can have different classes make the different colors all in one day. For example a class of 25 kiddos can each paint 2-3 papers. So that is at least 50 pieces of 12 x 18 of one shade of painted paper. By the end of the day I have at least 250 sheets of various painted papers.
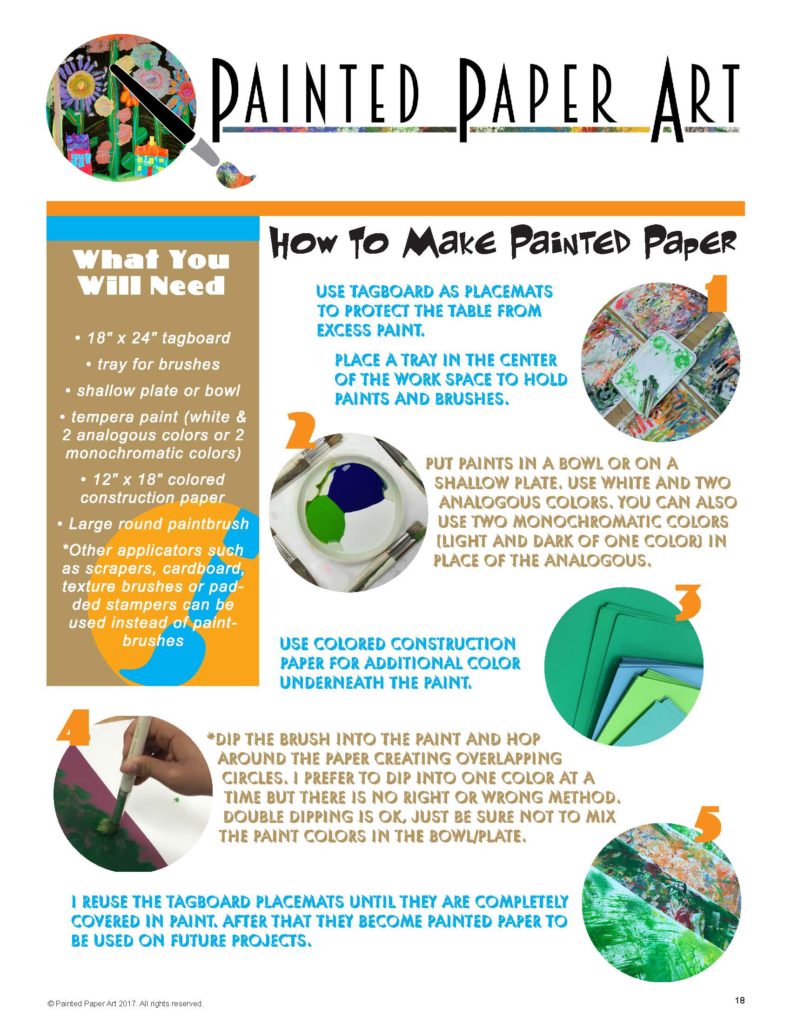
Supplies Needed:
1. Placemats
Have them grab a placemat~ a piece of 18 x 24 tagboard. Yes, it can get a little messy so I like to protect the work surface. Plus these placemats turn into beautiful works of art!

2. Paintbrushes
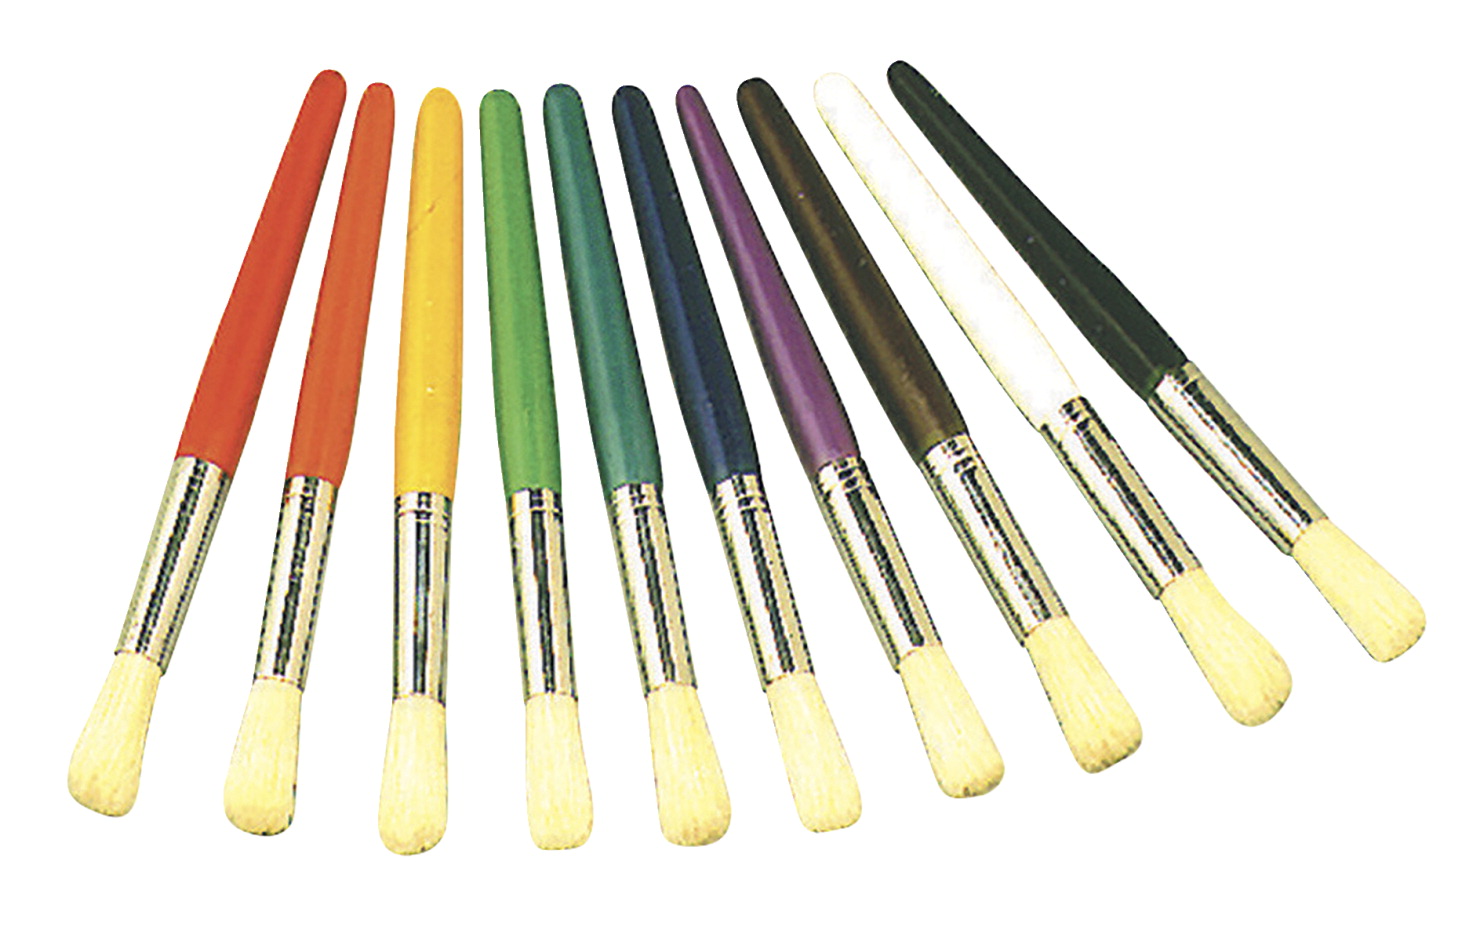
I use inexpensive large round brushes as they are the best to hold the paint. These are my favorite from School Specialty
3. Construction Paper
I use TRU Ray 12 x 18 construction paper as it is the best to hold the paint.

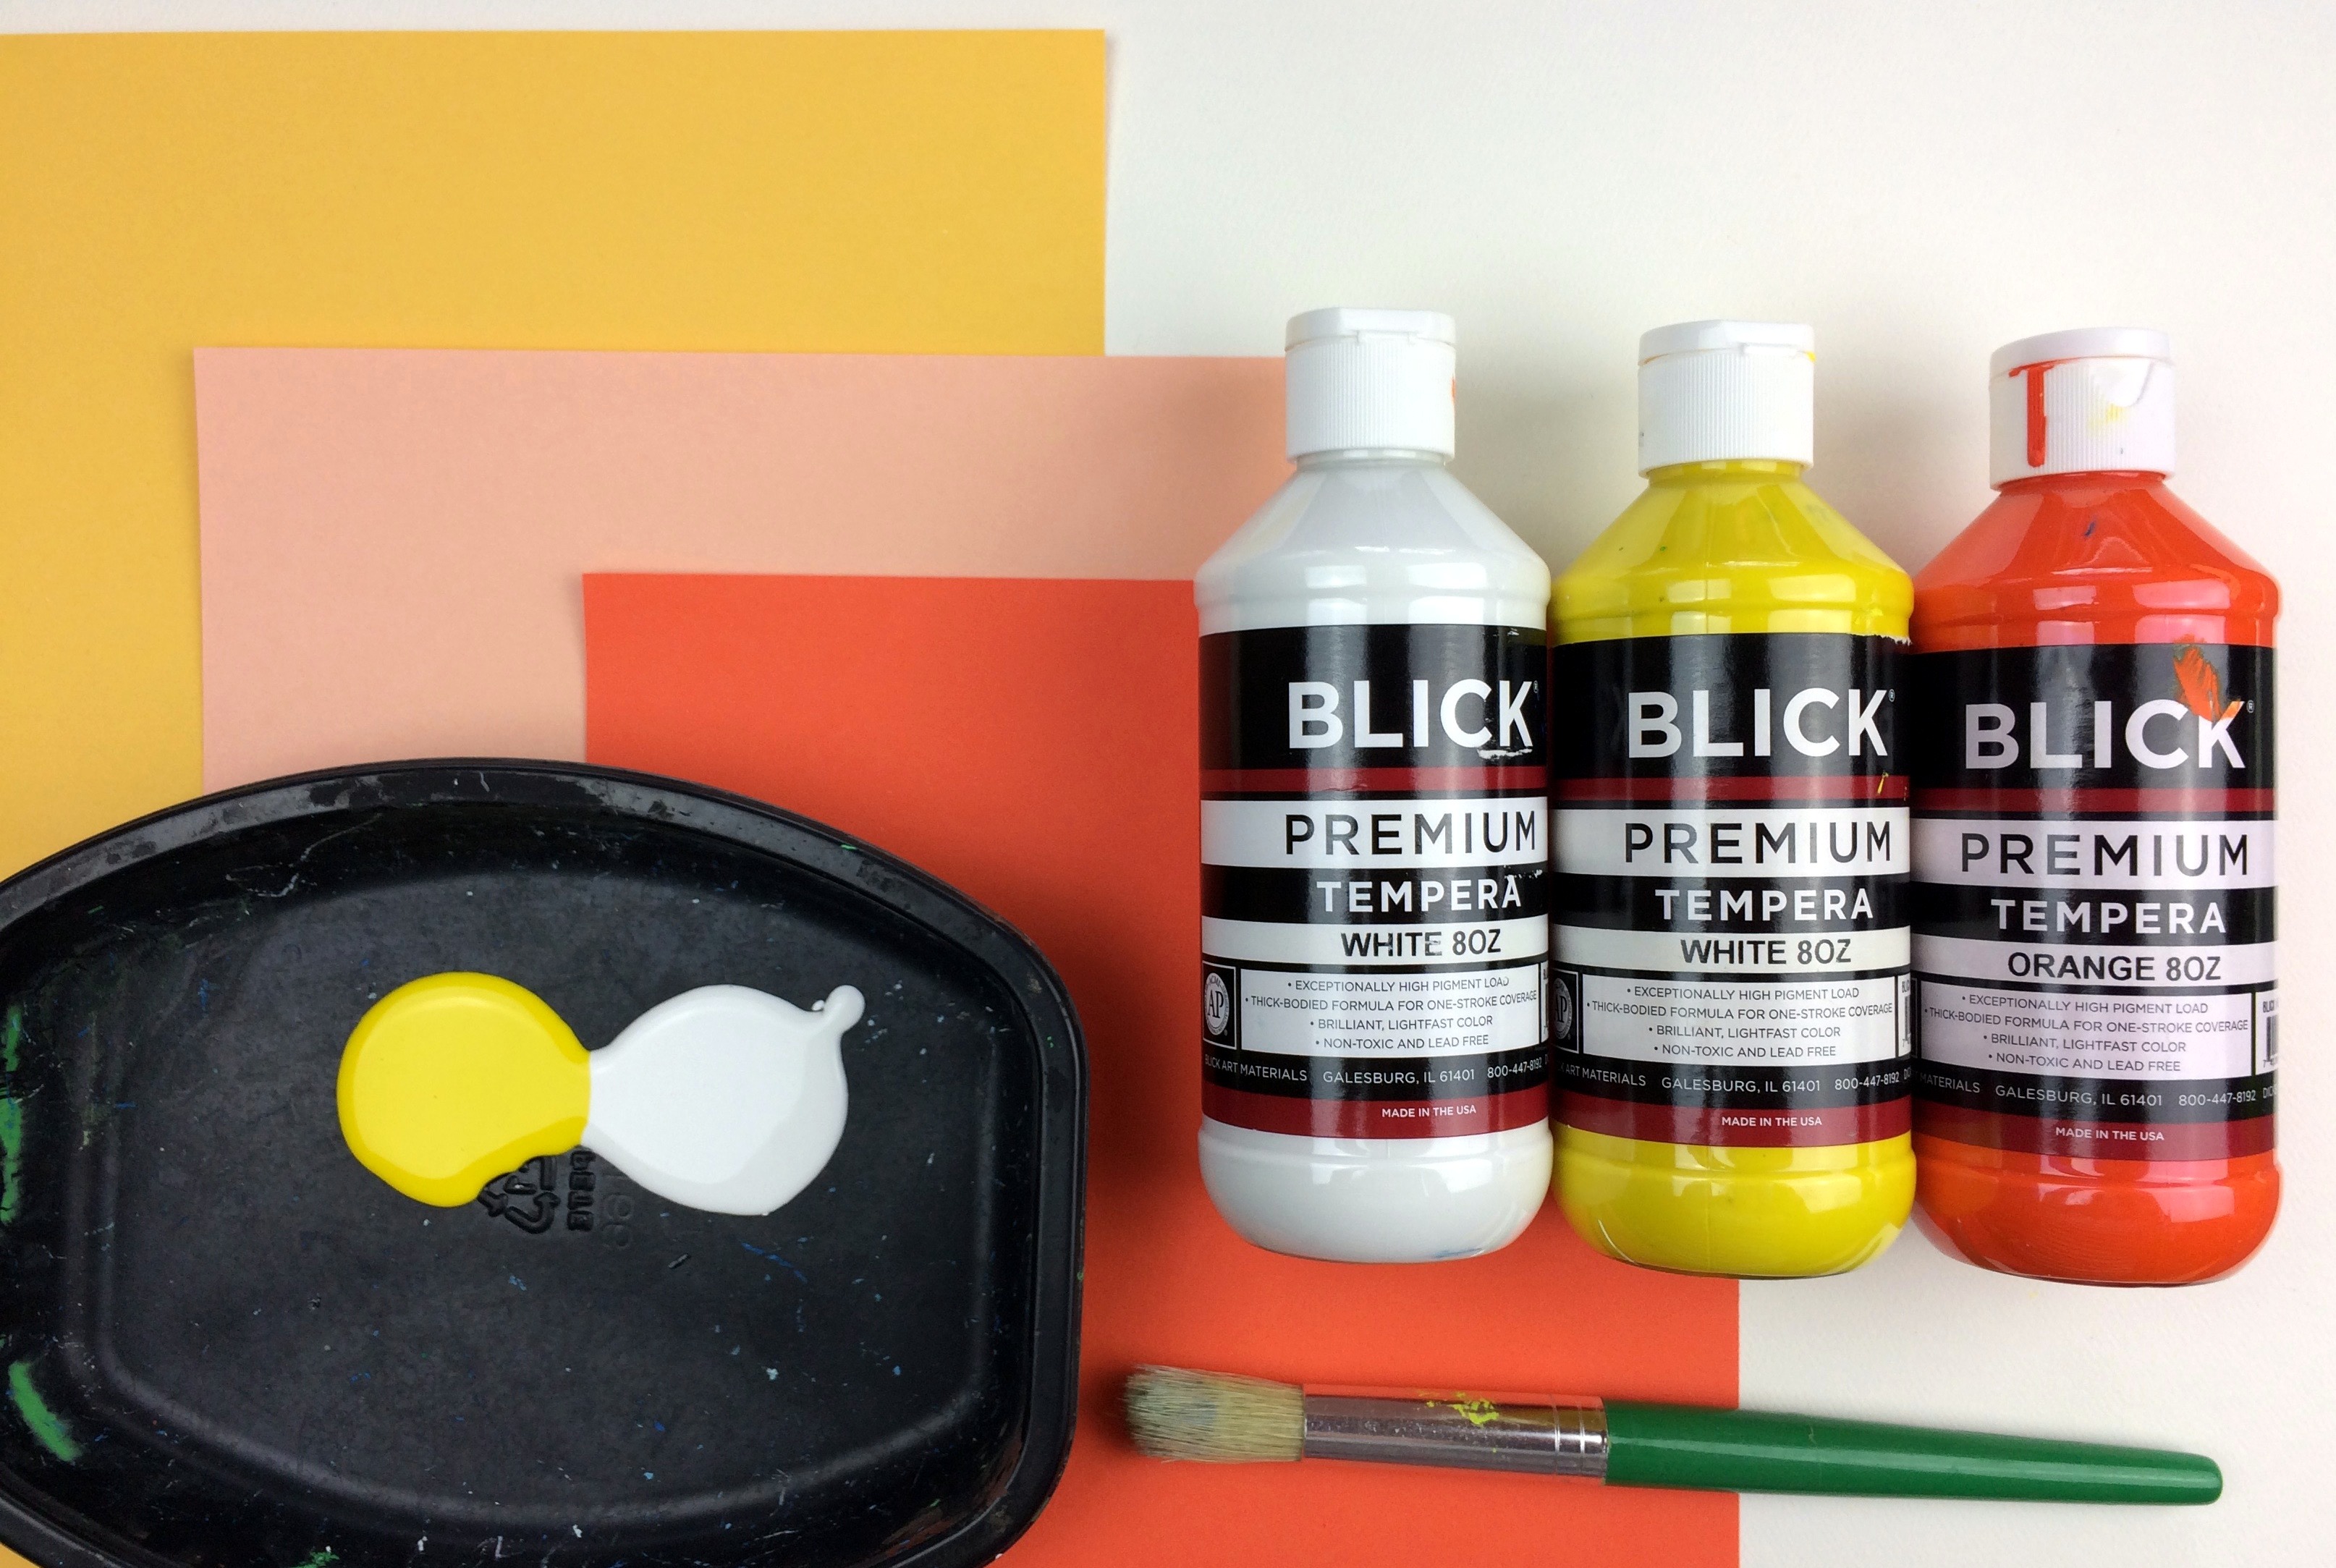
4. Tempera Paint
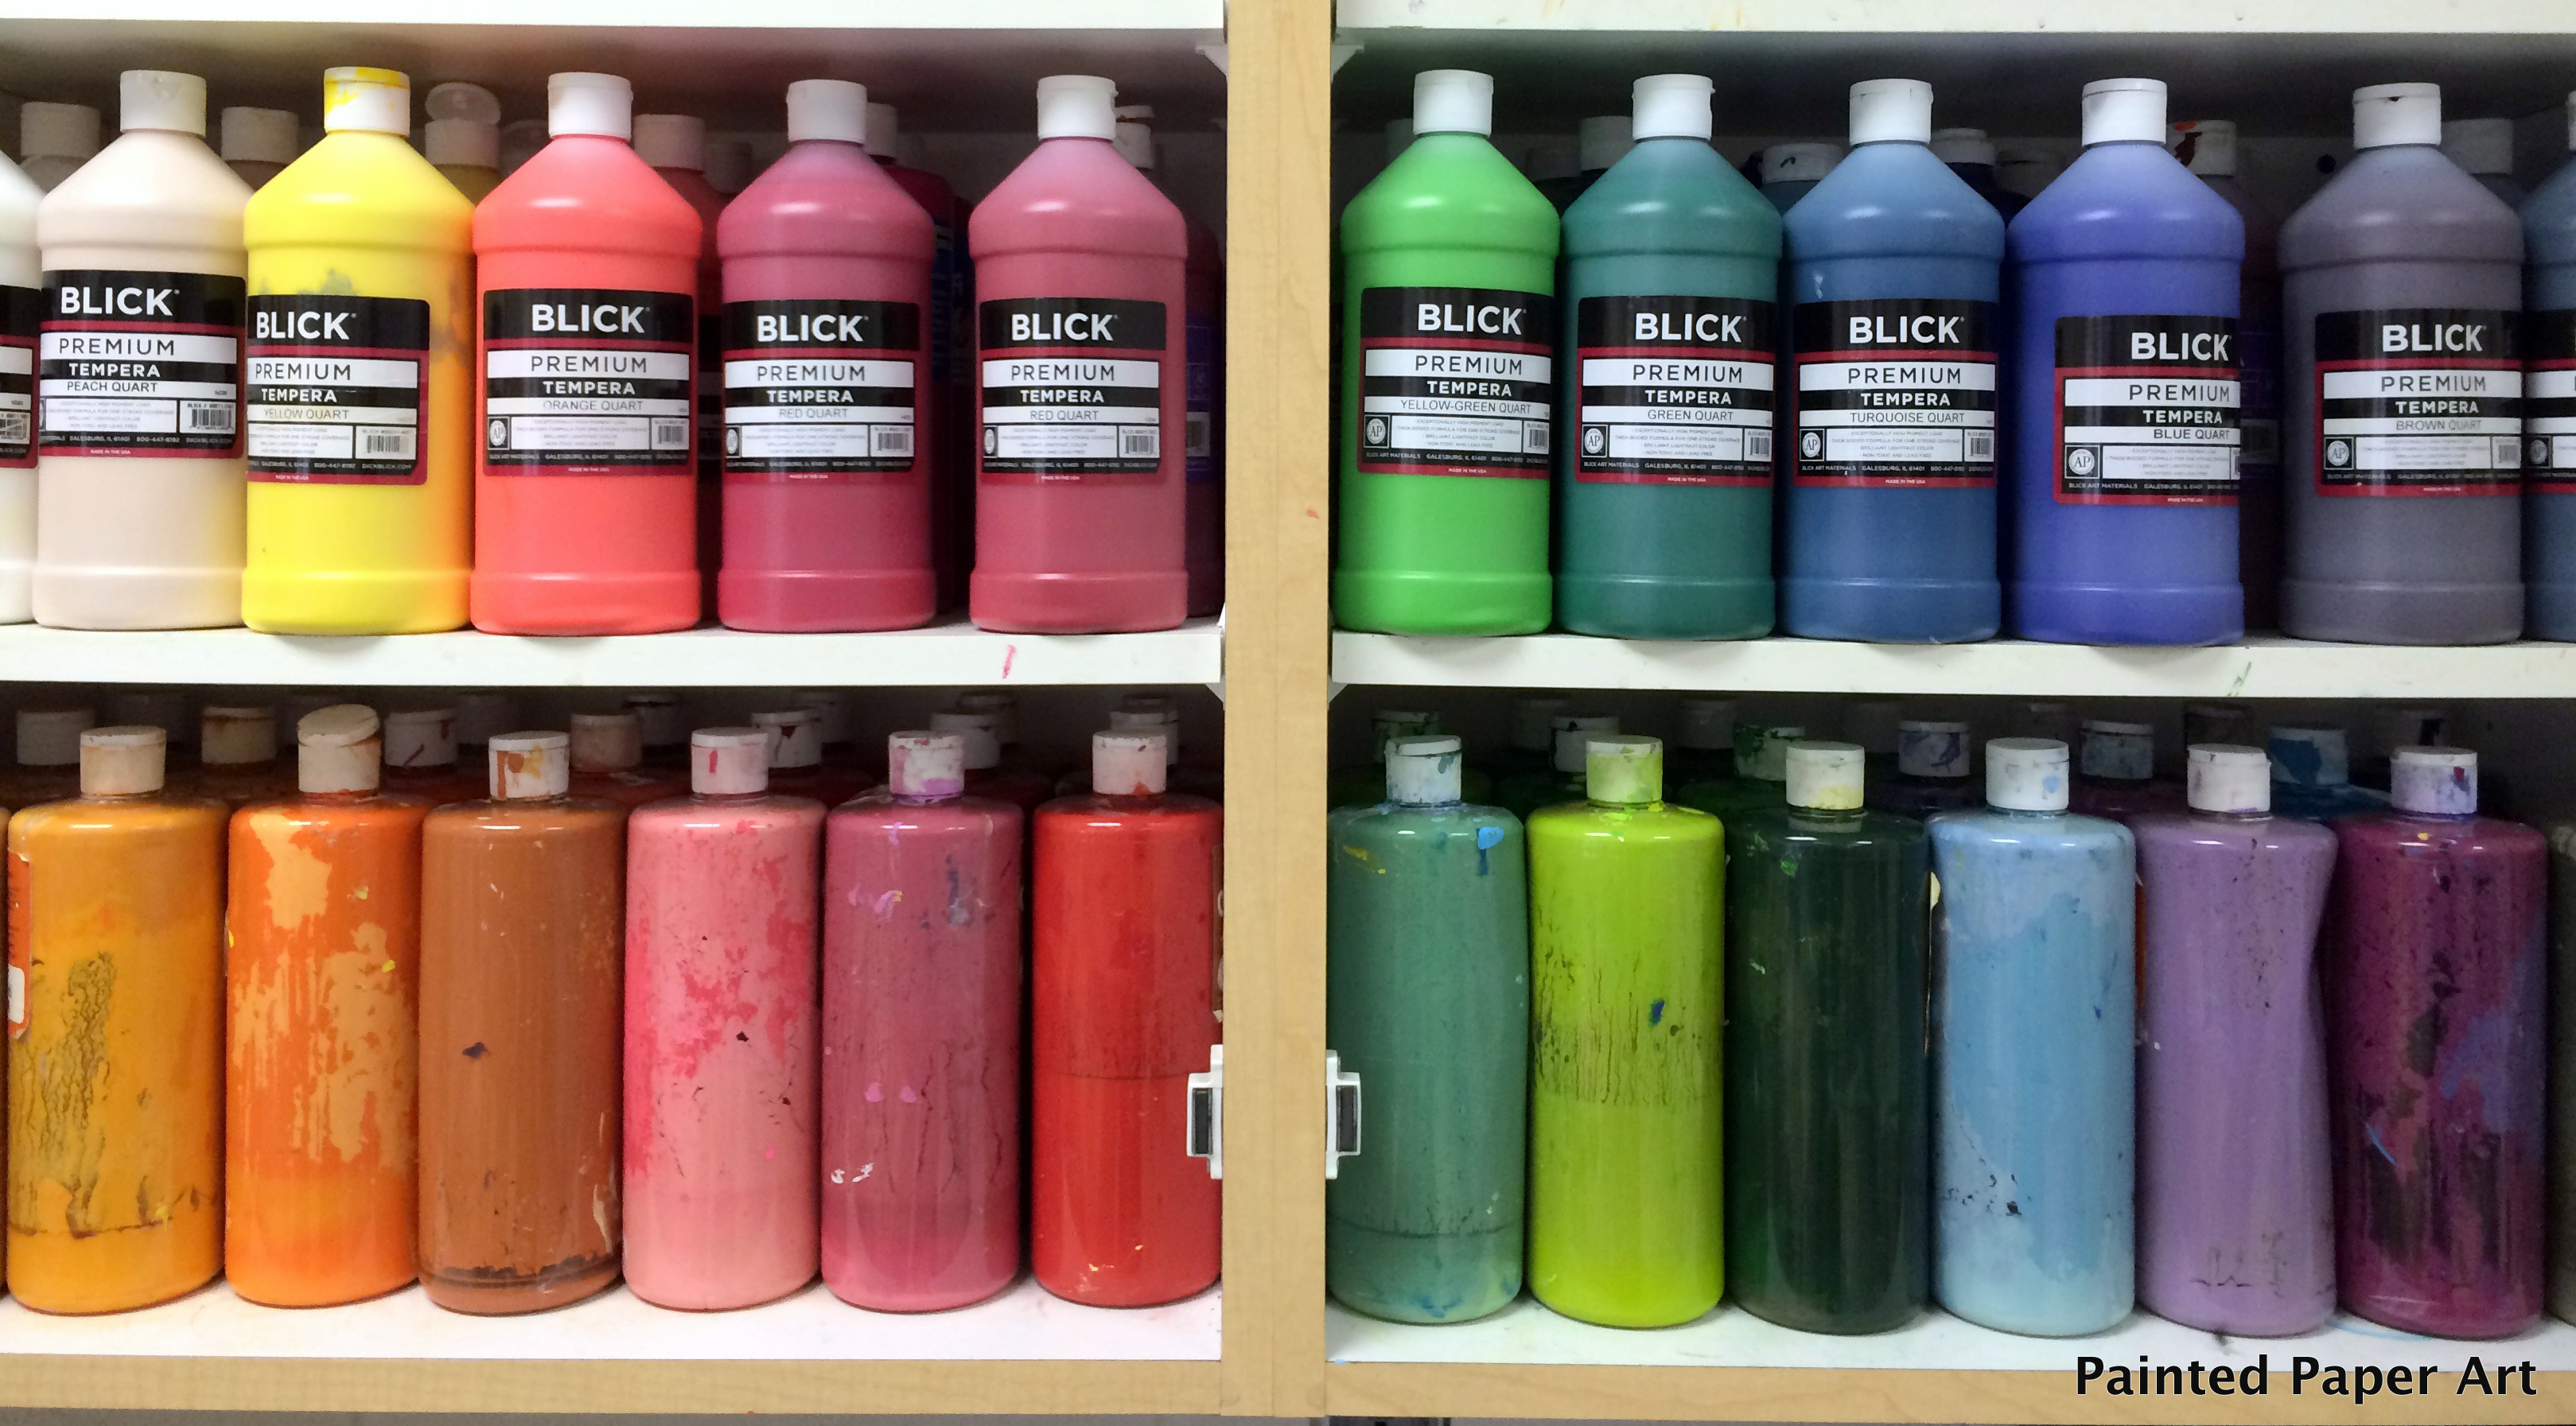
I use Blick’s Premium Tempera Paint. The paint is very opaque and smooth in texture.
Directions
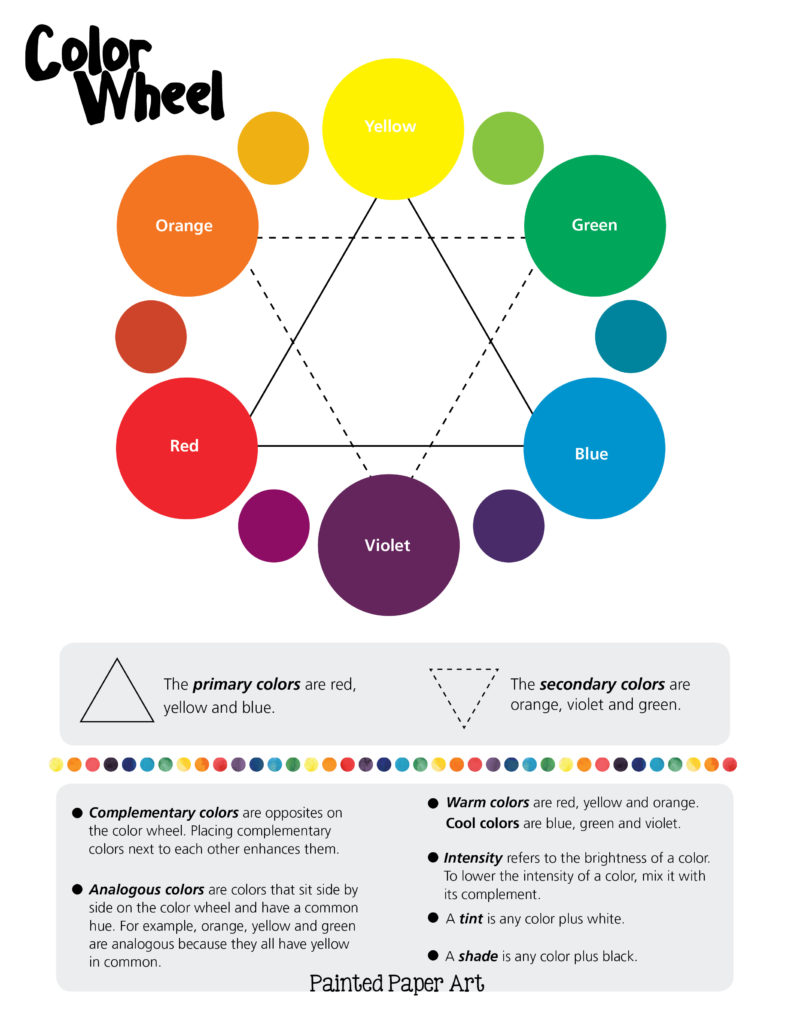
What is your strategy for deciding which paint color combinations, and on what color of paper? I use the Color Wheel / Rainbow for inspiration.
How do you start painting the papers? I start painting with my first class of the day. Students use yellow, white and a pinch of peach or orange premium tempera paint poured into small piles on a plate. Kids grab a sheet of yellow construction paper, and use big round bristle brushes. I demonstrate how to tap into the paint, not scoop, then hop the brush all around on a piece of yellow construction paper. Using the colored construction paper helps add an additional color. Also stress not to load up the paper with paint. Puddles of tempera paint just make a mess. If they have puddles have them dip their brushes into the paint and move that paint around.
I also encourage my artists to lay the brushes on the placemats not in the paint trays when not in use. If your artists need to wipe their brushes have them wipe on their placemats. This will just create beautiful painted placemats to use in the future.
Most importantly, never use water while painting. Water dilutes the paint and your vivid colors will dull.
After I see every artist has created at least one painted paper, I then walk around and add a little more orange tempera paint. Now, there is more orange paint than yellow in the paint trays. The goal of this is to start mixing new tints and shades on the paper. If you need to add more yellow or white, the kids will let you know. lol I describe myself as a waitress filling up the plates of paint like a waitress refills their drinks at a restaurant. We talk about patience and manners and to raise your hand if you need more paint, never to yell. It works wonders!
The next class comes in to paint. The color of tempera paint that they would start with is orange, magenta, and white. The construction paper color would be peach or a pink, then maybe orange. Once they are done with their first round of papers they start adding red tempera paint from the plate. Remember, you will have to walk around and refill those little plates.
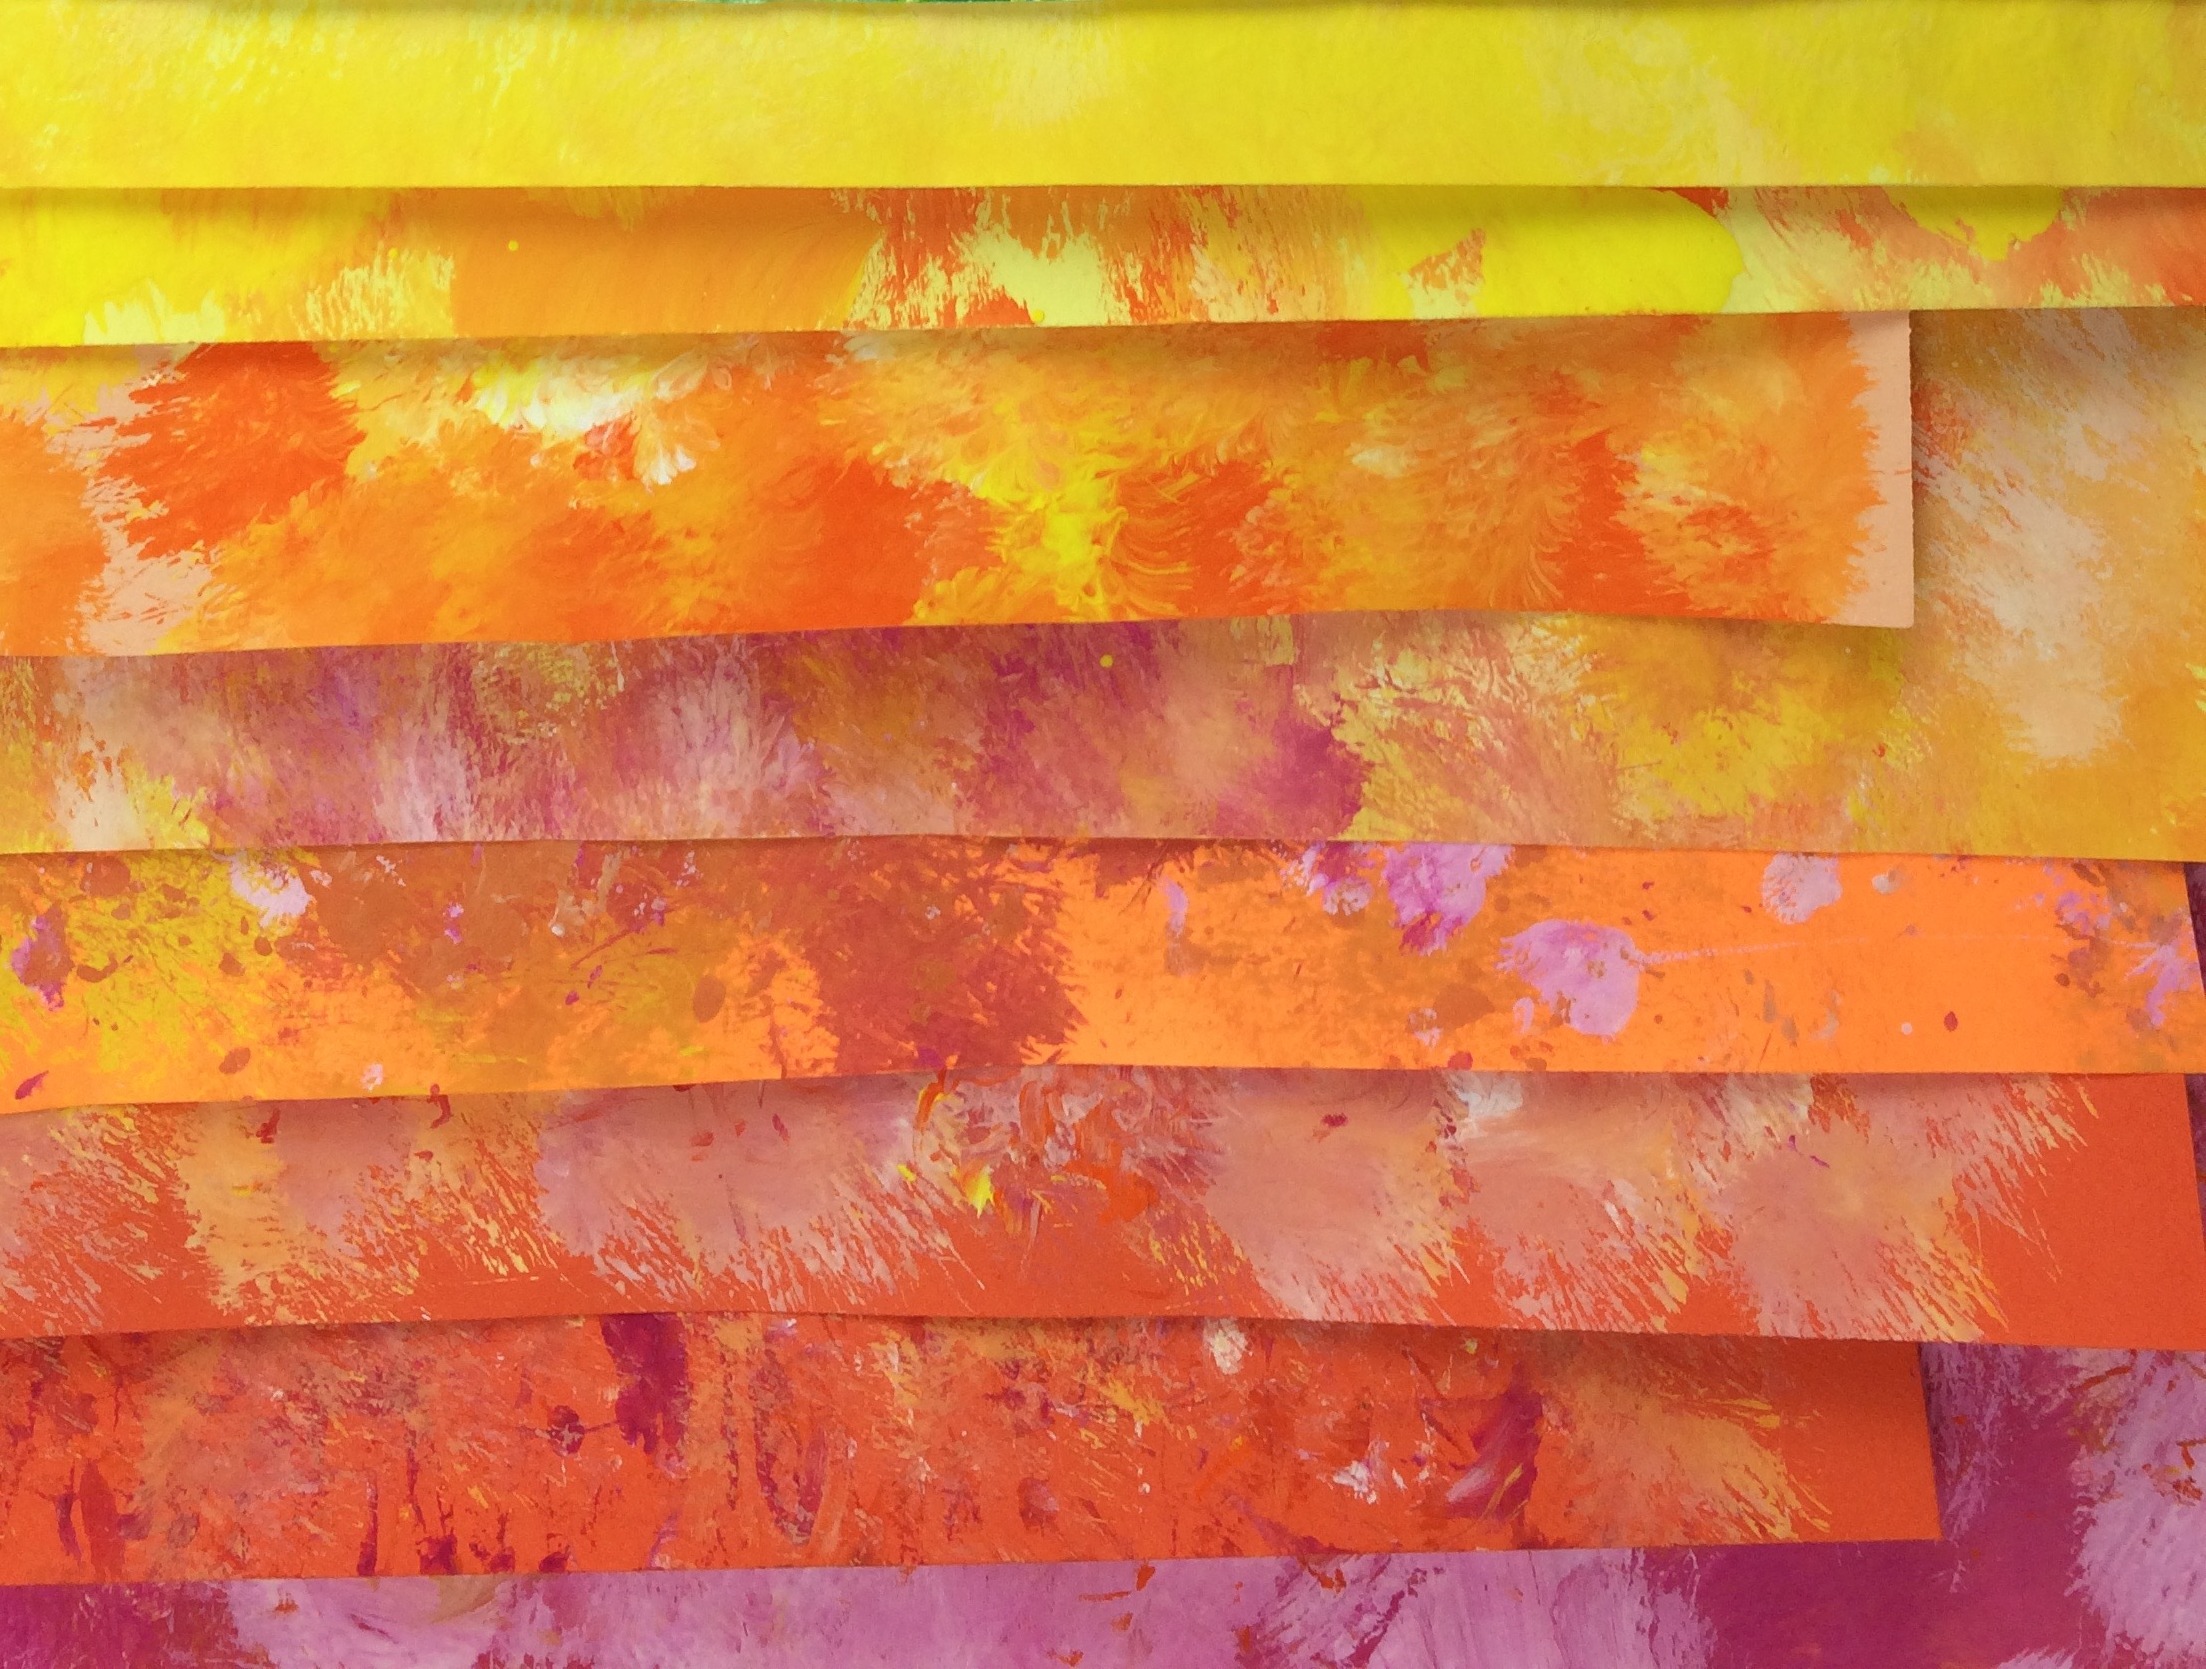
The 3rd class uses the same process with red, hot pink, and white paint with pink construction paper, adding a little purple paint to the mix for the second round of painted papers.
The 4th class uses tempera paints in purple and white with light purple construction paper, adding a little blue tempera paint to the mix for their second round of painted paper.
The 5th class uses all the blues and turquoises with light blue construction paper.
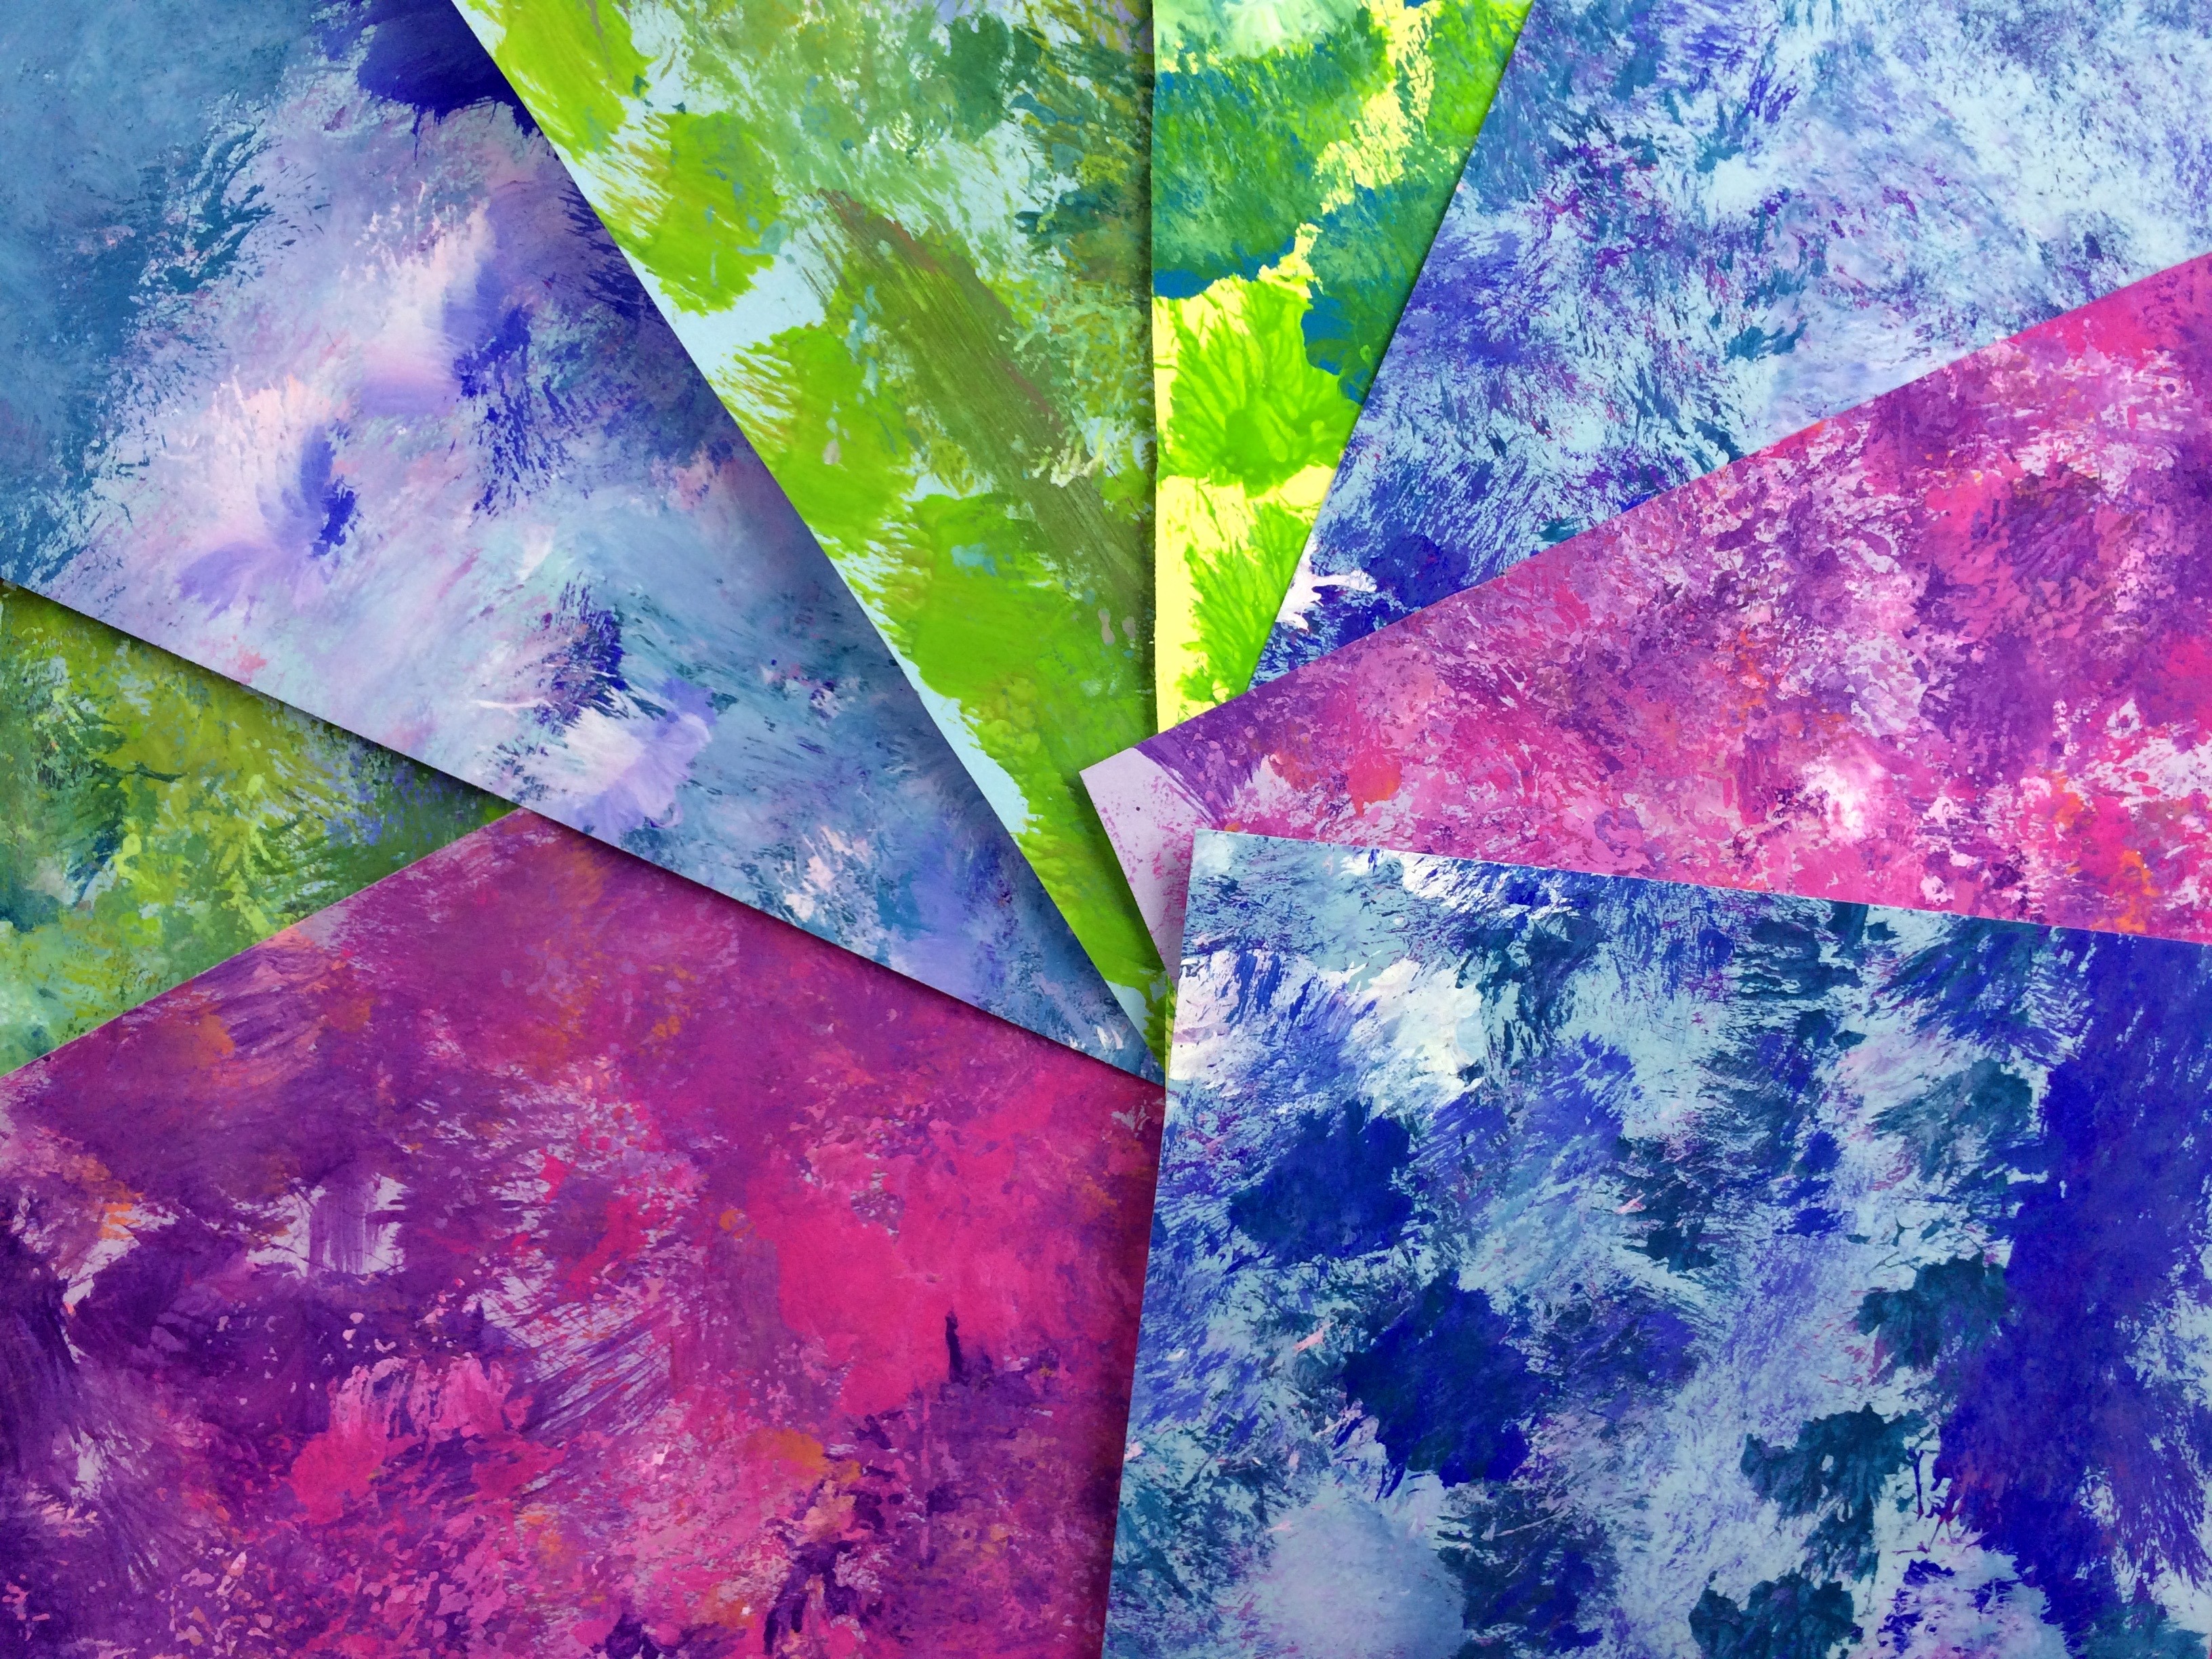
If you don’t have the space to dry these painted papers just have one class create them. Each table would be a different color with its analogous color in the plate. I use a color wheel poster for this process and explain what colors to use. Adding white creates a TINT, and a darker color added to the base color creates a shade.
My artists LOVE making these papers! They know they do not get their paper back because it goes into a community pile. They are all about the PROCESS! 🙂
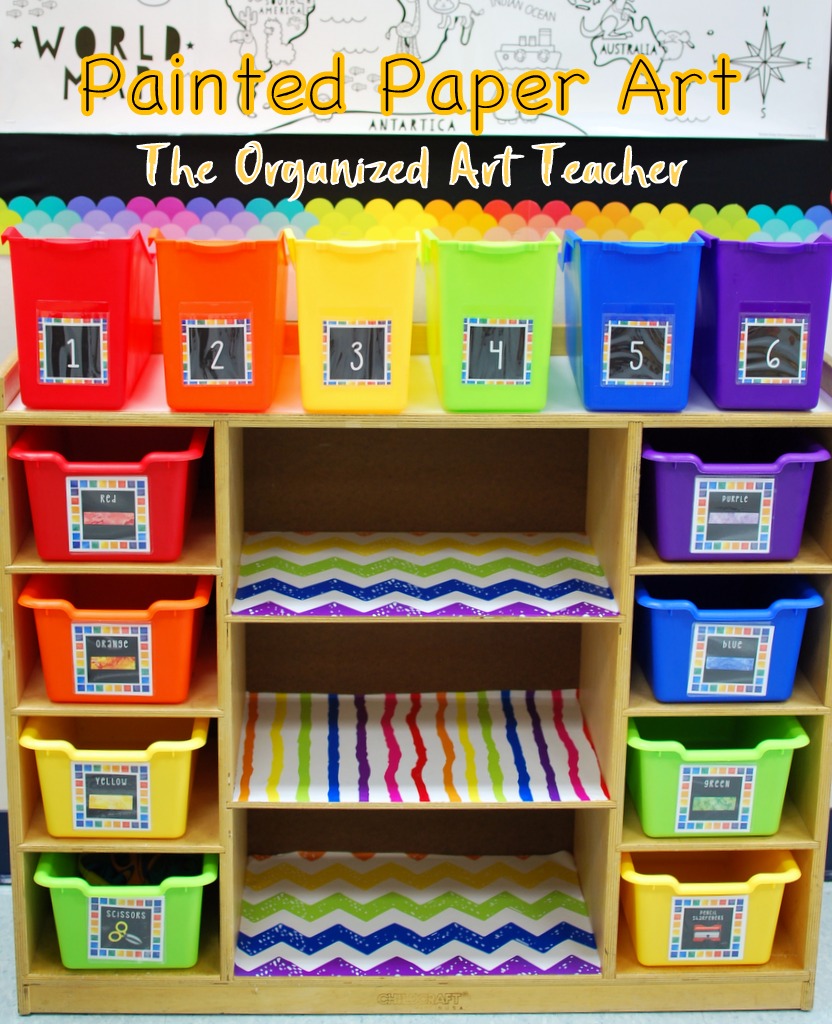
Do you consider individual projects and then calculate the numbers for certain colors of painted paper? Sometimes. For example: If I am making little cabins for a grade level I will make sure I have enough to cover that group. Also, I cut down the papers. Most of the time a project would require 6 x 9 inch painted paper so basically one 12 x18 painted sheet would serve 4 kiddos. I store the papers in piles of colors. I have a blog post that shows the tools and storage system of my painted papers.

I hope this helps! Using painted papers just really changes a simple project into such a rich and colorful artwork. If you need any more questions please feel free to ask!
HaVe FuN PaInTiNg!



I recently bought Prang tempera and was extremely disappointed. My go to brand is Sax Versa Temp. Have you used that brand and if so, how does Blick’s premium compare? (I bought the Prang thinking I was upgrading.)
I haven’t bought Prang in years. Unfortunately, they changed the make up the premium paint and I just didn’t care for it. I have been using Blick Premium for years now. I love how opaque and vivid the colors are. Use the Prang paints on a mural or painted papers.
Hi Laura,
I am a kindergarten teacher and your borders (as well as your art) are breathtaking.
Where do you get your borders? I love the rainbow scallops and black and white polka dots.
We are going to attempt your Be Mine bulletin board…but it needs the black and white accessories!!
Thank you for your talent and for this amazing website.
Kim
They were purchased at https://www.carsondellosa.com/search-catalog/?q=polka%20dot%20borders I totally love them! I can’t wait to see your bulletin board, Please tag me or email me a photo! xox
I am just enchanted by the thought processes that show up in everything you plan. One question. Do you do this painted paper process at the beginning of every class, once a week or when you start to run out of painted paper? Is there a second project during that art class or is that session only for paper painting?
I just got out Eric Carle and Leo Lionni books from the library an am planning some painted paper projects as part of a series on texture. I’m very excited to have found your web site.
Cheryl, Thank you!!!We make the painted papers as we need them. We usually create a huge assortment of painted paper at the end of the year so when school starts we are ready to create. 🙂
Awesome! Just bought your art book and I love it!
Your Mini Masterpieces book has saved my creative soul. I present an art segment every morning on PBS for TK students before school. This week I am on episode 360. The segment is accompanied by a short art history lesson. I have taught art since 1974 and your ideas were a real shot in the arm…just the inspiration I needed. Sincere and exuberant THANKS!!
WOW! What lovely feedback! Thank you~ xoxo
so i should probably order that one asap! i find pinterest so overwhelming i’ll get on there and shop around for lessons for hours. I’m add so i need one resource i can depend on that forces me to choose something so that i can plan with my powerpoints if nessesary and get supplies ready. Her blog is amazing and i think this might be the best money I’ve ever spent.
I love your system and process – it makes so much sense and is so organized! Thanks for sharing! And I certainly understand feeling like a server at times lol.